

Set up SSO with Google Workspace
Step-by-step Google Workspace setup for Clevera single sign-on: an internal OAuth client for OpenID Connect, or a custom SAML app in the Google Admin console, with which values go into which Clevera field.
Set up single sign-on between Google Workspace and Clevera so your team signs in with their Google work account. You can connect with OpenID Connect (OIDC) through a Google Cloud OAuth client, or with SAML 2.0 through a custom SAML app in the Google Admin console.
Google's consoles change from time to time. If a label below doesn't match, look for the setting with the same meaning, and use the general guides for the full list of values: SAML, OIDC.
Before you start
- You're the owner of a Clevera workspace on a Custom plan.
- For OIDC: you can create OAuth clients in a Google Cloud project that belongs to your Google Workspace organization.
- For SAML: you're a Google Workspace super admin.
- You know your Google Workspace domains, such as
acme.example, including secondary domains.
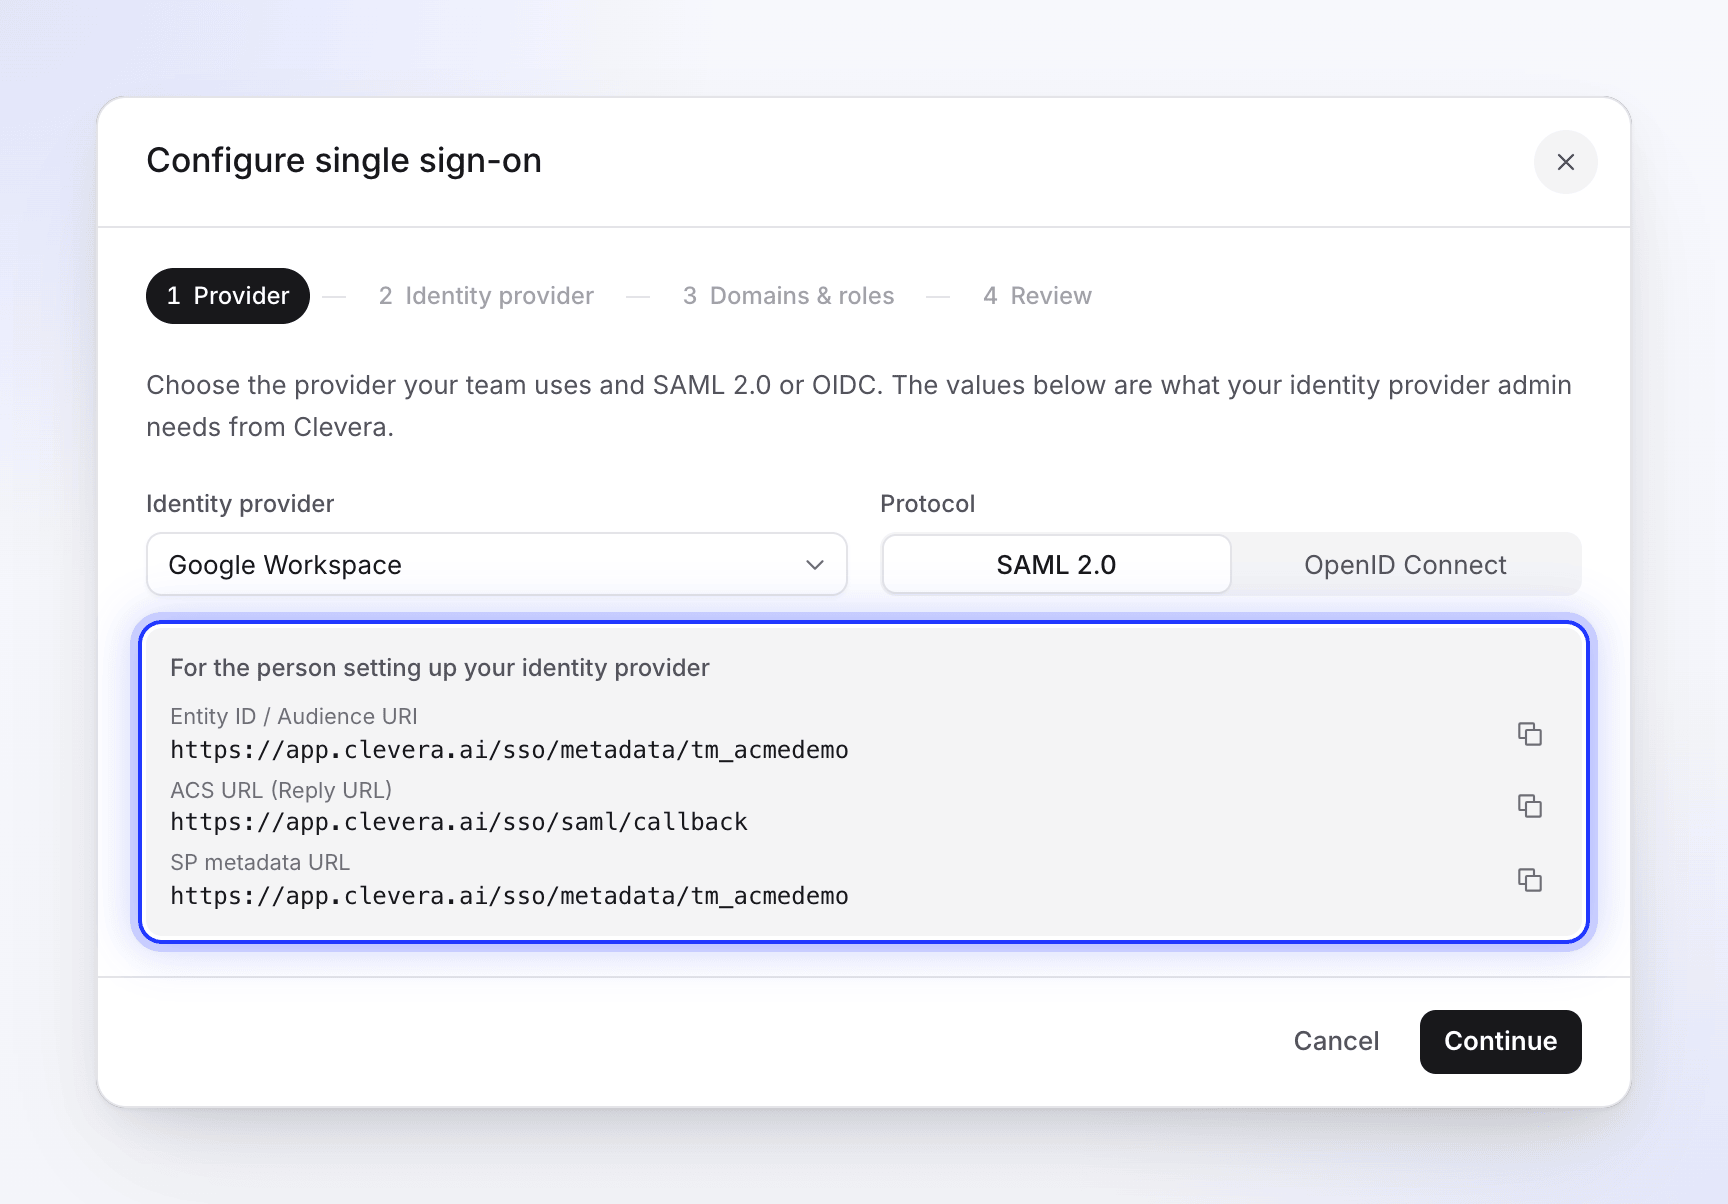
Open the Clevera setup dialog first: open the workspace menu at the top of the sidebar, choose Team settings, then Security, and click Set up SSO. Choose Google Workspace as the Identity provider.
Connect with OpenID Connect
Set the app to internal
In the Google Cloud console, pick a project in your organization and open Google Auth Platform (in older consoles, APIs & Services → OAuth consent screen). Set the Audience (user type) to Internal, so only accounts in your Google Workspace can sign in. Fill in the app name (
Clevera) and support email.Create the OAuth client
In Clevera's setup dialog, set Protocol to OpenID Connect and copy the Redirect URI (callback URL) from the grey box. Then, in Google, open Clients (or APIs & Services → Credentials) and create an OAuth client ID:
Google field Value Application type Web application Name CleveraAuthorized redirect URIs The Redirect URI (callback URL): https://app.clevera.ai/sso/oidc/callbackClick Create and copy the Client ID and Client secret.
Fill in Clevera
In Clevera, click Continue and enter:
Clevera field Value Client ID Google's Client ID Client secret Google's Client secret Discovery URL https://accounts.google.com/.well-known/openid-configuration
Google sends the email and name claims for the openid email profile scopes Clevera asks for, so there's nothing else to map.
Connect with SAML 2.0
Add a custom SAML app
In the Google Admin console, go to Apps → Web and mobile apps, click Add app and choose Add custom SAML app. Name it
Cleveraand click Continue.Copy Google's values into Clevera
On Google Identity Provider details, copy the values into Clevera (set Protocol to SAML 2.0 and click Continue first):
Google value Clevera field Entity ID IdP Entity ID SSO URL SSO sign-in URL Certificate X.509 certificate Click Continue in Google.
Enter Clevera's values
On Service provider details:
Google field Value ACS URL https://app.clevera.ai/sso/saml/callbackEntity ID Entity ID / Audience URI from the Clevera dialog Start URL Leave empty Signed response Ticked Name ID format EMAIL Name ID Basic Information → Primary email Click Continue.
Map the names
On Attribute mapping, map First name to
firstNameand Last name tolastName. Click Finish.Turn the app on
Open the app's User access, choose ON for everyone (or for the organizational units or groups who should use Clevera) and click Save. Google says this can take a while to apply.
Finish in Clevera
- On Domains & roles, add every Google Workspace domain your people use. Choose Create accounts on first sign-in and the Default role for new SSO members.
- On Review, click Save configuration.
- Click Run test, switch on Enable SSO, and sign in as a test user in a private window, starting from the Clevera sign-in page.
- When it works for everyone, switch on Require SSO if you want SSO to be the only way in. This also turns off Continue with Google for those members.
Members type their work email on the Clevera sign-in page and click Continue with Google Workspace.
Troubleshooting
| Problem | What to check |
|---|---|
| Google shows "Error 400: redirect_uri_mismatch" | Authorized redirect URIs must be exactly the Redirect URI (callback URL) from Clevera, https://app.clevera.ai/sso/oidc/callback. |
| Google says the app is restricted to users in its organization | The person isn't signed in with an account from your Workspace. |
| "SSO authentication failed…" after the Google sign-in, with SAML | Signed response is ticked; the certificate in Clevera matches the app's current certificate; the Entity ID matches Clevera exactly. If it still fails, connect with OIDC instead. |
| "SSO session expired. Please try again." after opening Clevera from the Google apps menu | Expected: sign-in has to start on the Clevera sign-in page. |
| Google says the app isn't configured for the user (SAML) | Turn the app on for their organizational unit or group in User access. |
| "Your email domain is not authorized for this team's SSO." | Add their domain, including secondary domains, to Allowed email domains. |
More messages: Fix SSO sign-in problems.