

Change the style, background and captions
Use the Style tab to change the background around your recording, the cursor's size and click sound, the captions and their look, and the camera overlay. Every setting, default and what it costs.
The Style tab in the video editor controls how a video made from your recording looks: the background around the recording, the cursor, the captions and, for Polish videos, the camera overlay. This article covers every setting, its default and what it costs.
Before you start
- The Style tab is in the video editor for how-to videos, product demos and Polish videos. Social clips don't have it; see Edit a social clip.
- You need edit rights. Without them the tab is greyed out with "You don't have permission to edit".
- The tab shows only the sections your video can use:
| Section | Shown when |
|---|---|
| Background | Always |
| Cursor | The recording has cursor data, for example a recording made with the Clevera desktop app. Uploaded video files have none. |
| Captions | How-to videos and product demos (not Polish videos) |
| Camera overlay | Polish videos recorded with your camera on |
Every slider shows Reset once you change it from its default. Extra settings sit behind More options.
Background
The background is what shows around your recording: a wallpaper, a color, a gradient or your own image. The section header shows the current fill, for example "Radiant 12".
Choose a fill
Open the Fill picker
In Background, click the Fill row. If nothing is chosen yet, it says Not set.
Pick a wallpaper or a color
On the Wallpapers tab, filter by category (All categories, Energy, Radiant, Sunset, Spring, Midnight, Iridescent, Macos) and click one. On the Colors tab, pick from 12 Solid colors or 9 Gradient pairs.
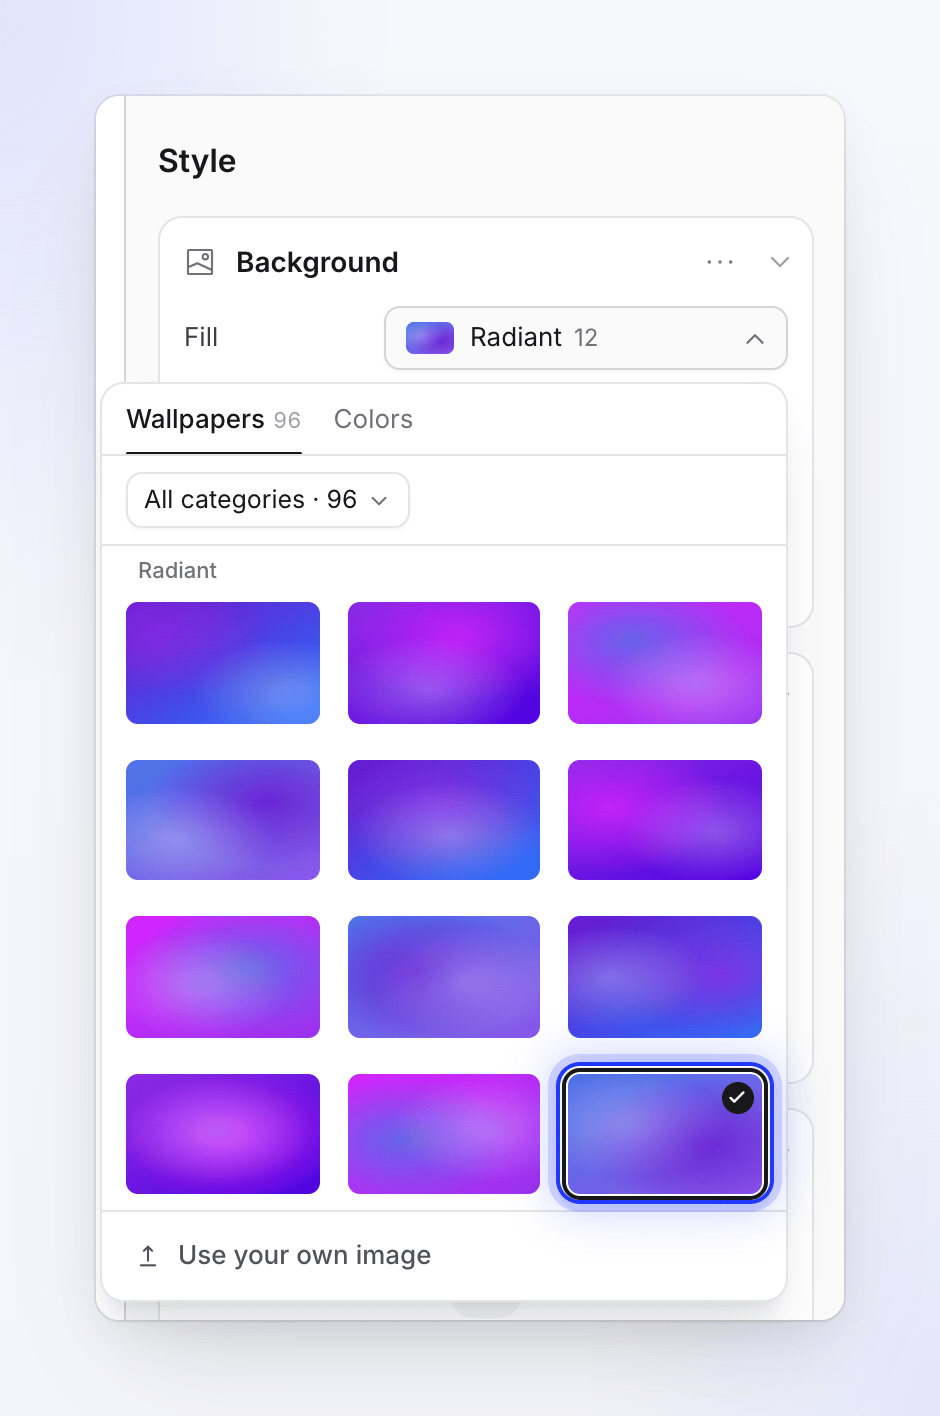
Wallpapers, solid colors and gradients, or your own image. Or use your own image
Click Use your own image, then pick an image from your team's library or drop a file to upload it. Once set, the button reads Replace your image.
Your own image can be JPG, PNG, WebP or SVG, up to 8 MB. GIFs aren't accepted.
Clevera's wallpapers are royalty-free or AI-generated, and licensed for commercial use in your videos.
After picking a solid color you can fine-tune it in the Color row (opacity included). For a gradient, the Colors row has a start and an end color; the angle is fixed.
Frame settings
| Setting | What it does | Range | Default |
|---|---|---|---|
| Padding | Space between the recording and the edge of the video | 0–20% | 10% |
| Corners | Roundness of the recording's corners | 0–100 px | 12 px |
| Shadow (More options) | Shadow under the recording | 0–100% | 70% |
| Blur (More options) | "Softens the wallpaper or image behind the recording." Only for wallpapers and your own image. | 0–100% | 0% |
Save a look as a preset
Presets let your whole team reuse a background on other videos.
- Set the background the way you want it.
- Open the ⋯ menu in the Background header and choose Save as preset….
- Enter a Name (up to 80 characters) and click Save preset.
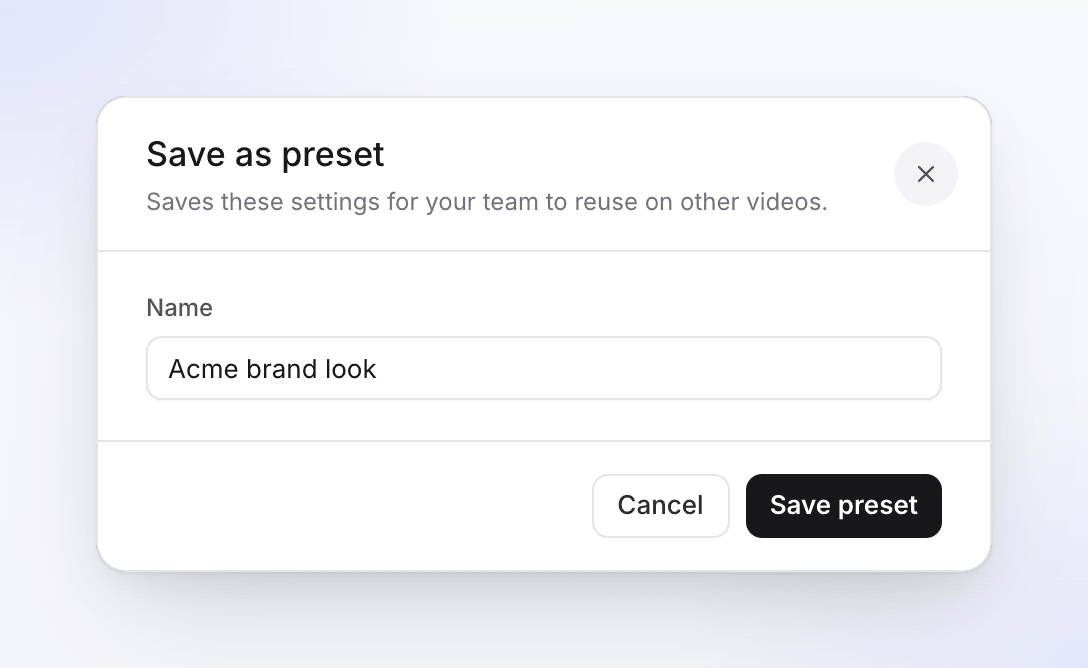
Your presets are listed at the top of the same ⋯ menu; click one to apply it. To remove one, choose Manage presets… and click the trash icon. "The preset is removed for everyone on your team. Videos that used it keep their settings." Presets can't be renamed.
Cursor
Clevera doesn't burn the cursor into your recording. It redraws it from the cursor data, so you can resize it and change its click sound after recording.
| Setting | Options | Default |
|---|---|---|
| Size | 50–300% | 100% |
| Click sound | Clear, Smooth, Vintage (each with a preview button) | Clear |
| Volume | 0–100% (0 shows Off) | 100% |
| Idle bounce | "The cursor floats gently while it waits between movements." | On |
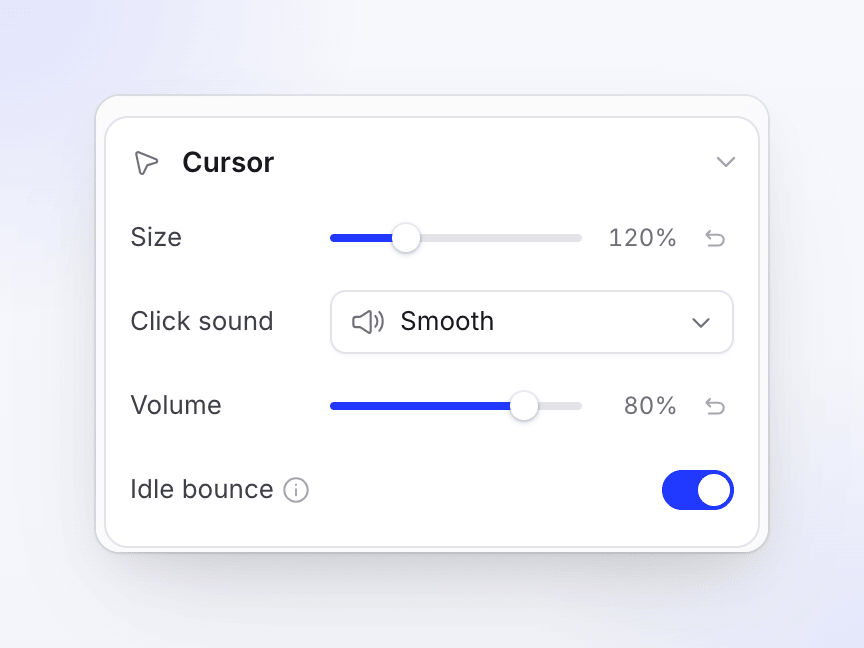
The section header sums it up, for example "120% · Smooth", or "Silent" when the volume is 0.
Captions
Captions are the spoken words of the voice-over, shown on screen and highlighted word by word. They're made by transcribing the voice-over, so a video needs a voice-over before it can have captions.
Turn captions on
Open the Captions section
The section says what state your video is in: "Add a voiceover to caption" (there's no voice-over yet), "No captions yet", or the current style.
Click Generate captions
Clevera transcribes every voice-over line. The button shows "Generating… N%". It can take a few minutes, and you can keep editing.
Check the result
Captions switch on when they're ready. Use the toggle in the section header (Show captions) to hide or show them at any time. Hidden captions keep their style.
If you chose captions on the Create page, they're made automatically at the end of generation.
Change the wording
There's no way to type over caption words directly. Captions follow the script: when you edit a voice-over line, its new recording is captioned again automatically.
Regenerate captions
Open the ⋯ menu in the Captions header and choose Regenerate captions…. "This replaces the current captions by transcribing the voiceovers again. Their style stays the same. It can take a few minutes." Click Regenerate.
If only some lines are missing captions, an amber banner says "Some voiceovers have no captions yet." with a Generate link that captions just those.
Caption style
| Setting | Options | Default |
|---|---|---|
| Style | Scale, Color, Glow, Yellow Pop, Lift, Reveal. Hover one to watch it play. Shows Custom once you change details. | Scale |
| Position | Top, Bottom | Bottom |
| Font | System fonts and the Google Fonts catalogue | Inter, bold |
| Size | 12–160 px | 48 px |
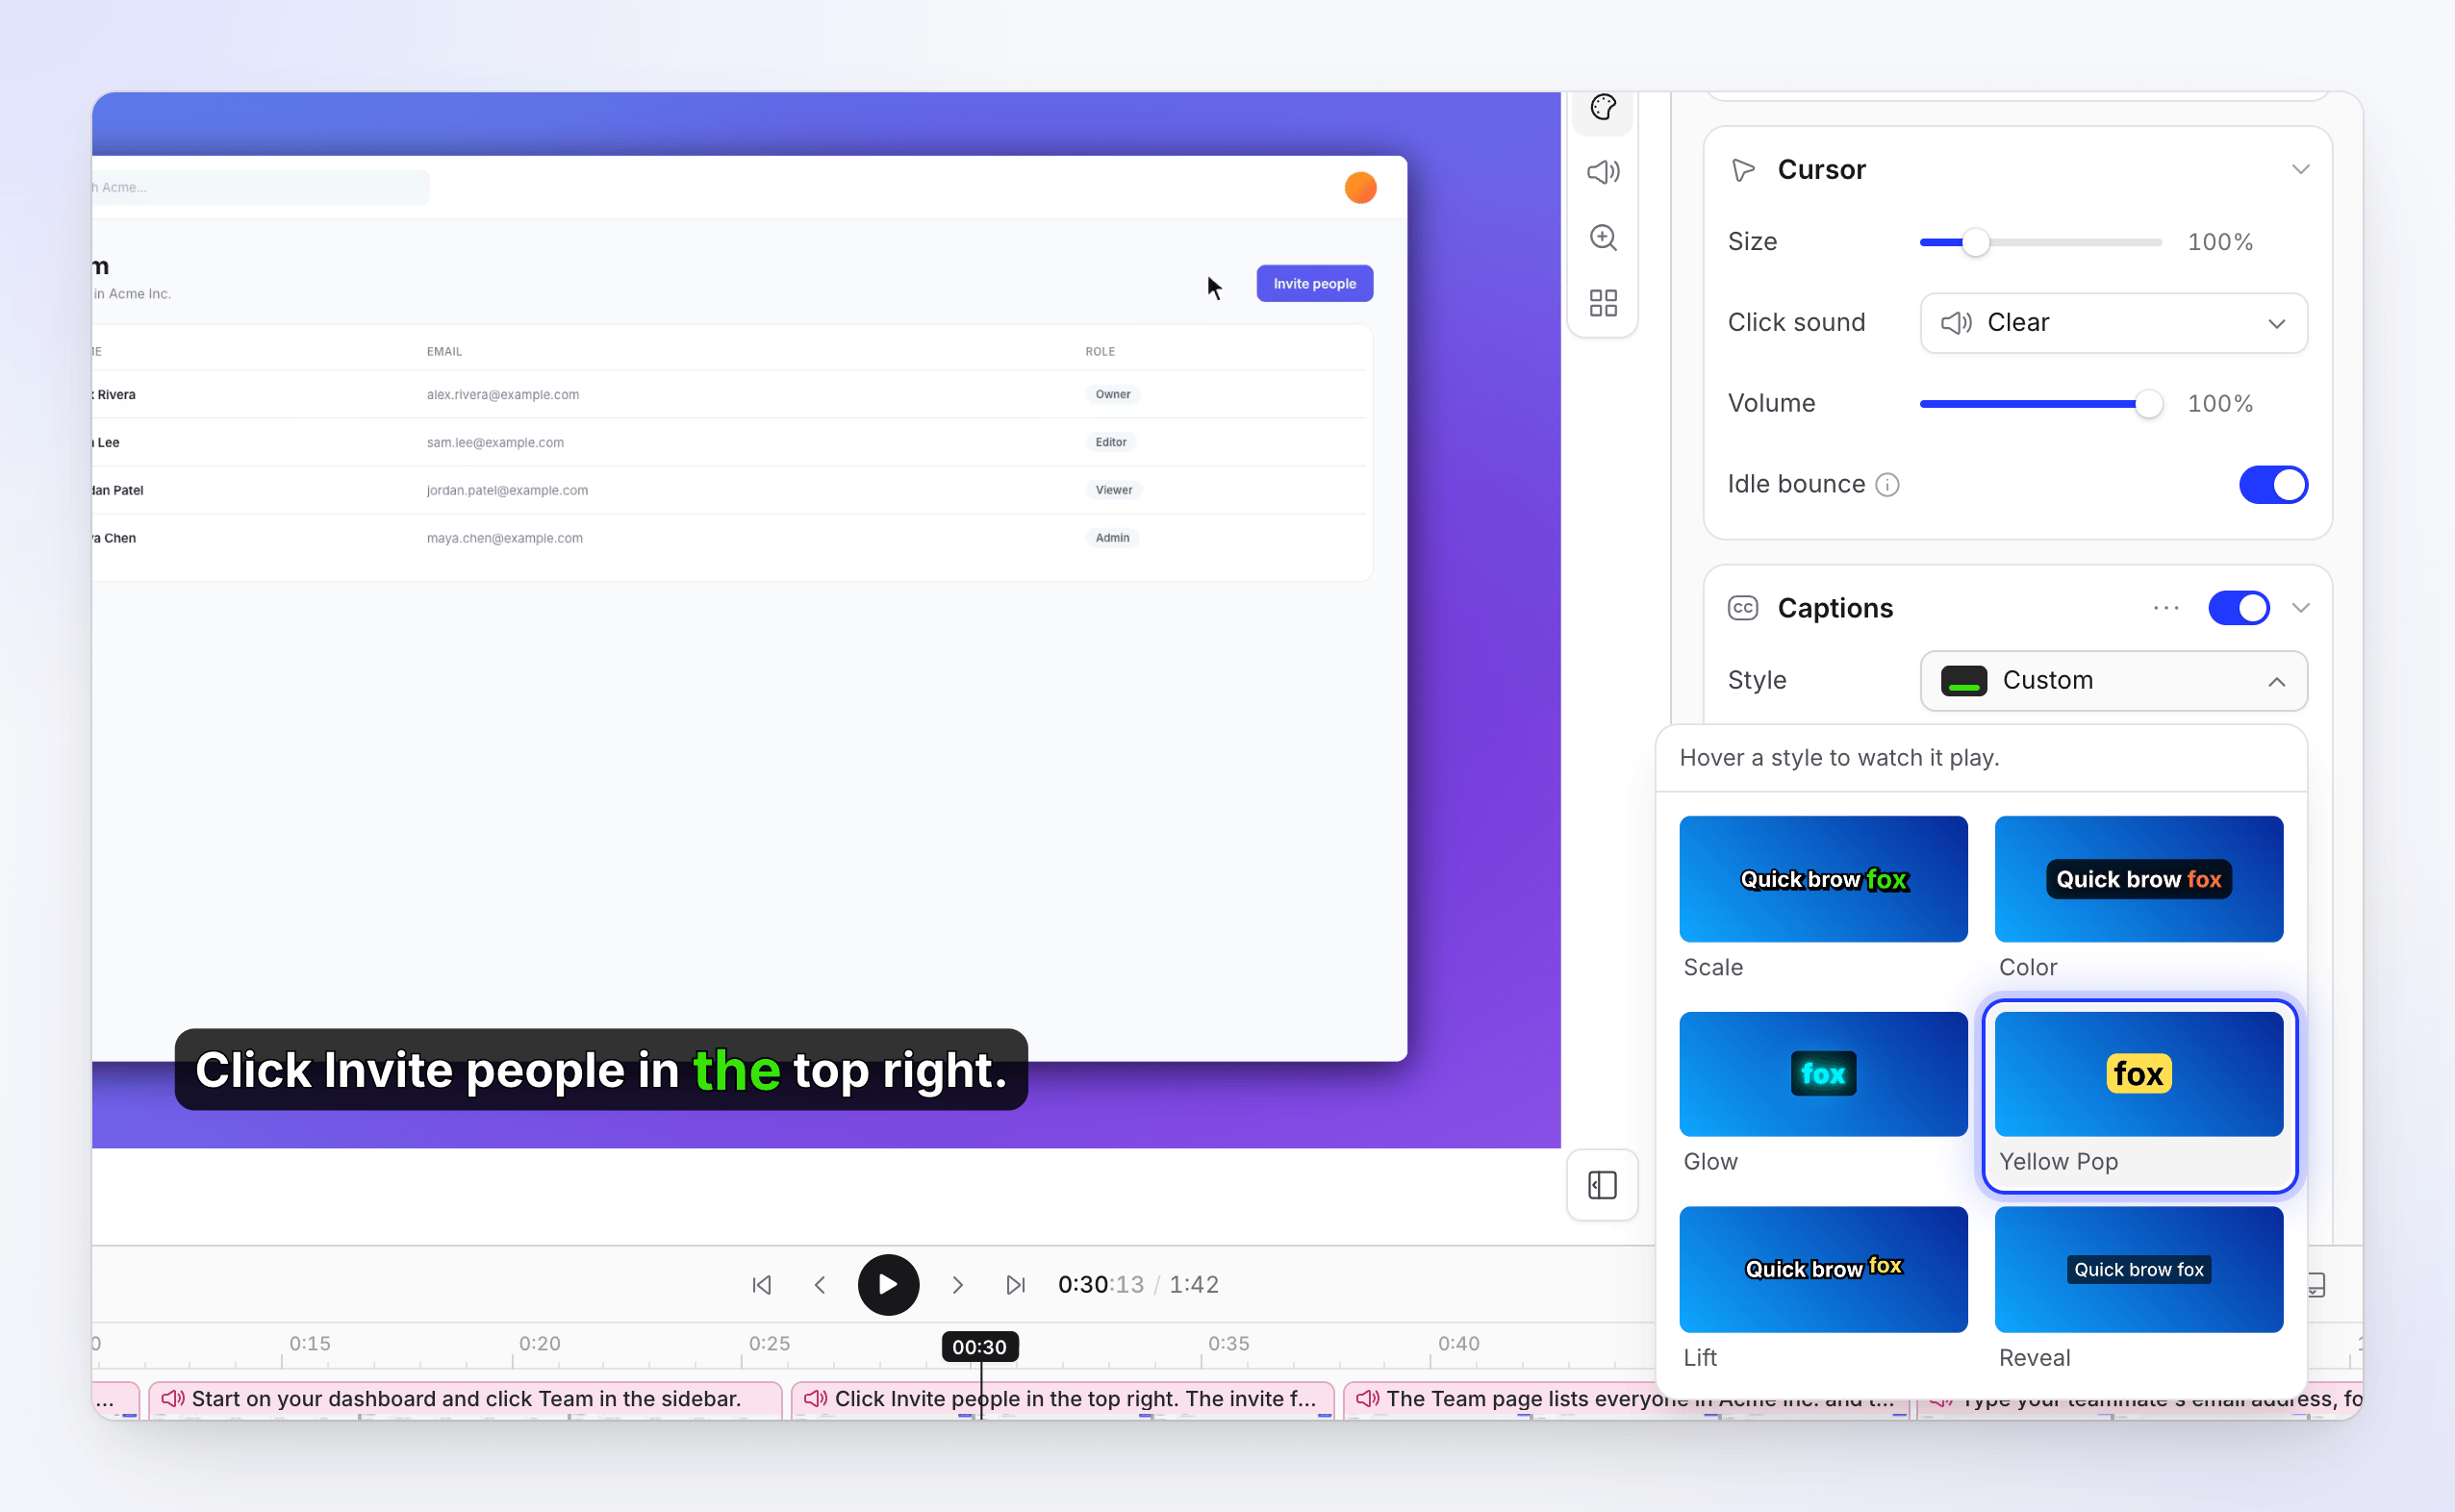
Open the groups below for the details:
| Group | Settings and defaults |
|---|---|
| Highlight | Effect (Color, Scale, Lift, Bounce, Glow, Reveal; default Scale), Word highlight color (default green #39E508), Text color (default picked for contrast) |
| Layout | Width 10–100% (85%), Edge gap 2%: "Distance from the top or bottom edge." |
| Text | Weight, Italic, Underline, line height 0.8–3 (1.2), letter spacing −5 to 10 px (0) |
| Box | Caption box on: black at 80%, corners 20 px, padding 20 × 12 |
| Outline | Text outline on: 3 px, black |
| Shadow | Text shadow off: blur 8 px, offset 0 / 2 |
Picking a style preset keeps your position, width and edge gap. Captions are always centered.
Captions in other languages
Each language of a video has its own captions and its own caption style. Switch to the language in the top bar to see them. If a translation has no captions yet, click Generate captions while that language is open.
Camera overlay
For Polish videos recorded with your camera on, the camera shows as a bubble on top of the recording.
| Setting | What it does | Default |
|---|---|---|
| Header toggle (Show the camera overlay) | Shows or hides the camera | On |
| Position | Drag the dot to place the camera anywhere. The value is named after the nearest of 9 spots, such as Bottom right. | Bottom right |
| Shape | Square, Wide, Tall | Square |
| Size | 5–45% of the video | 9% |
| Roundness | 0–100% | 50% |
| In zooms (More options) | "The bubble's size while the video is zoomed in." Follows Size until you change it. | Half of Size |
| Crop (More options) | Adjust crop… opens a dialog to drag the focus point and zoom in on your camera feed, 1–3×. | No crop |
What it costs
Changing the background, cursor, caption style, camera overlay and presets is free.
Generating or regenerating captions uses a very small amount of credits for the transcription. It appears on the Usage page as Captions. See Understand credits.
Troubleshooting
| Message | What to do |
|---|---|
| "Add a voiceover to caption" | Add narration in the Script tab first. See Edit the script and voice-over. |
| "Failed to generate captions." | Try Generate again. If an amber banner says "N voiceovers could not be captioned.", click Generate in it. |
| "Captions are not supported for this video type." | Polish videos don't have captions. |
| Credits message such as "You have used all your credits for this billing period…" | Caption generation needs credits to start, so it waits until your workspace has credits again. Buy credits or wait for them to renew. |
| "No wallpapers to show" / Load wallpapers again | The wallpapers didn't load. Click Load wallpapers again. |
| "… isn't a supported image. Use JPG, PNG, WebP or SVG." | Convert the image, then upload it again. |
| "… is X MB. The limit is 8 MB." | Compress or resize the image. |