

Change desktop app settings
Every Clevera desktop app setting and its default on Mac and Windows — countdown, start sound, system audio, camera preview and the Mac-only app options — plus the More menu, the Windows tray menu and sending logs to support.
The Clevera desktop app has a handful of settings for how recordings start, what they include and how the app shows up on your computer. Open them from the recording window: click Settings at the bottom. On a Mac you can also choose Settings from the Clevera menu. Changes save immediately; click Done to close the window.
Recording settings
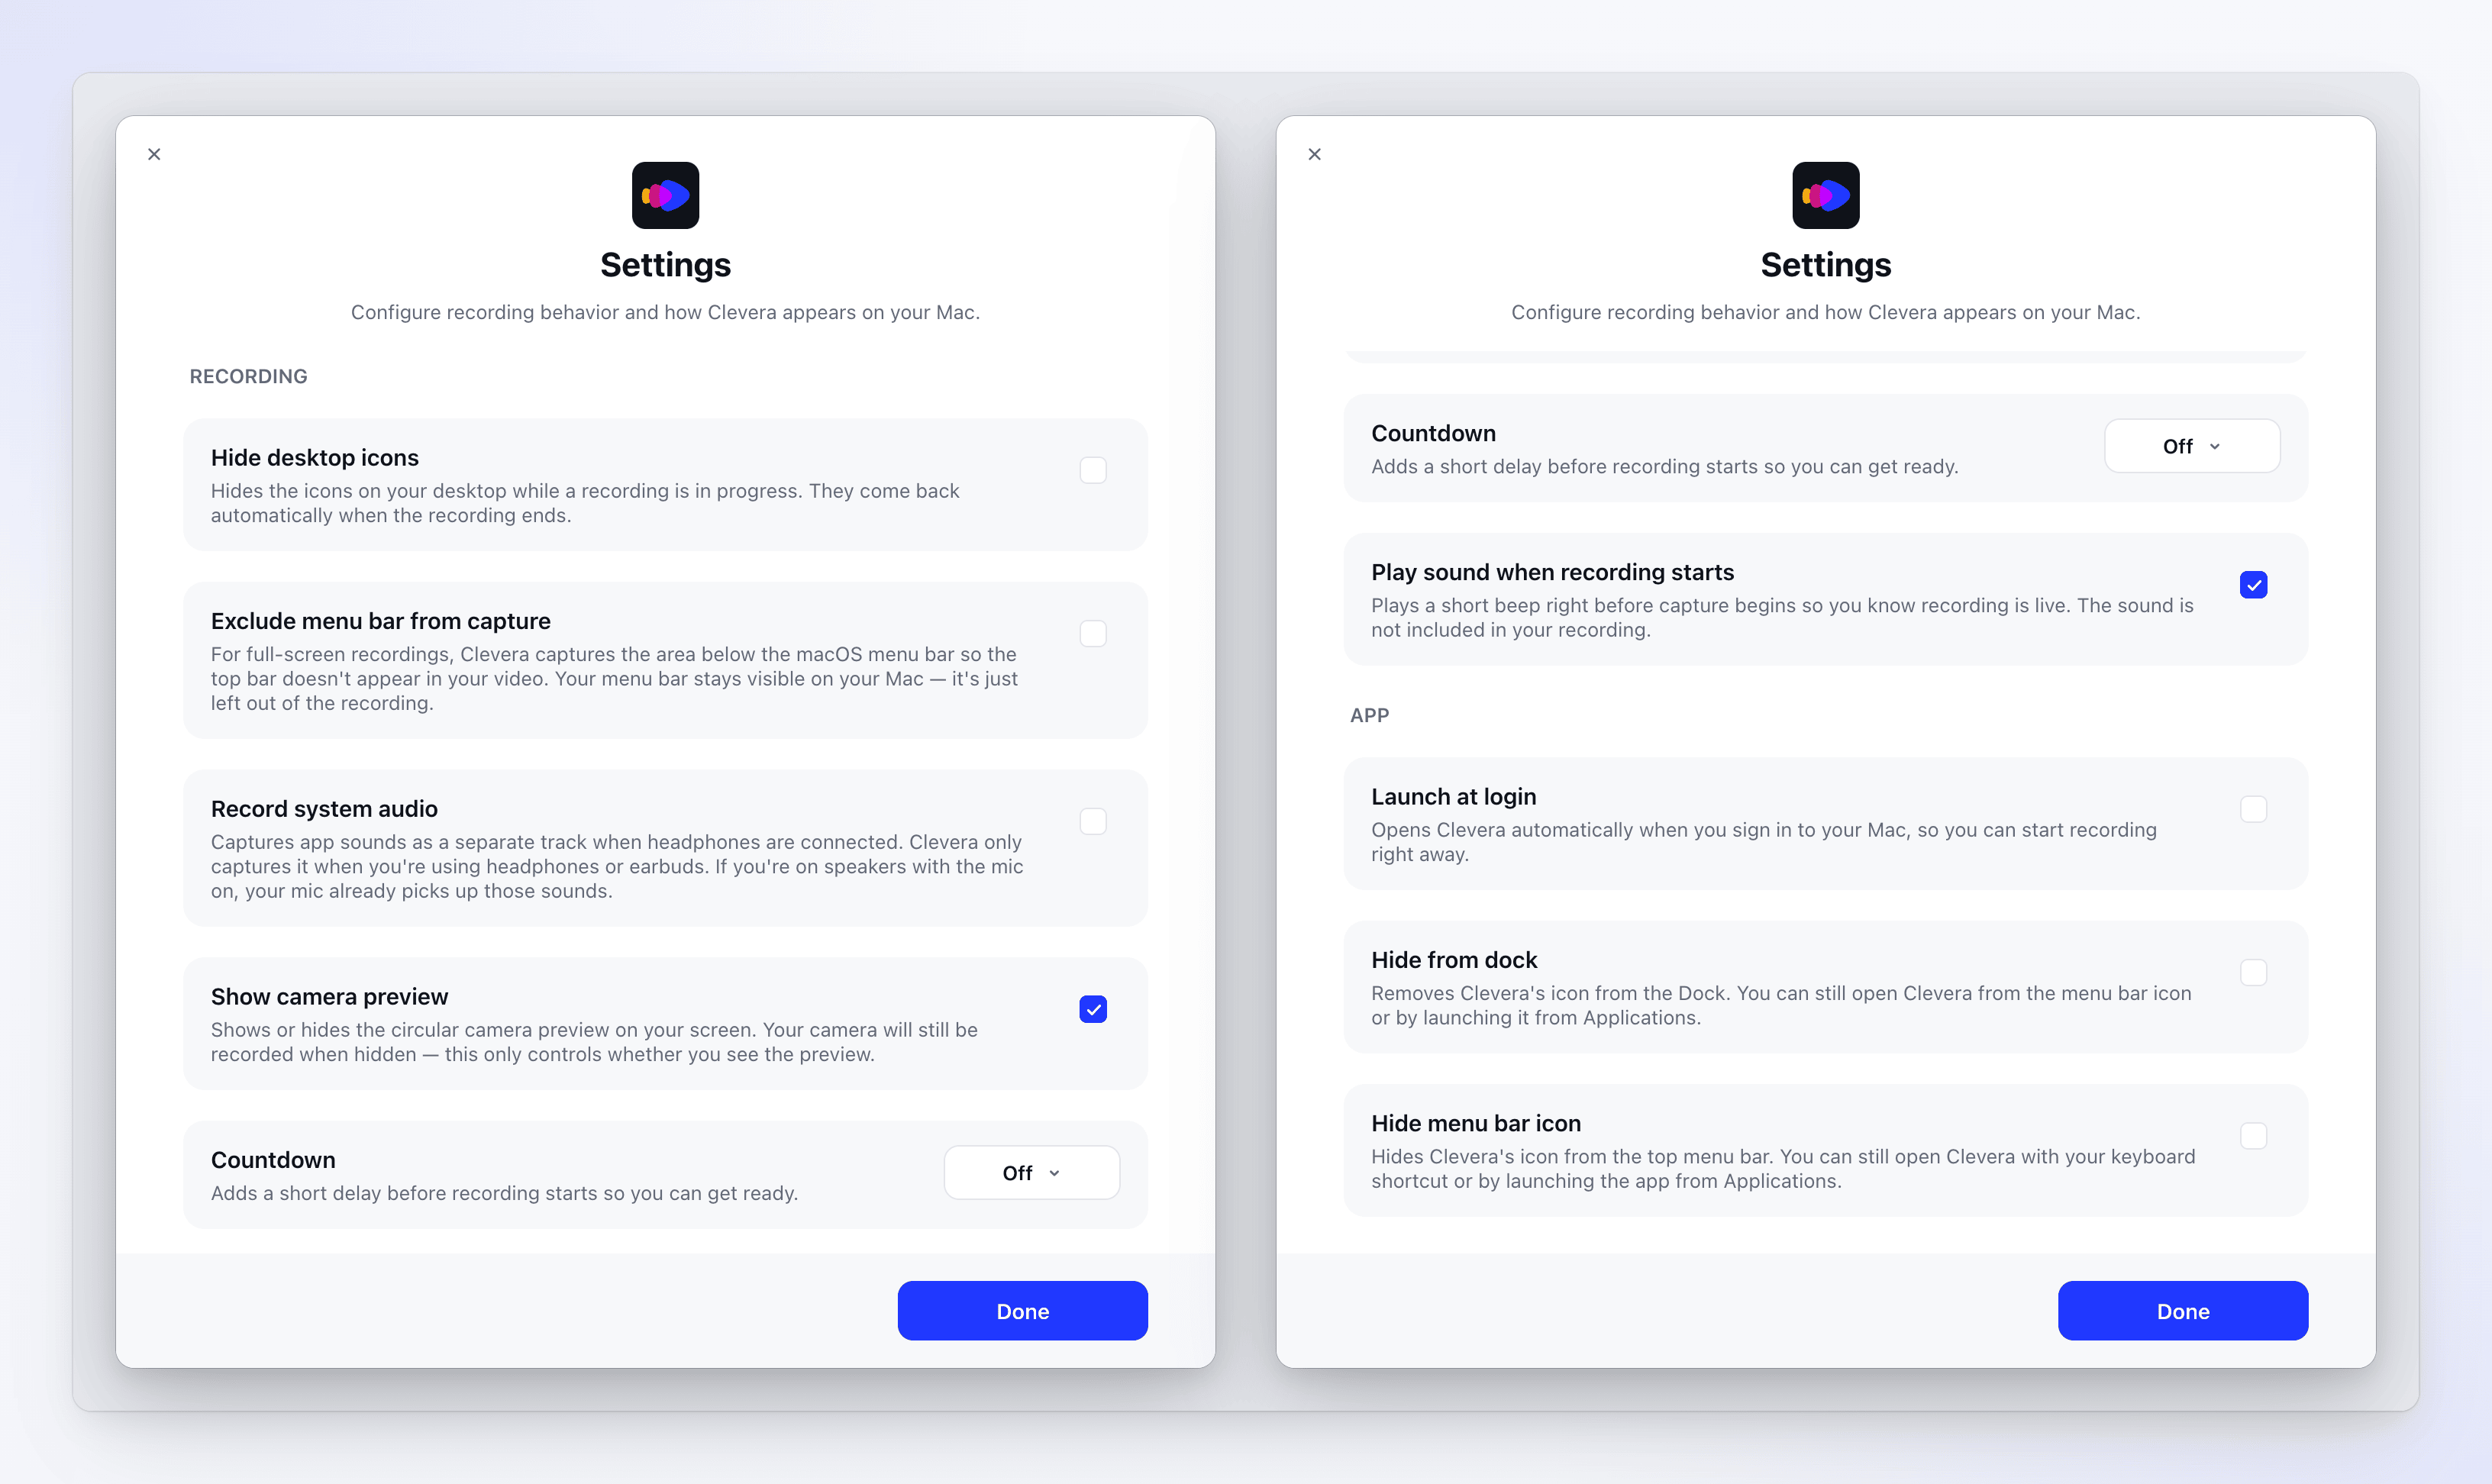
| Setting | Default | What it does |
|---|---|---|
| Hide desktop icons | Off | Leaves the icons on your desktop out of the recording. They stay visible on your own screen. See Keep desktop icons and the menu bar out of a recording. |
| Exclude menu bar from capture | Off | For full-screen recordings, leaves the menu bar out of the video. The menu bar stays usable on your screen. Needs macOS 14.2 or later. |
| Record system audio | Off | Records the sound your apps make as a separate track, when you use headphones or earbuds, or when your microphone is off. See Add your microphone, camera or system audio. Needs macOS 13 or later. |
| Show camera preview | On | Shows or hides the round camera preview on your screen. Your camera is still recorded when the preview is hidden. Only appears when a camera is selected. |
| Countdown | Off | Adds a delay before recording starts so you can get ready. Choose Off, 3s, 5s, 7s or 10s. |
| Play sound when recording starts | On | Plays a short beep right before capture begins, so you know recording is live. The beep isn't in your recording. |
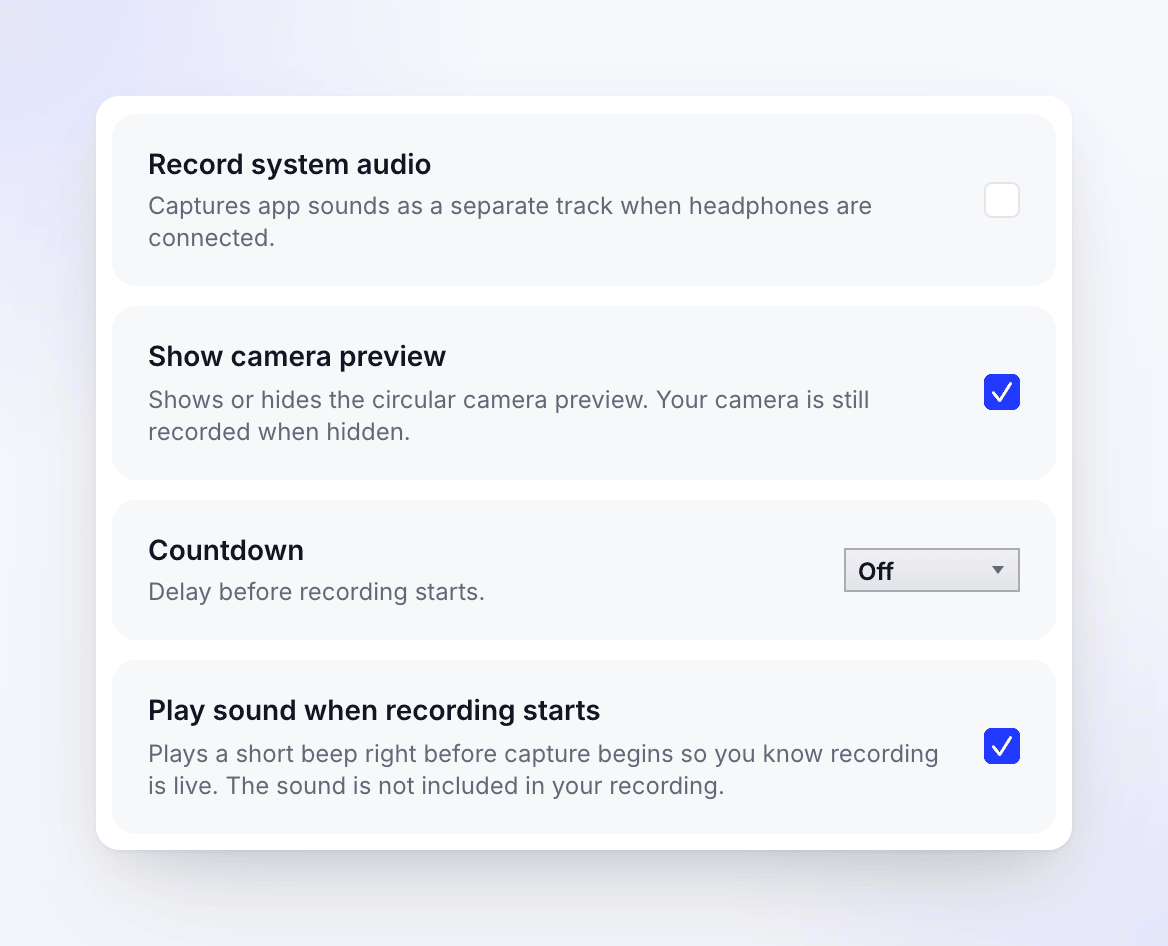
| Setting | Default | What it does |
|---|---|---|
| Record system audio | Off | Records the sound your apps make as a separate track, when you use headphones or your microphone is off. See Add your microphone, camera or system audio. |
| Show camera preview | On | Shows or hides the round camera preview on your screen. Your camera is still recorded when the preview is hidden. |
| Countdown | Off | Adds a delay before recording starts so you can get ready. Choose Off, 3s, 5s, 7s or 10s. |
| Play sound when recording starts | On | Plays a short beep right before capture begins, so you know recording is live. The beep isn't in your recording. |
You can also set the countdown from the tray: right-click the Clevera icon in the notification area → Countdown timer → No countdown, 3 seconds, 5 seconds or 7 seconds.
To keep the desktop and taskbar out of a recording on Windows, see Keep desktop icons and the menu bar out of a recording.
The microphone and camera aren't in Settings: choose them in the recording window.
App settings (Mac)
| Setting | Default | What it does |
|---|---|---|
| Launch at login | Off | Opens Clevera automatically when you sign in to your Mac. |
| Hide from dock | Off | Removes Clevera's icon from the Dock. You can still open Clevera from the menu bar icon or from Applications. |
| Hide menu bar icon | Off | Removes Clevera's icon from the menu bar. You can still open Clevera from the Dock or from Applications. |
On Windows, Clevera always shows its icon in the notification area (system tray) and a button on the taskbar. To start Clevera when you sign in to Windows, open it from the Start menu after signing in.
Where settings are stored
Settings, shortcuts and your speaker notes are saved for your user account on this computer. They don't follow your Clevera account to another computer, and signing out doesn't reset them. On Windows they're in %LOCALAPPDATA%\Clevera.
The More menu
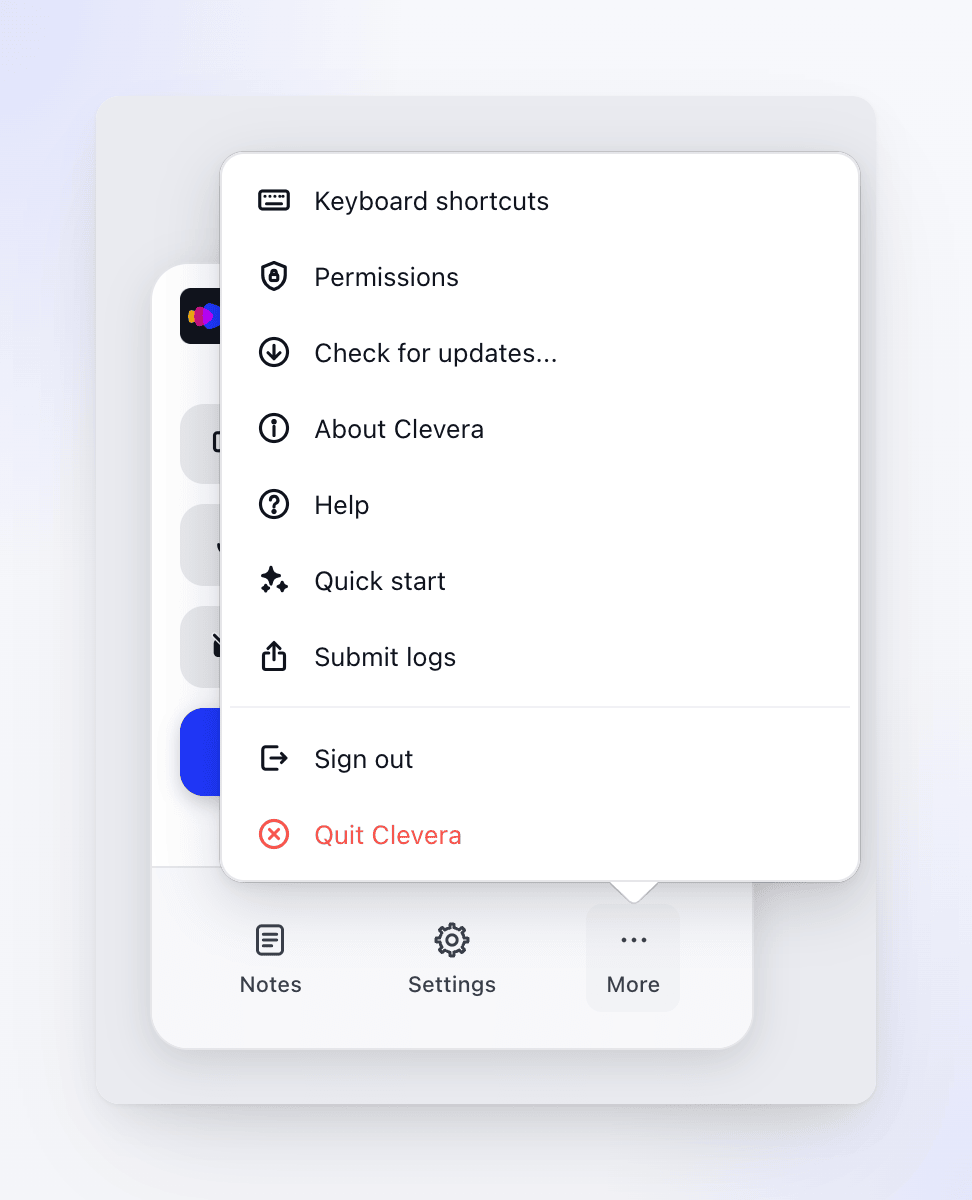
Click More at the bottom of the recording window for everything else:
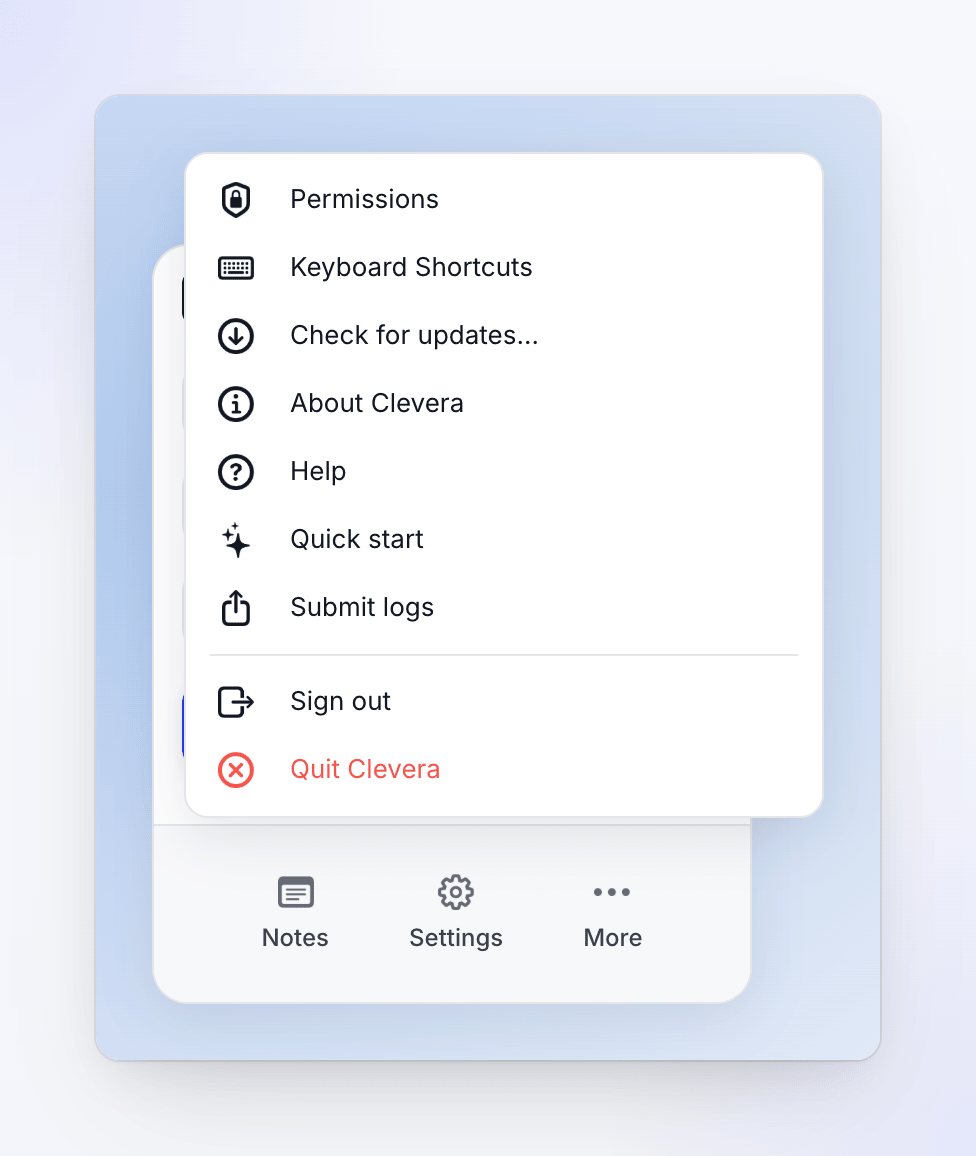
The Windows More menu has the same items, in the order Permissions, Keyboard Shortcuts, Check for updates..., About Clevera, Help, Quick start, Submit logs, Sign out and Quit Clevera.
| Item | What it does |
|---|---|
| Keyboard shortcuts | Change or turn off recording shortcuts. See Use keyboard shortcuts while recording. |
| Permissions | Check and enable the permissions Clevera needs. See Grant the permissions Clevera needs to record. |
| Check for updates... | Open Clevera updates. See Update the desktop app. |
| About Clevera | On a Mac, shows the app's version and build number. On Windows, opens clevera.ai in your browser. |
| Help | Opens the Clevera help center in your browser. |
| Quick start | Shows the four-step introduction again. |
| Submit logs | Send diagnostic logs to the Clevera team (see below). |
| Sign out | Signs you out. On Windows, confirm "Are you sure you want to sign out?" first. |
| Quit Clevera | Quits the app. |
The Windows tray menu
Right-click the Clevera icon in the notification area for the same tools without opening the recording window:
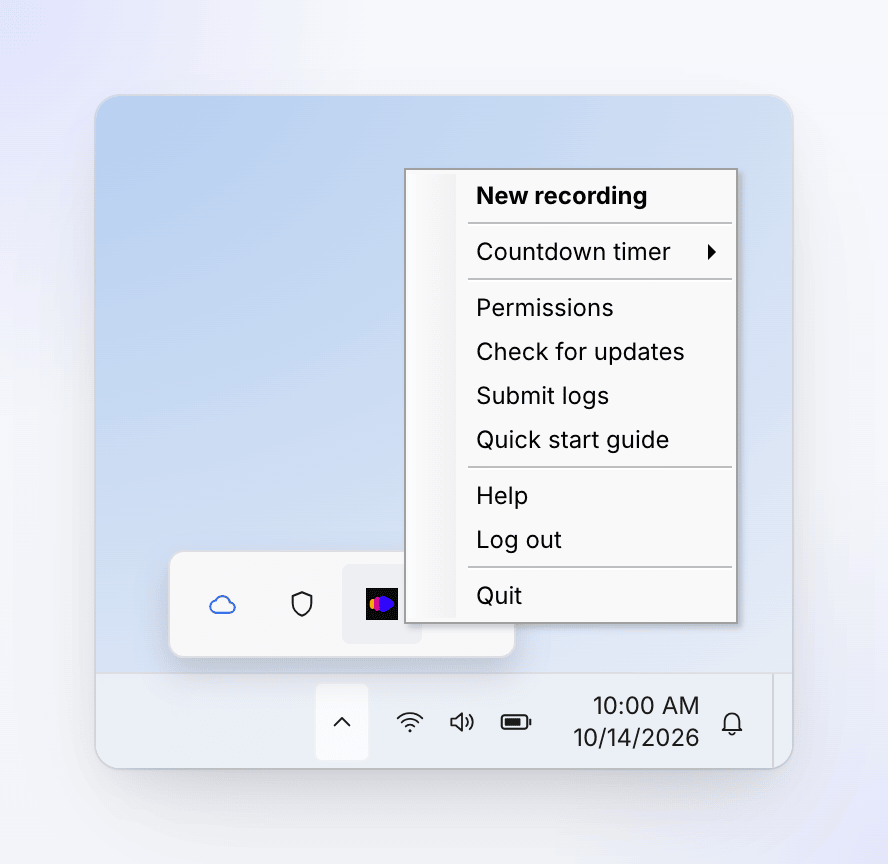
| Item | What it does |
|---|---|
| New recording | Opens the recording window. Clicking the icon does the same. |
| Countdown timer | Sets the countdown: No countdown, 3 seconds, 5 seconds or 7 seconds. |
| Permissions | Opens the permissions window. |
| Check for updates | Checks for a new version. |
| Submit logs | Opens Submit logs to Clevera. |
| Quick start guide | Shows the four-step introduction again. |
| Help | Opens the Clevera help center. |
| Log out | Signs you out, after a confirmation. While signed out, this item reads Sign in. |
| Quit | Quits Clevera. |
While you record, the tray menu also has Pause recording (or Resume recording), Complete recording and Cancel recording. See Pause, restart or cancel a recording.
Send logs to support
If something goes wrong, support may ask for your logs: a plain-text record of what the app did, without your screen, audio, camera or recordings. Open More → Submit logs (on a Mac also Clevera → Submit logs in the menu bar; on Windows also the tray icon → Submit logs) and click Send logs.
For exactly what the logs contain, the Download diagnostic ZIP option, what to do if sending fails and where the log files are if the app won't open, see Send your desktop app logs to support.