

Add your microphone, camera or system audio
Record your voice, your webcam or the sound from your apps with the Clevera desktop app: picking devices, the camera bubble, and when system audio is recorded or skipped.
Besides your screen, the Clevera desktop app can record three optional tracks: your microphone, your camera and system audio (the sound your apps make). Each is recorded as a separate track, so you can turn it up, down or off later in the video editor.
Before you start
- Allow microphone and camera access for Clevera. See Grant the permissions Clevera needs to record.
- On a Mac, system audio needs macOS 13 (Ventura) or later.
Defaults
| Track | Where you turn it on | Default on a new install |
|---|---|---|
| Microphone | Microphone row in the recording window | No Microphone (off) |
| Camera | Camera row in the recording window | No Camera (off) |
| System audio | Settings → Record system audio | Off |
Clevera remembers your microphone and camera choice for the next recording. If Clevera doesn't have access to the microphone or camera, the row says Permission required.
Record your voice
- In the recording window, click the Microphone row.
- Choose your microphone from the list. Choose No Microphone to record without sound.
- The row shows the microphone's name and a green On chip.
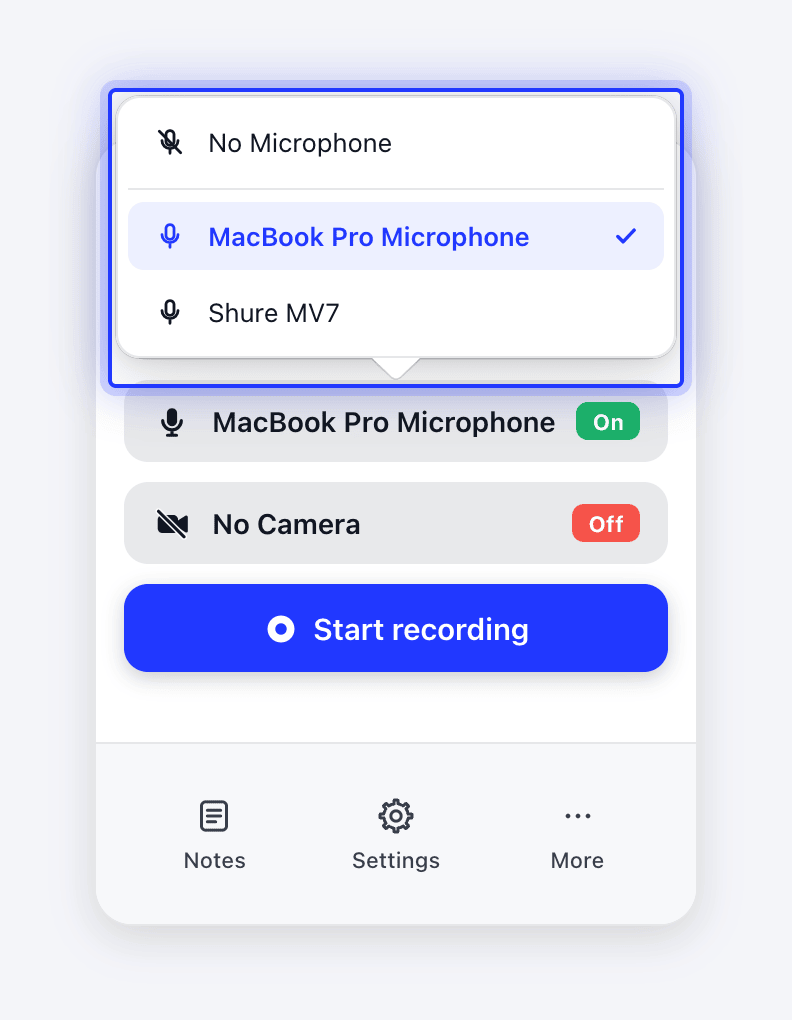
Your voice gives the AI context: it uses what you say to write the narration and captions. Your own voice track is kept with the recording, and in the video editor you can turn it on or off and set its volume under Recording audio.
If the microphone or camera can't start
Recording stops with "Microphone could not be started or captured: …". Check that the microphone is connected and not in use by another app, then try again. If it keeps happening, click Copy Details in the alert and send it to support.
The recording carries on without that track: you get the screen, but no voice (or no webcam). Check that the device is connected, not in use by another app and allowed under Settings → Privacy & security, then record again.
Record your webcam
- In the recording window, click the Camera row.
- Choose your camera. Choose No Camera to turn it off.
- A round camera preview appears on your screen: in the bottom-right corner on a Mac, at the bottom center on Windows.
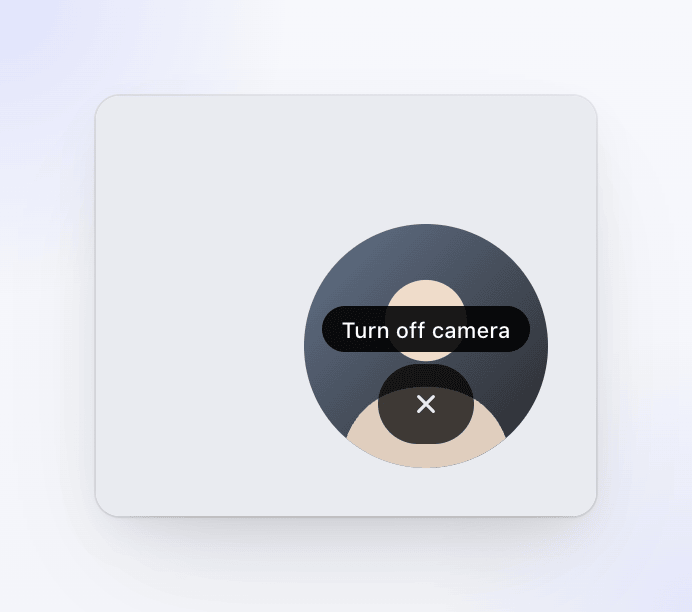
On some Windows 10 PCs the preview shows a black square around the circle. It only affects the preview; your camera track is recorded normally.
About the camera preview:
- It's only for you. The preview isn't captured in the screen video; your camera is recorded as its own track.
- Drag it anywhere on screen. Clevera remembers where you put it.
- Hover over it and click ✕ to switch the camera to No Camera.
- To keep recording the camera but hide the bubble, turn off Show camera preview in Settings. On a Mac that setting only appears when a camera is selected.
In the video editor you can place the camera overlay, change its shape and size, or hide it.
Record system audio
System audio captures the sound your apps play, such as a notification sound, a video you play or a demo with audio. To turn it on, open Settings in the recording window and select Record system audio. If the Screen Recording permission is missing, Clevera asks for it.
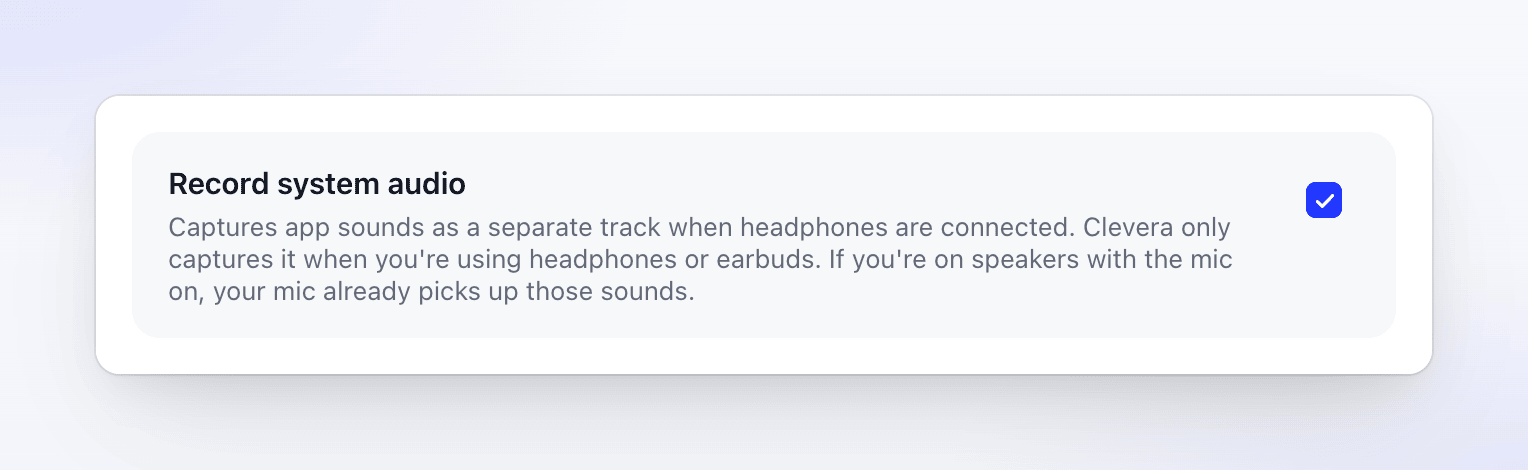
Clevera only records system audio when it won't double up with your microphone:
| Your sound output | Microphone | System audio recorded? |
|---|---|---|
| Headphones or earbuds | On or off | Yes |
| Speakers (built-in or external) | Off | Yes |
| Speakers (built-in or external) | On | No — your microphone already picks up the sound from your speakers |
Clevera decides when the recording starts, based on your current sound output. It doesn't show a message when it skips system audio, so plug in headphones before you click Start recording if you need a clean app-sound track.
How Clevera tells headphones from speakers
Wired headphones and any Bluetooth output device count as headphones, including a Bluetooth speaker. Clevera's own sounds, such as the start beep, are never recorded.
Clevera looks at the name of your default sound output in Windows. It counts as headphones when the name contains "headphone", "headset", "earbud", "AirPods" or "Beats". Any other device, including headphones with a different name, counts as speakers. Check the name under Settings → System → Sound → Output.
Clevera's own sounds aren't filtered out of the system audio track. The start beep plays before capture begins, so it isn't in the recording.