

Update the desktop app
Keep the Clevera desktop app up to date on Mac and Windows, understand why an outdated app can't record, and fix an update that fails.
Clevera only lets you record with the latest version of the desktop app. Updating takes a minute and keeps your settings, shortcuts and sign-in. On a Mac the app tells you when an update is waiting; on Windows you check for updates yourself.
Why updates are required
Recordings from the desktop app feed the AI that builds your video, and each version of the app changes what it captures and how. To make sure every recording works with the current Clevera, Clevera's servers turn away recordings from older versions. Your earlier recordings and videos aren't affected.
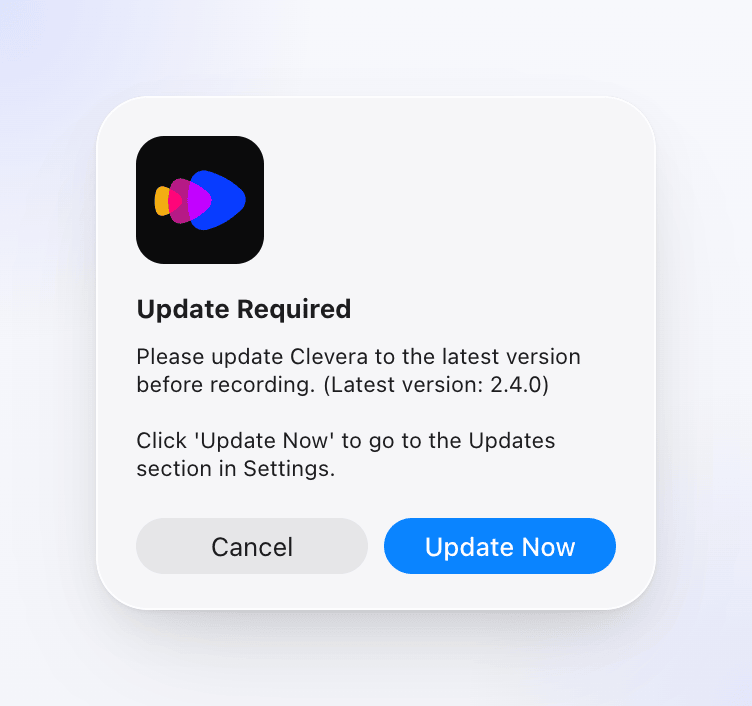
The Mac app also checks before every recording. If any newer version is available, Start recording shows Update Required instead of starting.
The Windows app doesn't warn you before recording. When the app is out of date, starting a recording fails with "Recording initialization failed: …". Update the app (below) and record again.
When Clevera checks for updates
| When | What you see if there's an update |
|---|---|
| A couple of seconds after the app opens (at most once a day) | New Version Available — "A new version of Clevera is available. … Please update to get the latest features and improvements." with Update Now and Later. |
| Every time you start a recording | Update Required — "Please update Clevera to the latest version before recording." with Update Now and Cancel. |
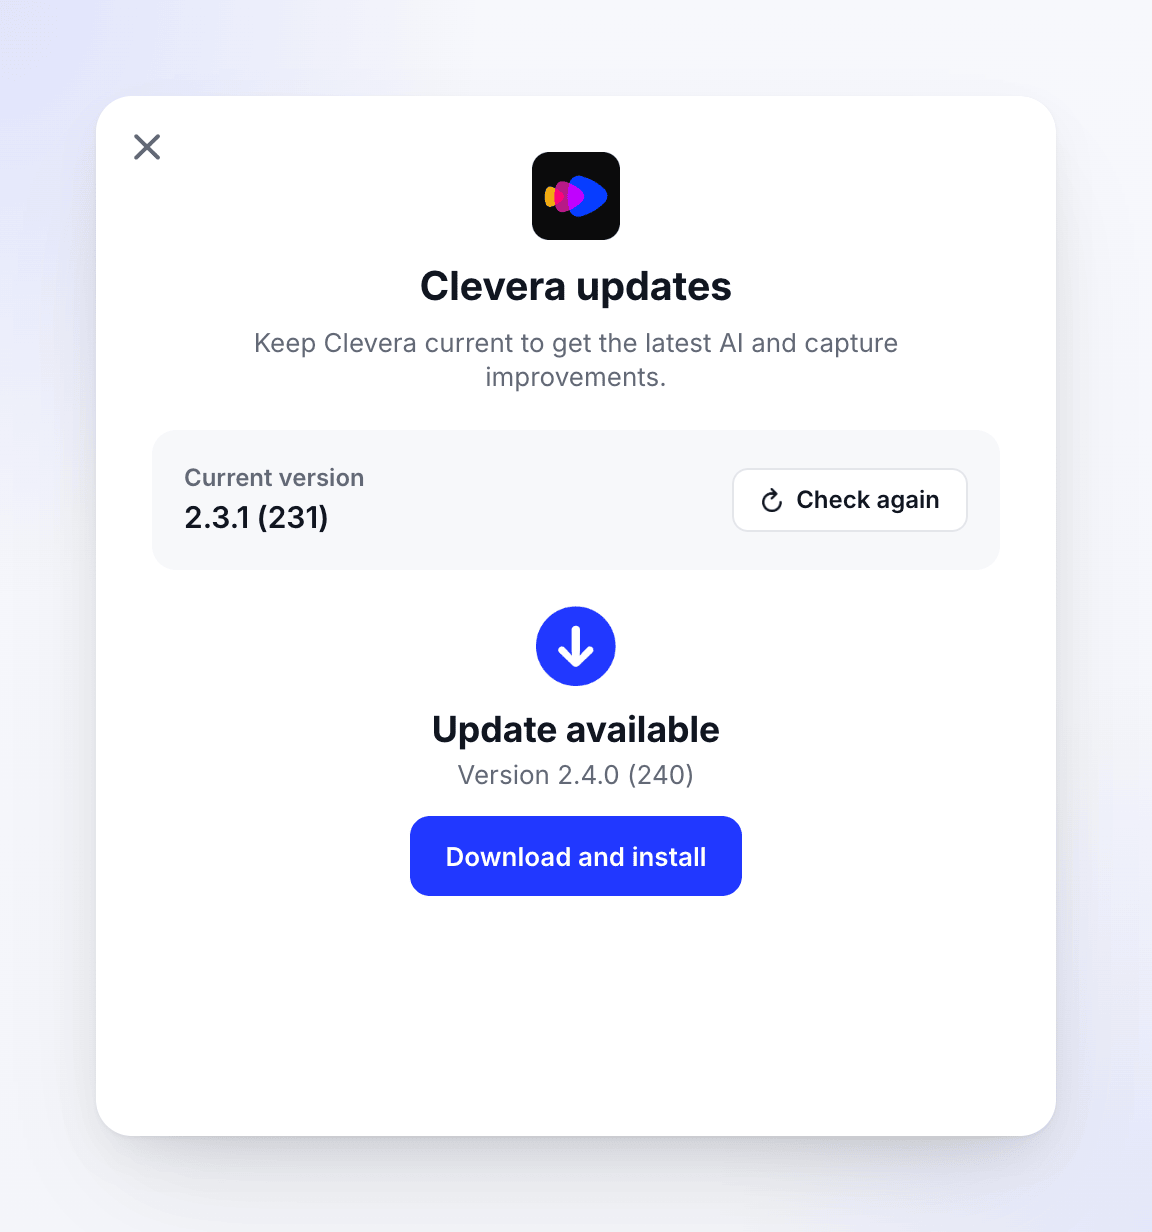
| When you choose Check for updates... | The Clevera updates window shows Update available. |
If Clevera can't reach the update server, it doesn't block you on the app side, but you still need a connection to start a recording.
The Windows app checks a few seconds after it opens (at most once a day), but it doesn't show an alert when it finds an update. To see whether one is waiting, open Clevera updates yourself:
- Right-click the Clevera icon in the notification area (system tray) → Check for updates.
- Or open the recording window → More → Check for updates....
Check every week or so, and always when a recording won't start.
Update the app
Open Clevera updates
On a Mac, click Update Now in either alert. On either platform you can open the recording window and click More → Check for updates... (on a Mac, also the Clevera menu → Check for updates...; on Windows, also the tray icon → Check for updates).
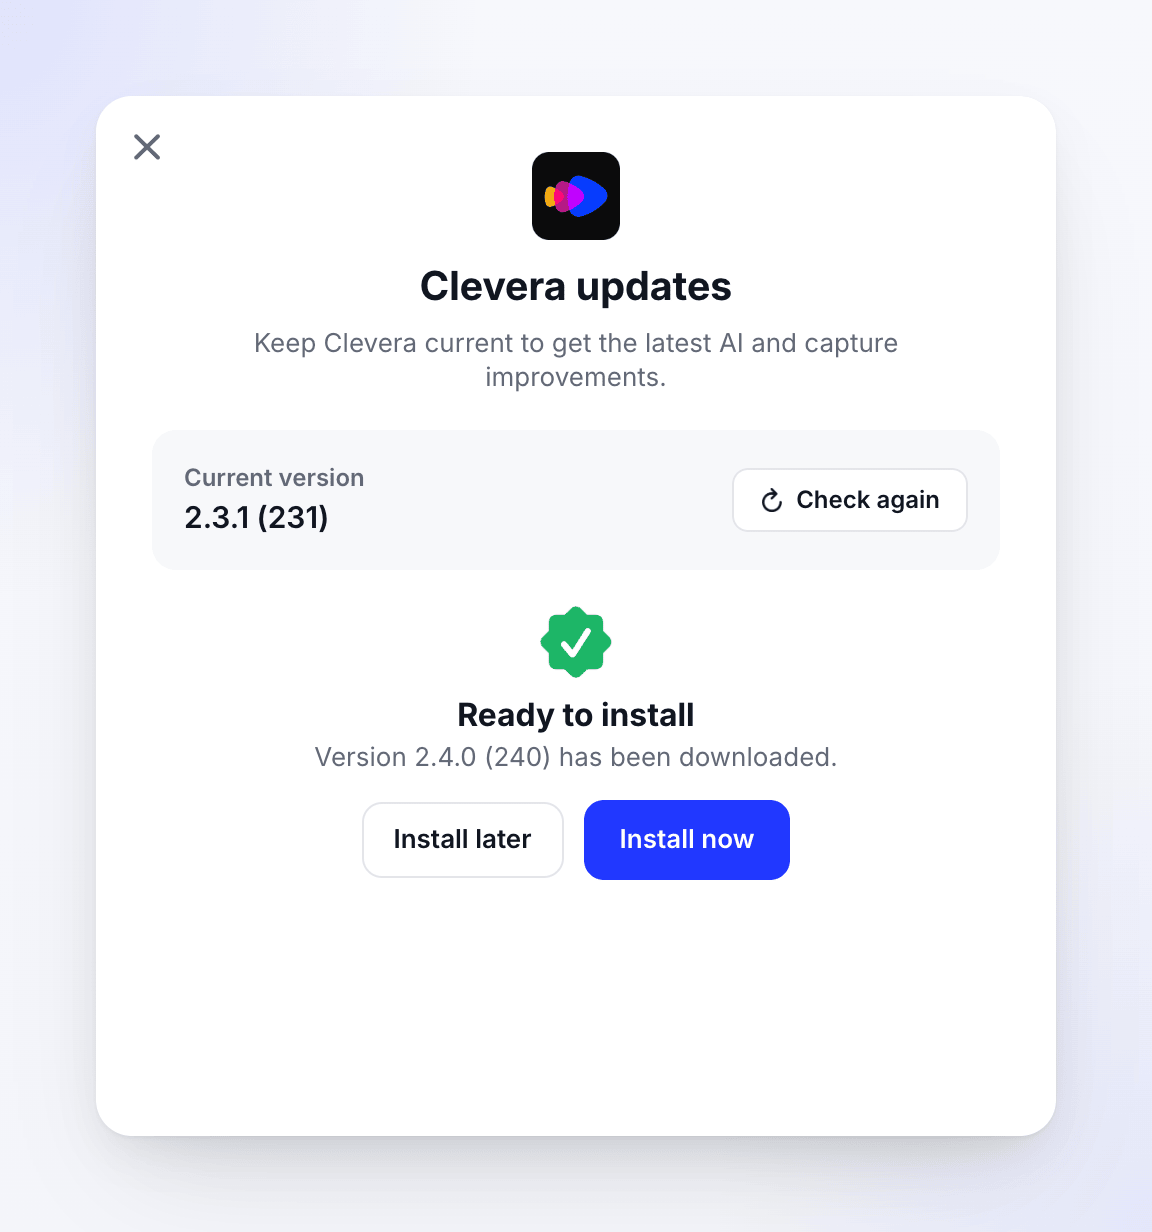
The Clevera updates window shows your Current version and checks automatically. Click Check again to re-check.
Download the update
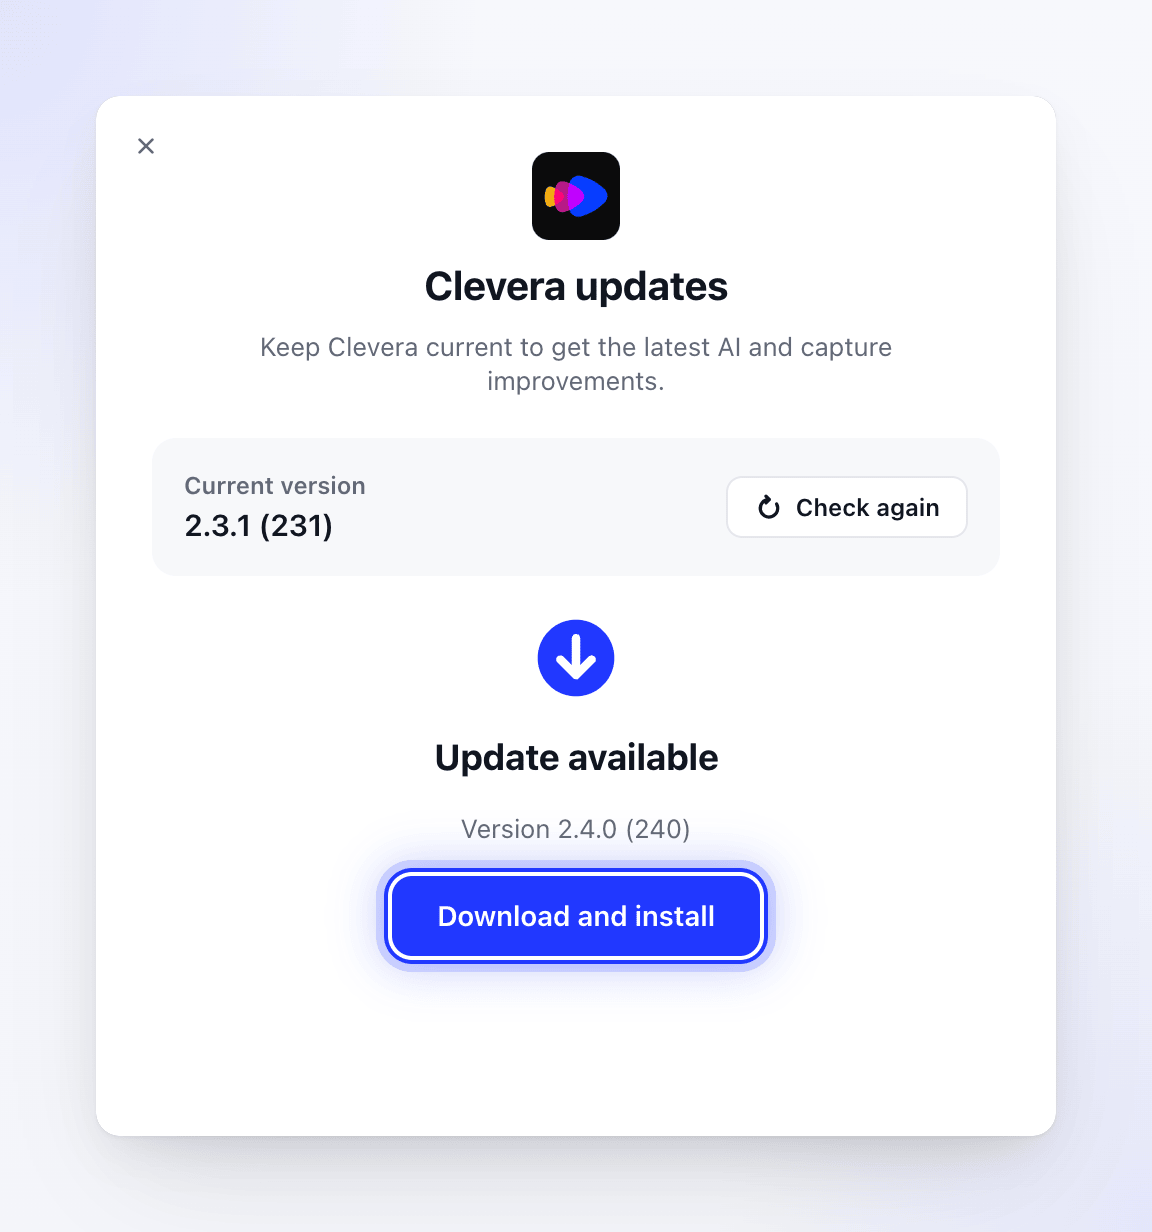
If a new version is available, you see Update available with its version number. Click Download and install. The window shows Downloading update and how far along it is.
Install it
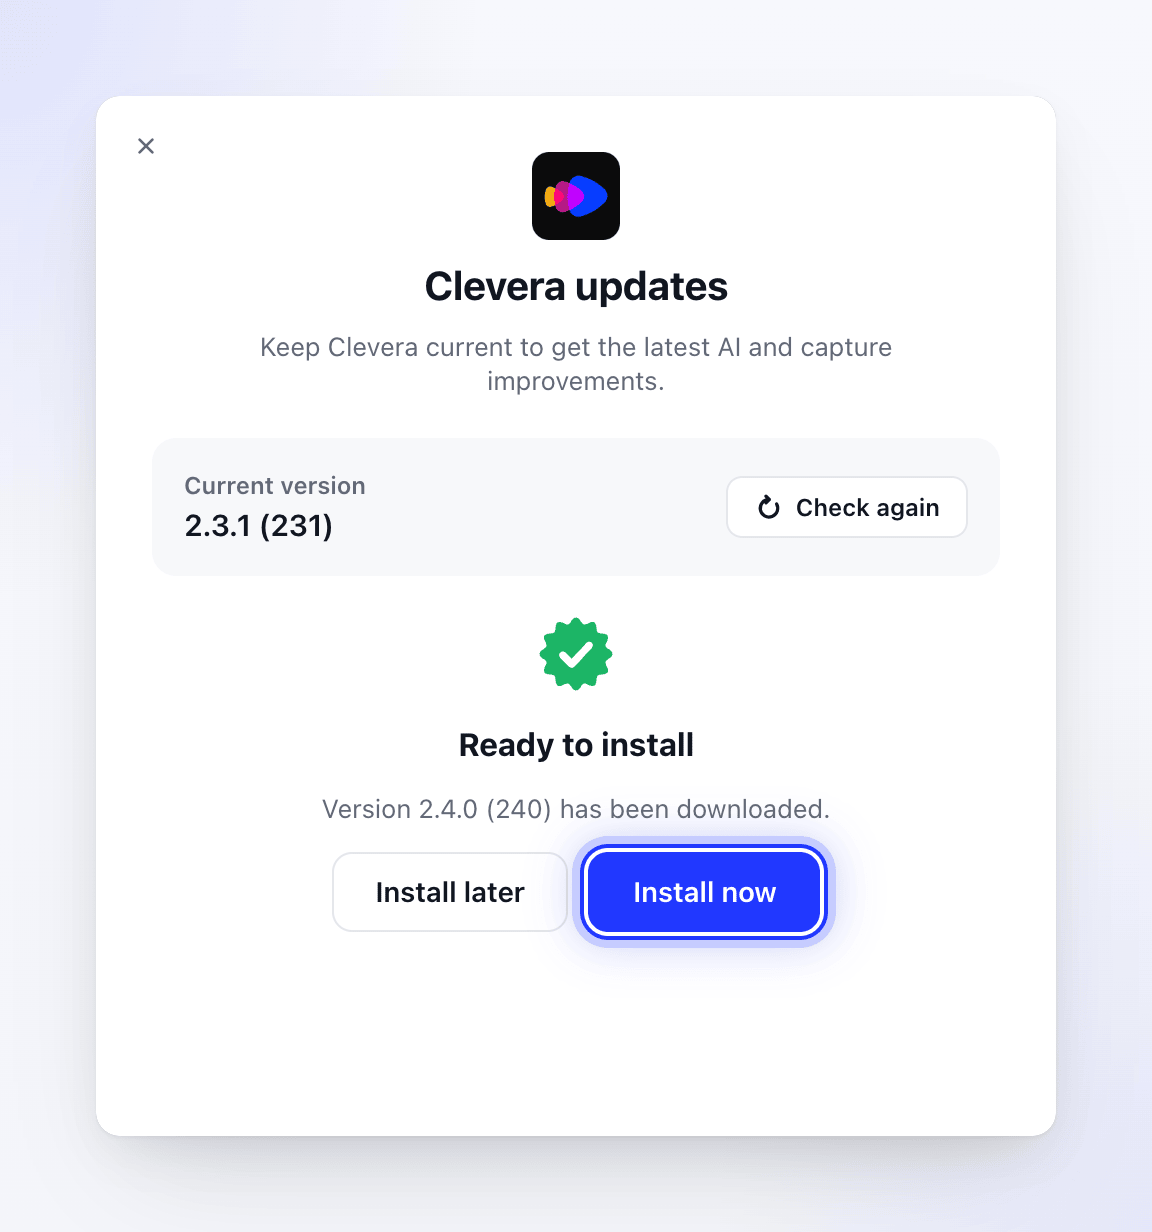
When the download finishes, you see Ready to install. Click Install now, or Install later to keep working and install from this window later.
Let Clevera restart
The window shows Installing update — "Clevera will restart automatically when the install finishes." Clevera closes, installs the new version and opens again. On Windows the installer runs in the background without any windows.
If Clevera is already current, the window says You're up to date — "Clevera will keep checking in the background."
What the update does
- Downloads the new version to your Downloads folder as
Clevera-Update.dmg. - Replaces Clevera in your Applications folder, keeping a backup until the install succeeds.
- Restarts Clevera.
Your settings, shortcuts, speaker notes, sign-in and macOS permissions carry over. If macOS asks for a permission again after an update, see Grant the permissions Clevera needs to record.
- Downloads the new installer to
%TEMP%\Clevera. - Closes Clevera and installs the new version over the old one in
%LOCALAPPDATA%\Programs\Clevera. No administrator rights are needed. - Opens Clevera again.
Your settings, shortcuts, speaker notes and sign-in carry over.
If an update fails
The window shows Update failed with a Try again button.
| Message | What to do |
|---|---|
| "Network connection failed" | Check your internet connection and click Try again. |
| "Failed to download update" | Click Try again. If it keeps failing, try another network. |
| "Failed to mount DMG: …" | Delete Clevera-Update.dmg from your Downloads folder and try again. |
| "Failed to copy new app: …" | Make sure your Mac user can change apps in the Applications folder, then try again. |
| "Current app not found at expected location: …" | Clevera isn't running from the Applications folder. Install it there (see below). |
The window says "We could not complete the update. Please try again." Click Try again. If it keeps failing, try another network, or update by hand (below).
Update by hand
If the in-app update keeps failing, install the latest version over the top:
- Quit Clevera.
- Download the latest version from
https://app.clevera.ai/download/app/mac. - Open the disk image and drag Clevera onto Applications. Choose Replace when asked.
- Open Clevera.
@tab Windows
- Quit Clevera: right-click the tray icon → Quit.
- Download the latest version from
https://app.clevera.ai/download/app/windows. - Open the ZIP file and run
CleveraSetup-<version>.exe. - Open Clevera.
Your settings and sign-in are kept.