

Find your recording after it uploads
What happens after you stop a desktop recording: the upload window, where the recording opens in Clevera, processing, the 60-minute limit, and what to do if the upload fails.
Clevera uploads your recording while you record, so when you click Stop there's usually only a little left to send. A moment later your browser opens Clevera with the recording ready to turn into a video or an article. This article covers the upload window, where your recording appears, and what to do if an upload fails.
How the upload works
- While you record, the screen video and the AI's helper video are sent to Clevera in small pieces. On a Mac your camera video is sent this way too; on Windows it's sent when you stop. If a piece fails, Clevera retries it, and short network drops don't stop the recording.
- When you click Stop, Clevera sends the rest: the last pieces of video, your microphone and system audio, and the record of your clicks and keystrokes.
- When the upload finishes, Clevera opens the recording in your default browser.
You need an internet connection for the whole recording. Clevera can't start a recording offline.
The upload window
After you click Stop, the Recording upload window appears near the bottom of your screen with a percentage, the upload speed and a progress bar. The status line moves through these steps:
- "Getting your recording ready..."
- "Clevera is preparing your recording..."
- "Reading recording metadata..."
- "Organizing event timeline..."
- "Uploading companion data..."
- "Uploading main video...", then "Uploading recording..." while the rest of the video goes up
- "Finalising your recording..."
- "Your recording is ready! Opening Clevera Editor..."
The window closes by itself a couple of seconds after "Your recording is ready!".
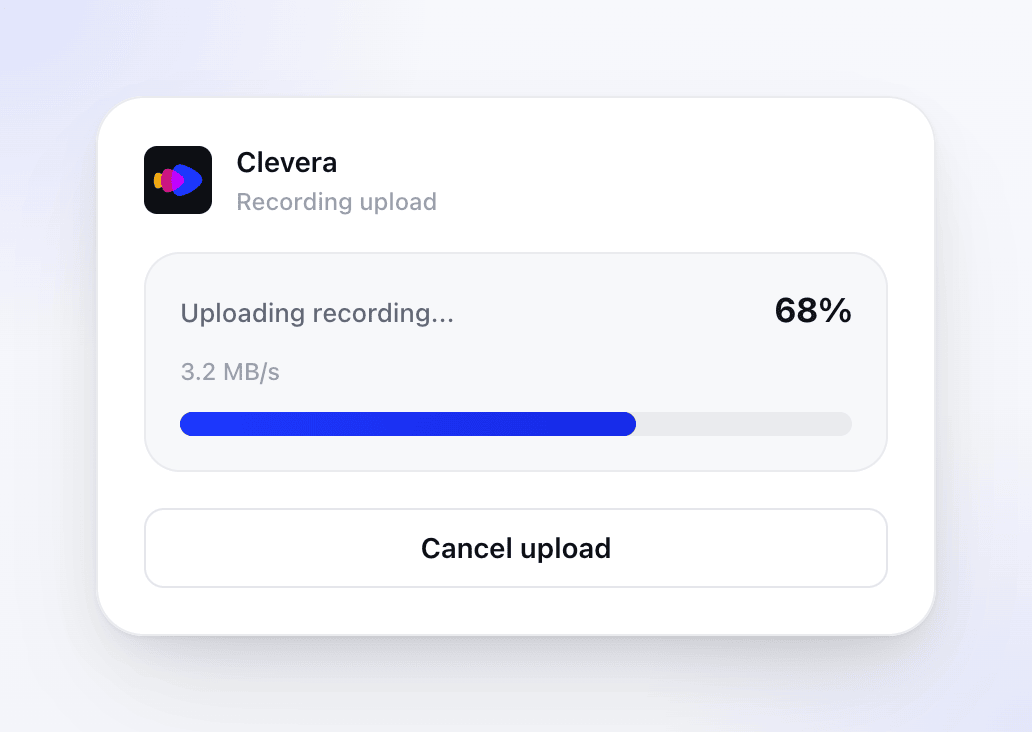
If the network is slow for a while, a Slow upload detected banner appears: "Your recording is still uploading, but the network is slower than usual. Clevera will keep working until it finishes." You don't need to do anything; keep the app open.
After you click Stop, a window titled Uploading Recording... shows a status line and a progress bar. It doesn't show a percentage or the upload speed, and there's no slow-upload warning, so give a long recording time to finish. Cancel stops the upload.
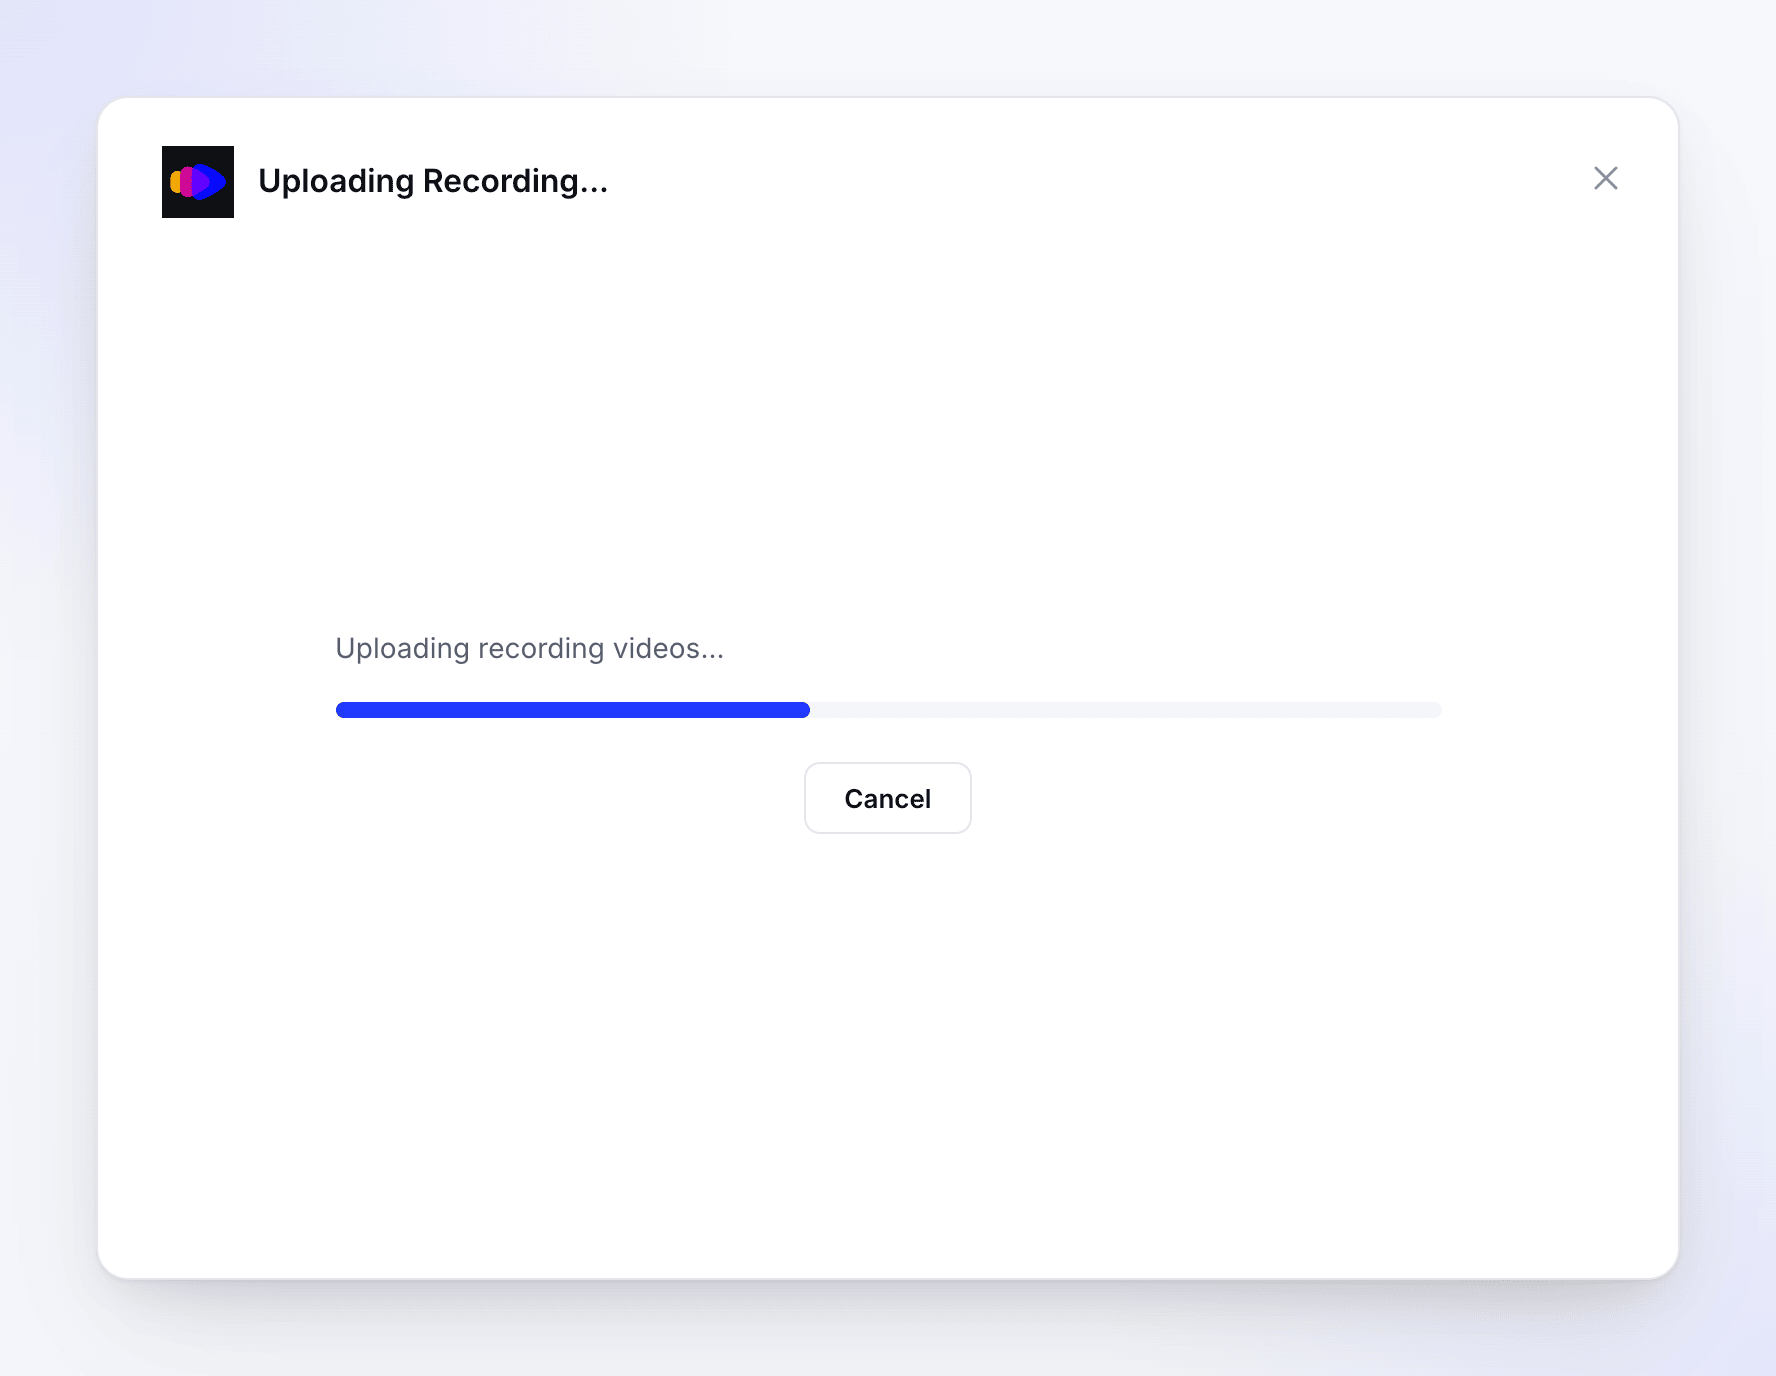
When it's done, the window says Upload Complete — "Your recording has been uploaded successfully." — opens the recording in your browser and closes about 1.5 seconds later.
Where your recording opens
When the upload is done, your browser opens the Create page of the workspace you recorded into. At the top, a strip shows your recording's title and length, and the page asks What do you want to make from this recording?
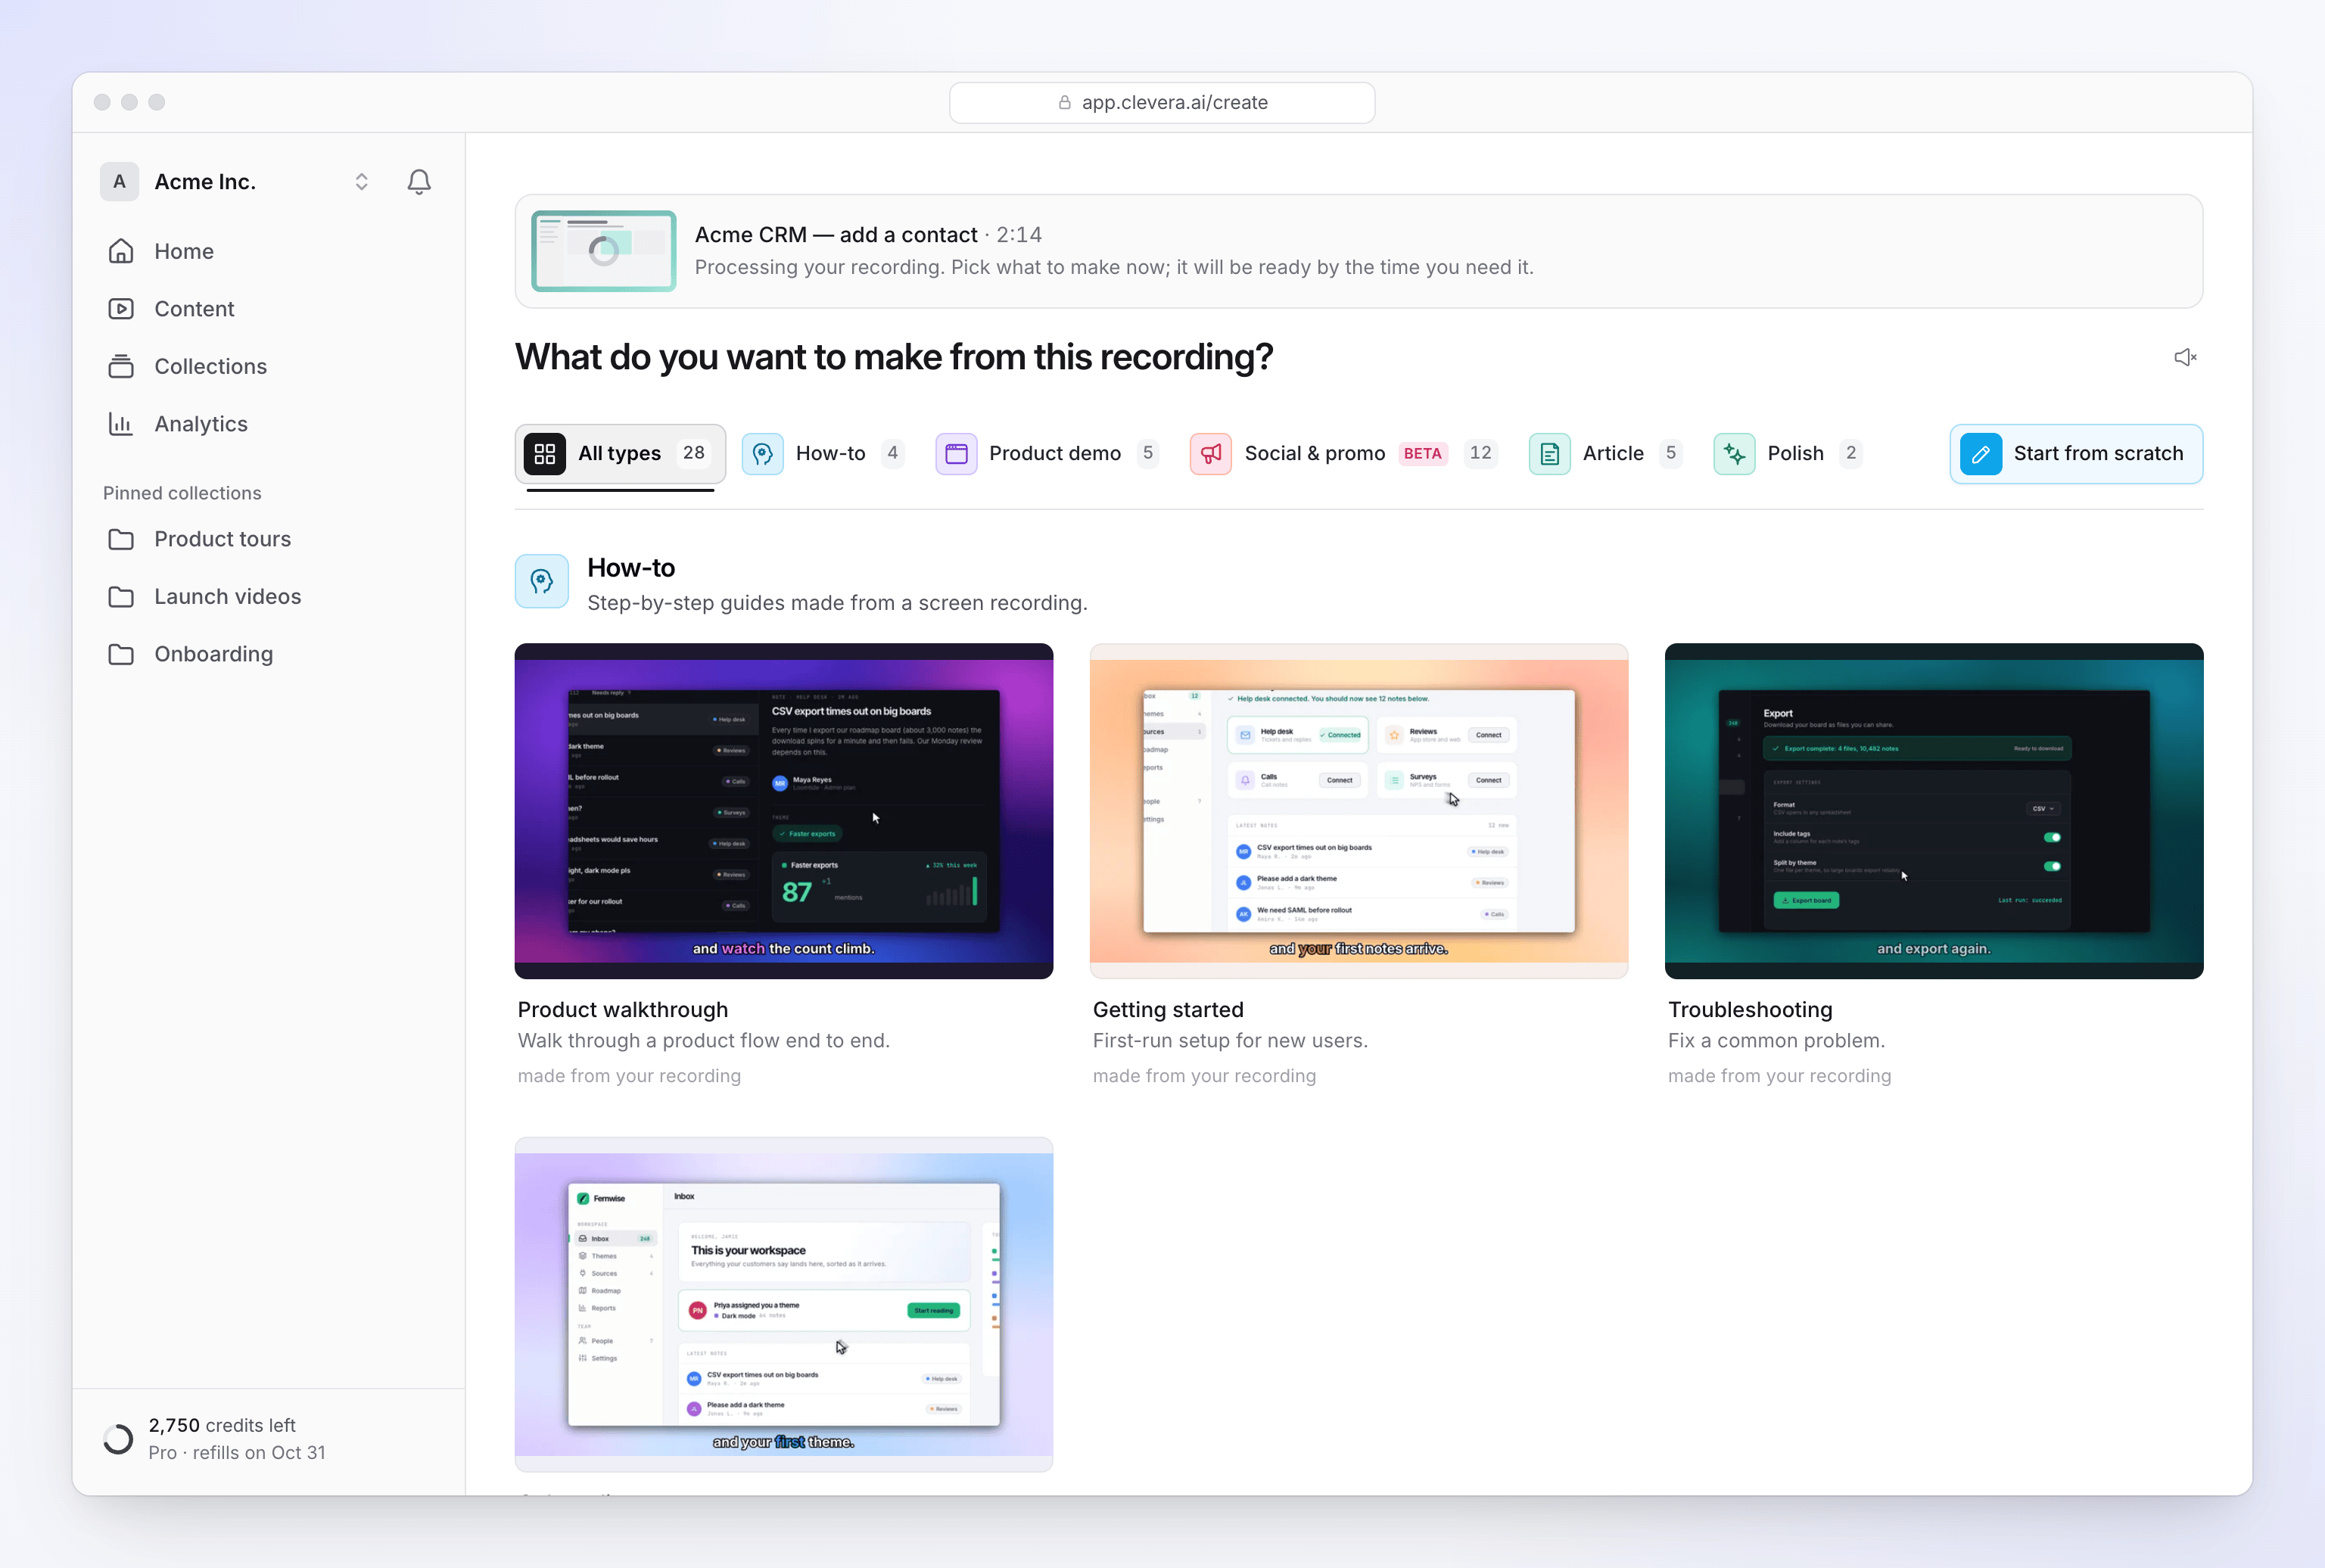
- While Clevera is still processing the recording, the strip says "Processing your recording. Pick what to make now; it will be ready by the time you need it." You can pick a video type and start on the brief straight away.
- When processing is done, click the thumbnail or Watch to play the recording.
- If processing failed, the strip says "This recording couldn't be processed. You can still make something without it." Record again or upload the video instead.
Processing usually takes a few minutes, longer for long recordings. Behind the scenes Clevera prepares the video for smooth editing, makes a thumbnail, extracts the audio and builds the cursor track it uses for zooms.
Find a recording later
Recordings stay in your workspace's library while you use them:
- In Compose, click + and choose Choose from library. Filter by macOS or Windows to see only desktop recordings.
- Or open the Recordings page (search for "Recordings"). It lists your recordings newest first; search by title, or sort by Date created or Duration. It has no source filter: to see only desktop recordings, use the library in Compose.
You can't delete a recording yourself. Clevera deletes it automatically once no video uses it and 15 days have passed, so make something from a recording you want to keep. See When recordings are deleted.
Recordings are saved to the workspace that was selected on the web when you started recording. If you can't find one, switch workspaces. See Sign in to the desktop app.
Limits
| Limit | Value |
|---|---|
| Recommended length | Under 30 minutes |
| Recording length | 1 second to 60 minutes |
| File size | Up to 5 GB per video file |
| Upload a video instead of recording | MP4, up to 250 MB |
If the upload fails
The status changes to "We hit a snag while preparing your recap" and a panel Upload needs your attention shows the error and tips:
- Switch to a different Wi-Fi or cellular network
- Toggle your VPN or DNS settings (off and then on)
- Check if you have any active firewall blocking Clevera
- If you're on a corporate network, try using a hotspot
- Check if you have sufficient disk space for temporary files
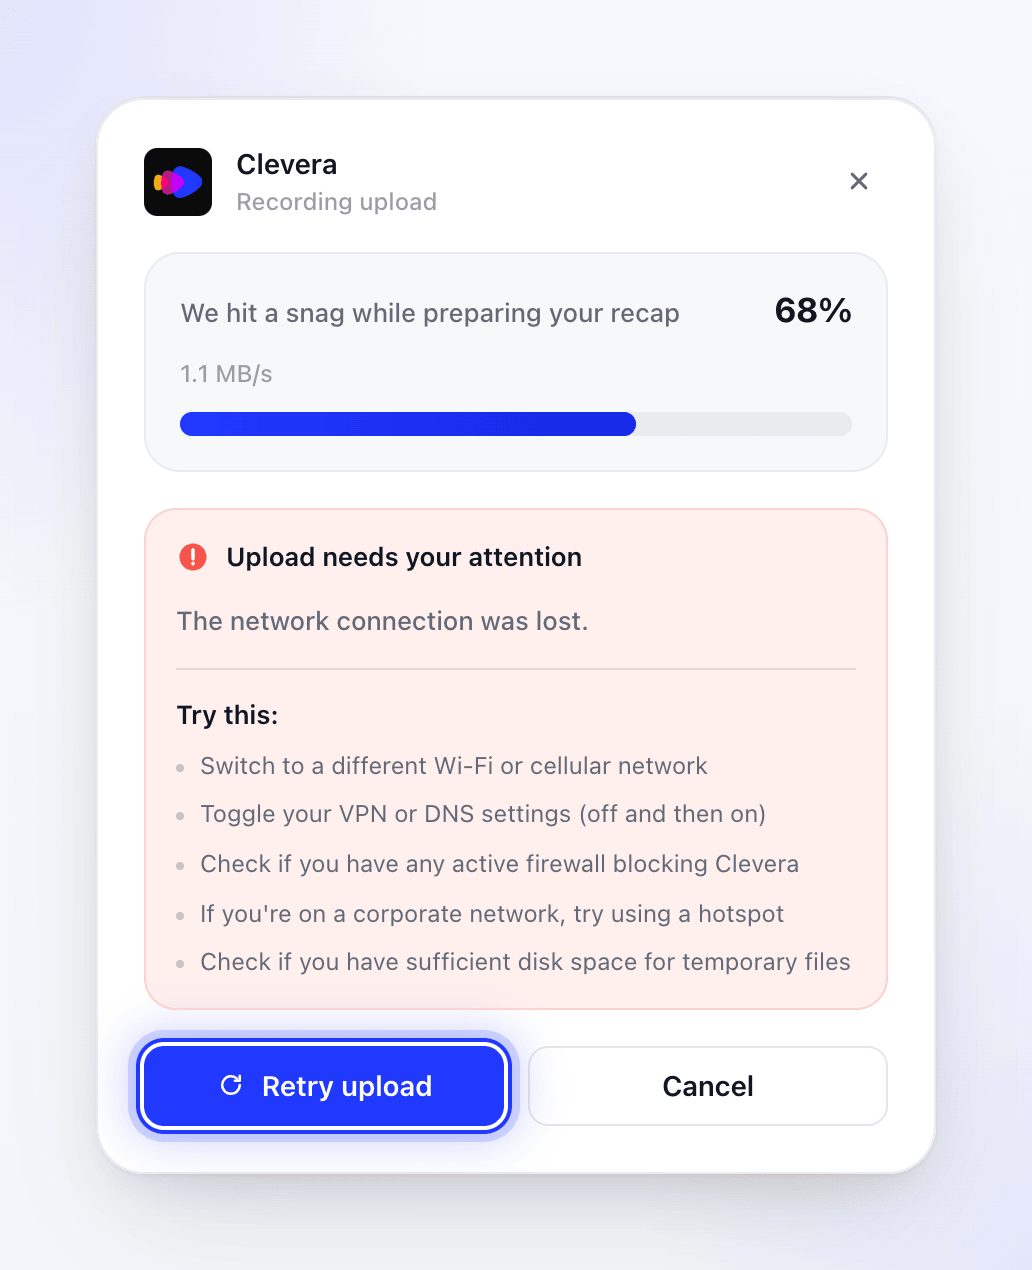
Fix what you can, then click Retry upload. Clevera re-sends the recording from the temporary files on your computer. You can retry as many times as you need.
Other messages:
| Message | What to do |
|---|---|
| "Failed to complete recording: …" — "The recording was captured but couldn't be processed. Please try again." | Click Retry upload. If it fails again, record again. |
| "Microphone audio file is empty or incomplete …" | The microphone stopped delivering sound during the recording. Check the microphone and record again. |
| "File operation failed: …" | Free up disk space and try again. |
The window changes to Upload Failed — "Something went wrong during the upload." — with the error underneath and two buttons:
- Try Recording Again re-sends the same recording. You don't record anything again. You can click it as many times as you need.
- Close gives up on the upload. The recording doesn't reach Clevera.
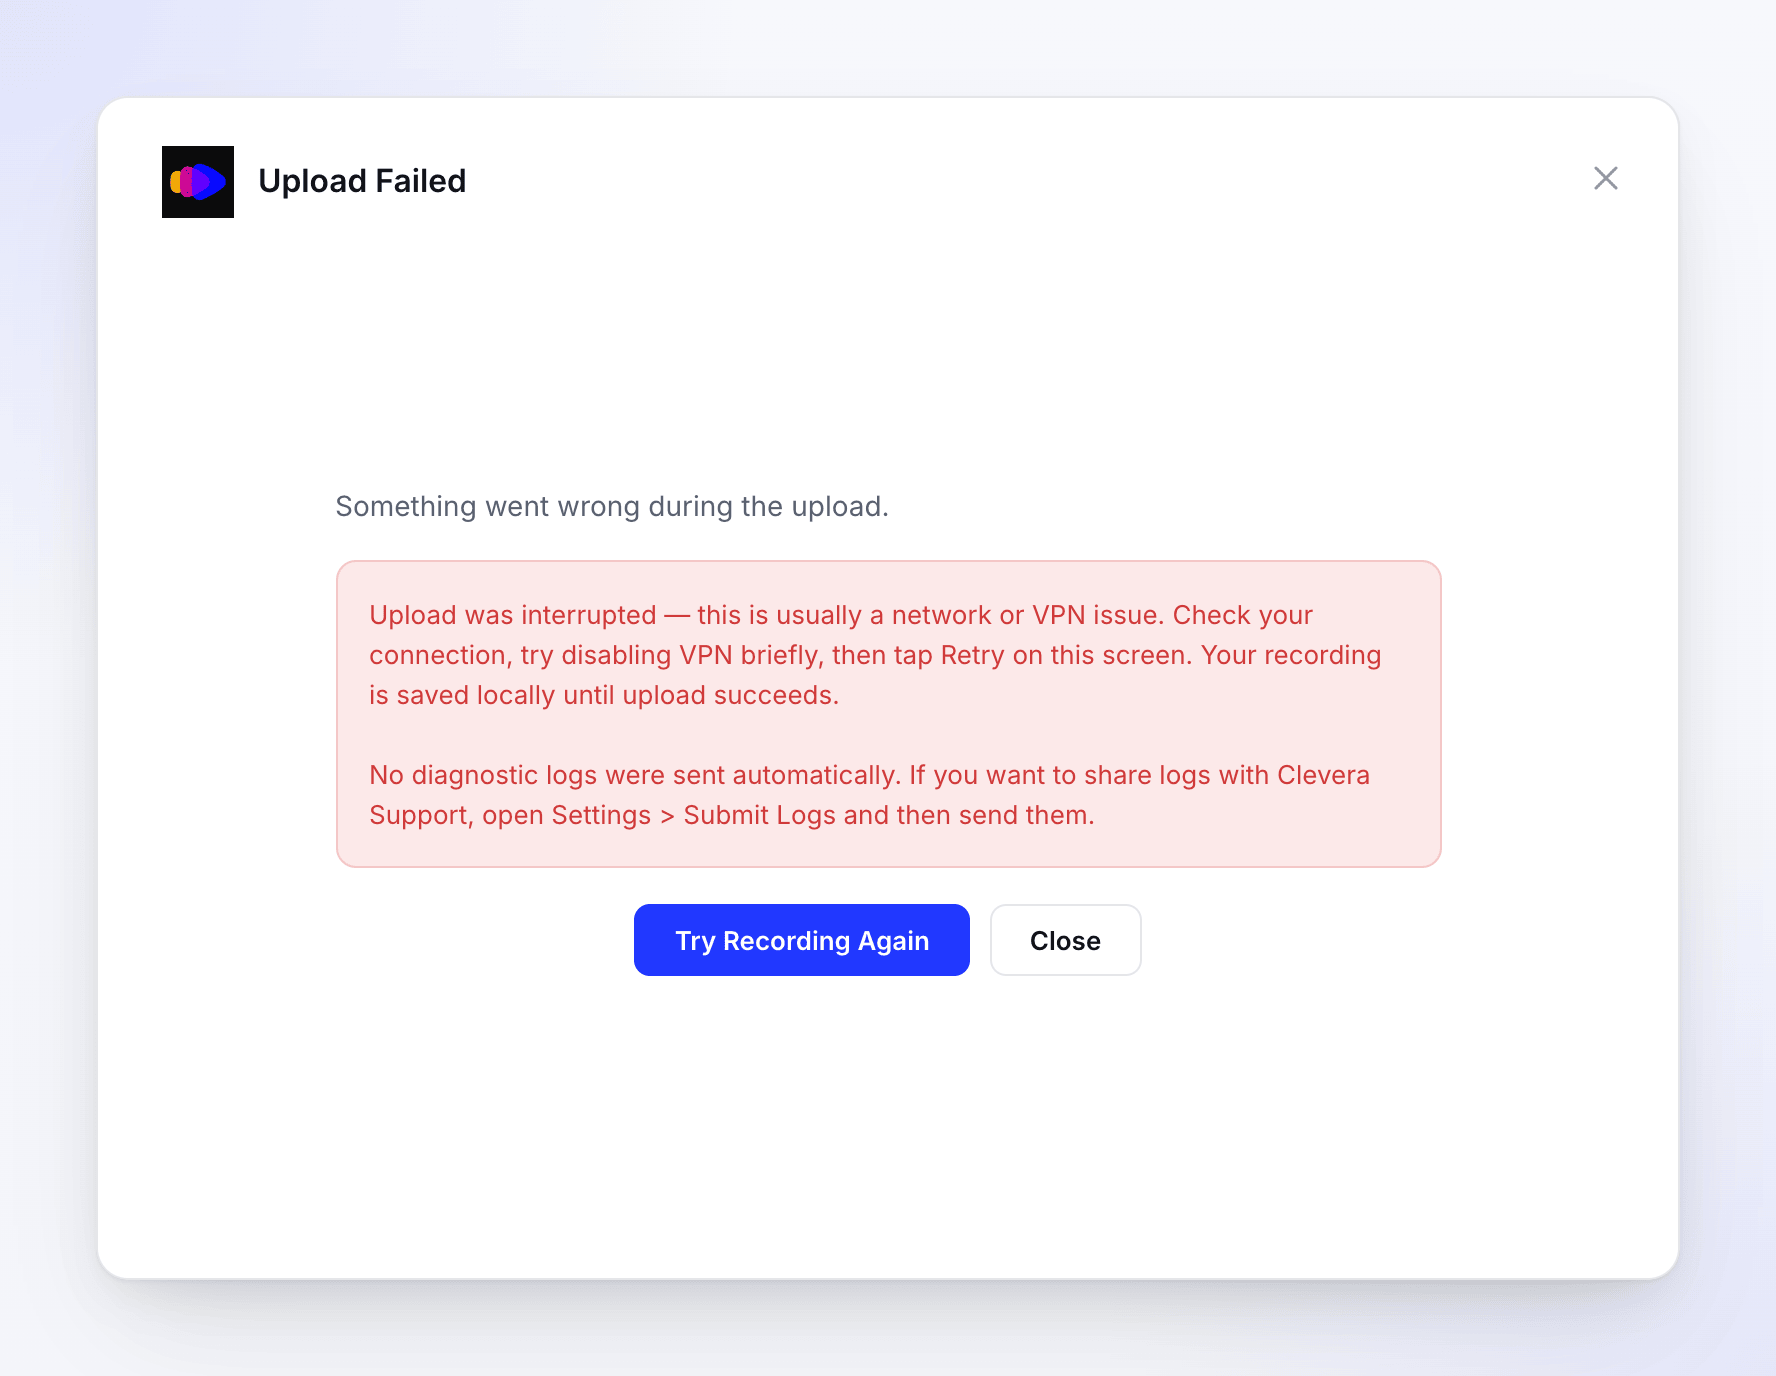
The error text can say "tap Retry on this screen" or point you to Settings > Submit Logs. The button is Try Recording Again, and you send logs from the tray icon or More → Submit logs.
| Message | What to do |
|---|---|
| "Upload was interrupted — this is usually a network or VPN issue. … Your recording is saved locally until upload succeeds." | Check your connection, turn off your VPN for a moment, then click Try Recording Again. Keep Clevera open: the recording is only kept until you close the window or quit. |
| "Clevera could not detect enough interactions in this recording …" | The recording had no clicks, key presses, scrolls or drags. Record again and click at least once. |
| "Clevera needs permission to complete this recording." | Open More → Permissions, allow what's missing and record again. |
| "We could not finish this recording. Please try recording again." | Click Try Recording Again. If it fails again, record again and submit your logs. |
For more help, see My recording didn't upload.