

Draw a zoom and pan path
Make a zoom go exactly where you want: Auto vs Advanced, the Zoom & pan window, points, Smooth, Magnetic and Snap motion, limits, and a worked example.
A zoom normally follows your cursor on its own. When you want the camera to go somewhere specific instead, for example from a menu to the panel it opens, switch the zoom to Advanced and draw its path in the Zoom & pan window. This article explains how a path works, step by step, with a worked example.
Before you start
- Zoom paths are in how-to videos, product demos and Polish videos, in the Zoom tab. Social clips plan their camera per scene; see Edit a social clip.
- You need an existing zoom. To add one, see Adjust zooms and camera moves.
- Drawing paths is free.
Auto or Advanced
Every zoom has a Style:
| Auto | Advanced | |
|---|---|---|
| Tooltip | "Follows the cursor (or the focus point)" | "Your own zoom and pan path" |
| Where the camera looks | Follows your cursor. In a video without cursor data (an uploaded file), it goes to the Focus point you set. | Wherever you place each point |
| How close | One Level for the whole zoom (1.1×–4×, default 1.5×) | A Zoom per point (1.1×–4×) |
| How it starts | Zoom in: Smooth ("Eases in") or Instant ("Cuts straight to the zoom") | Set by Motion (below) |
| Where you edit it | The zoom's row in the Zoom tab | The Zoom & pan window, from Edit path… |
| In the zoom list | "1.5× · 5.0s" | "Path · 6.5s" |
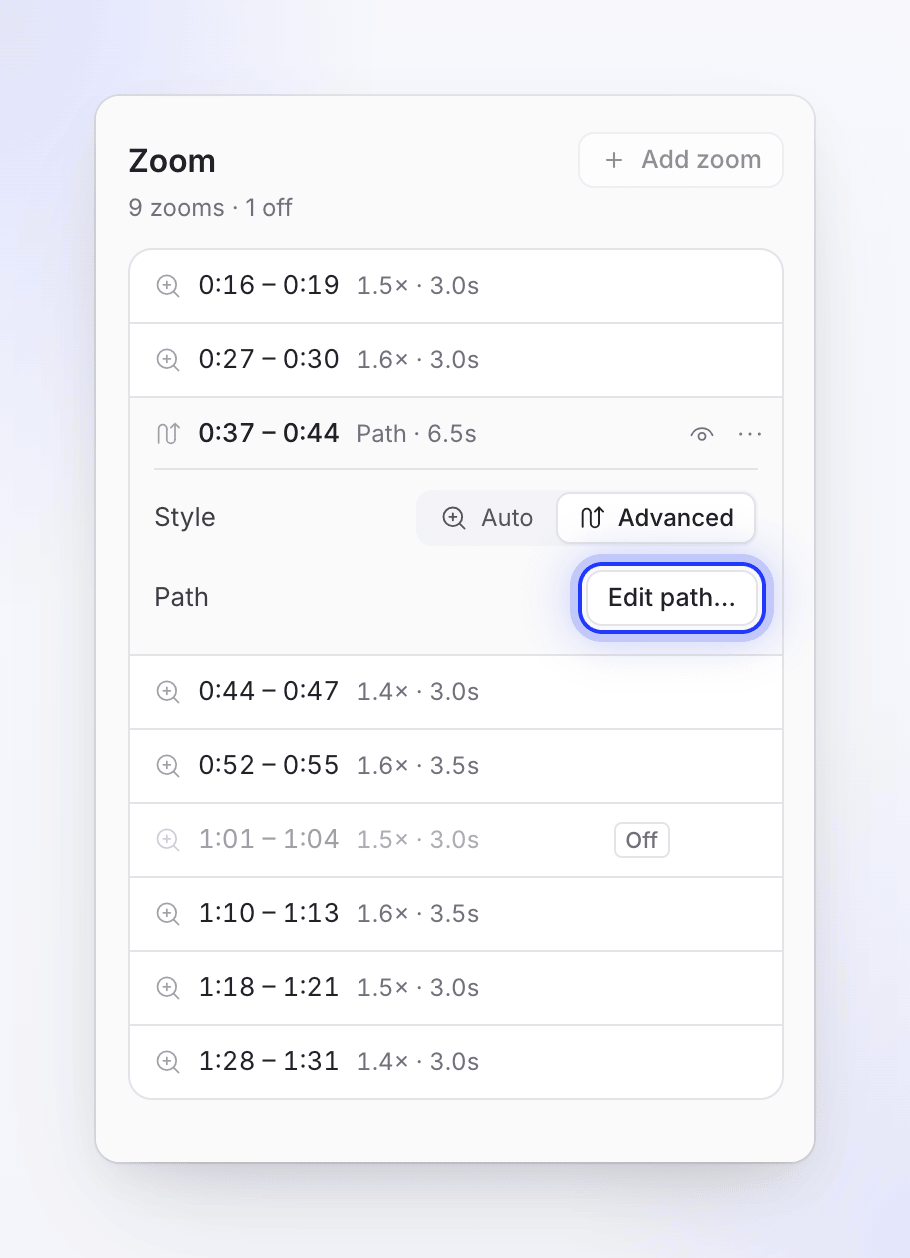
Pick Auto when the cursor already points at what matters. Pick Advanced when the cursor wanders, sits still while the screen changes elsewhere, or the viewer should look at something the cursor never touches.
How a path works
A path is a list of points on the zoom's own little timeline. Each point says where the camera looks and how close, from that moment on.
zoom starts                                              zoom ends
│◆ Zoom in ──────── ◆ Point ─────────── ◆ Point ──── Zoom out│
│ camera lands here  travels, then holds  travels, holds  back to full view
- Zoom in: the first diamond, where the camera lands. It's always at the start, and it can't be deleted.
- Points: the camera travels to each one and holds there until the next.
- Zoom out: starts after the last point, on its own. It returns to the full frame from wherever the last point was.
The window's side column repeats this as How the path works whenever no point is selected.
Draw a path
Switch the zoom to Advanced
In the Zoom tab, open the zoom's row, set Style to Advanced, and click Edit path…. You can also choose Edit path… from the zoom's ⋯ menu once it's Advanced.
Start from what you saw
The first time, the path isn't empty: Clevera turns the camera the Auto zoom already played into points (up to 8, wherever the camera came to rest), so you start from a familiar version.
Set where the camera lands
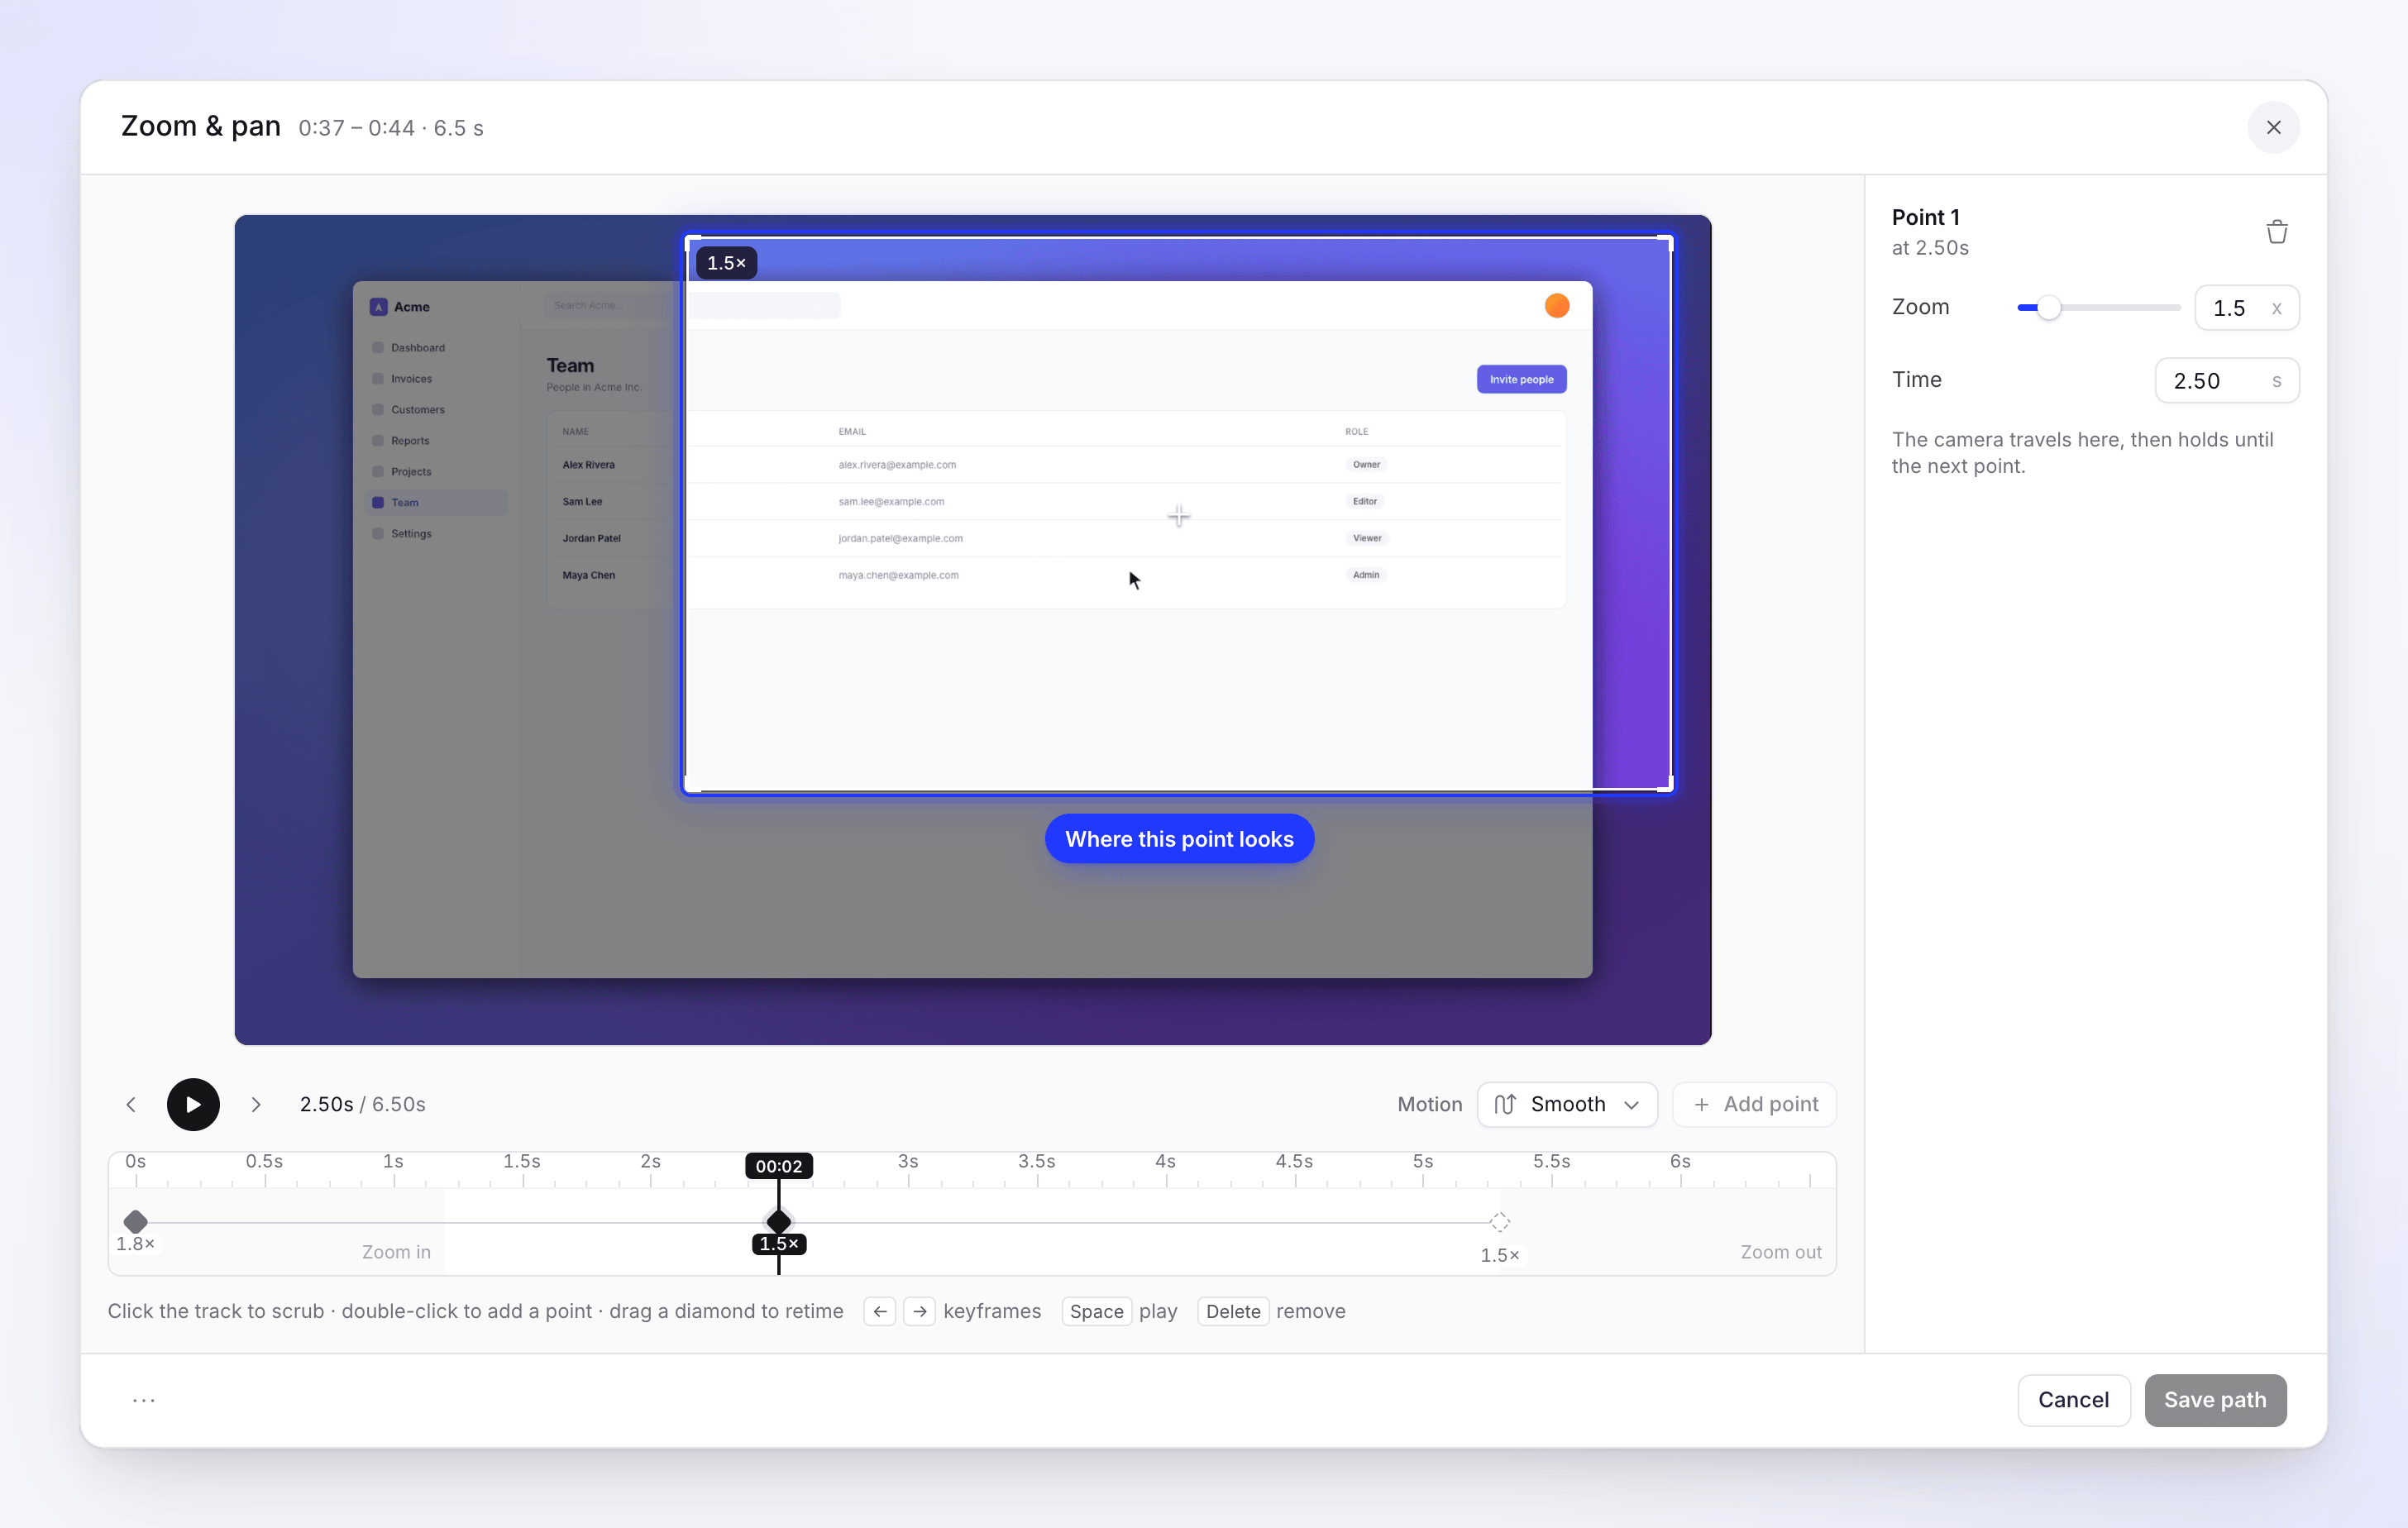
Select the first diamond (Zoom in). A frame appears on the video. Drag it to where the camera should look, and set Zoom in the side column.
Add points
Move the playhead along the track, then click Add point (Add a point at the playhead), or double-click the track. Drag the new point's frame on the video, and set its Zoom and Time (in seconds within the zoom).
Choose the motion
Next to Motion, pick how the camera travels between points.
Check and save
Click Play the path (or press Space), adjust, then click Save path.
Motion styles
| Style | Description | How it moves |
|---|---|---|
| Smooth (default) | "Even ease · 1.2 s" | Glides evenly from point to point |
| Magnetic | "Soft landing · 1.3 s" | Travels, then settles gently onto the point |
| Snap | "Cuts, no travel" | Jumps straight to each point, like a cut |
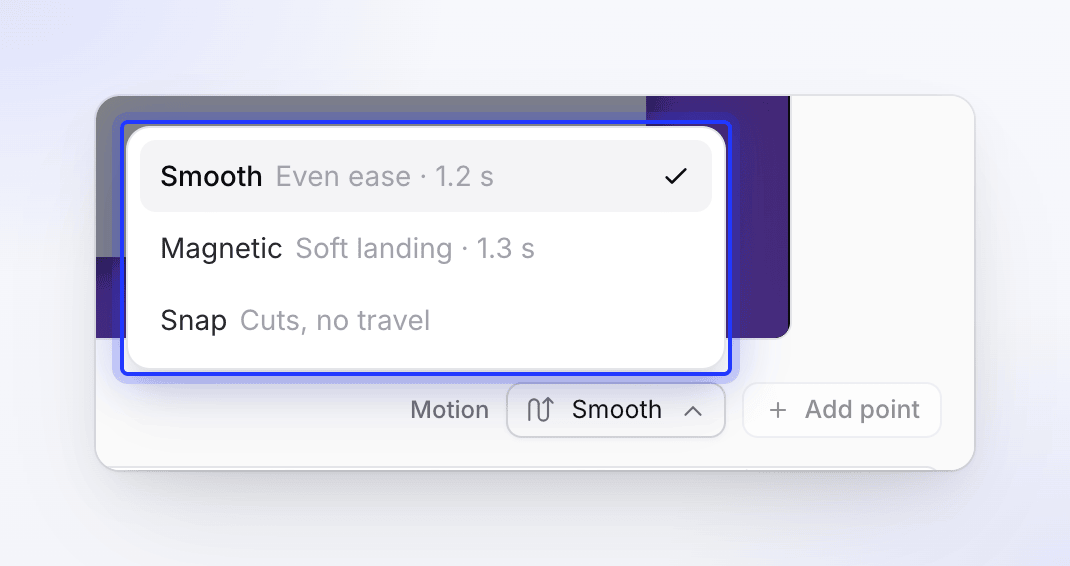
The style applies to the whole path, including the zoom in and the zoom out. With Snap, there's no zoom-in or zoom-out animation, so points can go right up to the start and end.
Edit points
| To | Do this |
|---|---|
| Select a point | Click its diamond, or press ← / → to move between points. The side column names it (Point 1, Point 2…) |
| Move it in time | Drag the diamond along the track, or type a new Time |
| Change where it looks | Drag the frame on the video |
| Change how close | Zoom slider or field (1.1×–4×) |
| Delete it | Delete this point in the side column, or press Delete. "The camera goes straight from the point before to the one after." |
| Start over | Path options (⋯) → Reset path |
Click the track to scrub it. The hint under it sums up: "Click the track to scrub · double-click to add a point · drag a diamond to retime".
Limits
| Limit | Value | What you see |
|---|---|---|
| Points per zoom | 20 | "Maximum 20 keyframes" |
| Space between points | At least 0.5 seconds | "Too close to another keyframe — move the playhead further away" |
| During the zoom-in animation | No points | "Keyframes cannot be added during the zoom-in animation" |
| During the zoom-out animation | No points | "Keyframes cannot be added during the zoom-out animation" |
The zoom-in and zoom-out animations take at most a third of the zoom each, so a short zoom leaves little room for points. Make the zoom longer on the timeline first if you need more.
Save, cancel and go back to Auto
- Save path saves it. The zoom's row now shows Path and the zoom's length.
- Cancel closes without saving. On a zoom that never had a saved path, Cancel also turns it back to Auto.
- To go back to following the cursor later, set Style to Auto in the zoom's row.
Worked example
In "Invite a teammate to Acme", zoom 3 runs from 0:42 to 0:50 while the narration says "Open Members, then fill in the invite form on the right." The cursor clicks Members on the left, then stays there while the form slides in on the right, so the Auto zoom stares at the menu.
- Open zoom 3, set Style to Advanced, click Edit path….
- Select Zoom in, drag its frame over the left menu, and set Zoom to 1.8×.
- Move the playhead to 2.5 s (when the form has appeared) and click Add point. Drag its frame over the form on the right; set Zoom to 1.5× so the whole form fits.
- Leave Motion on Smooth. Click Play the path: the camera lands on the menu, glides to the form at 2.5 s, holds, and zooms out at the end.
- Click Save path.