

Record your full screen, a display or an app
Record your whole screen, one of several displays or a single app with the Clevera desktop app: the recording window, the confirmation overlay, the countdown, and what happens when you stop.
The Clevera desktop app can record your entire screen, one display when you have several, or one app. This article walks through a full recording from the recording window to the upload. To record a single window or a part of the screen, see Record a window or a custom area.
Before you start
- Install the desktop app, sign in and grant the permissions.
- Make sure you're online. Clevera contacts your workspace when the recording starts and uploads it while you record.
- Make sure the app is up to date. An outdated app can't start a recording. See Update the desktop app.
- Close anything you don't want in the video: notifications, private tabs, chat windows.
The recording window
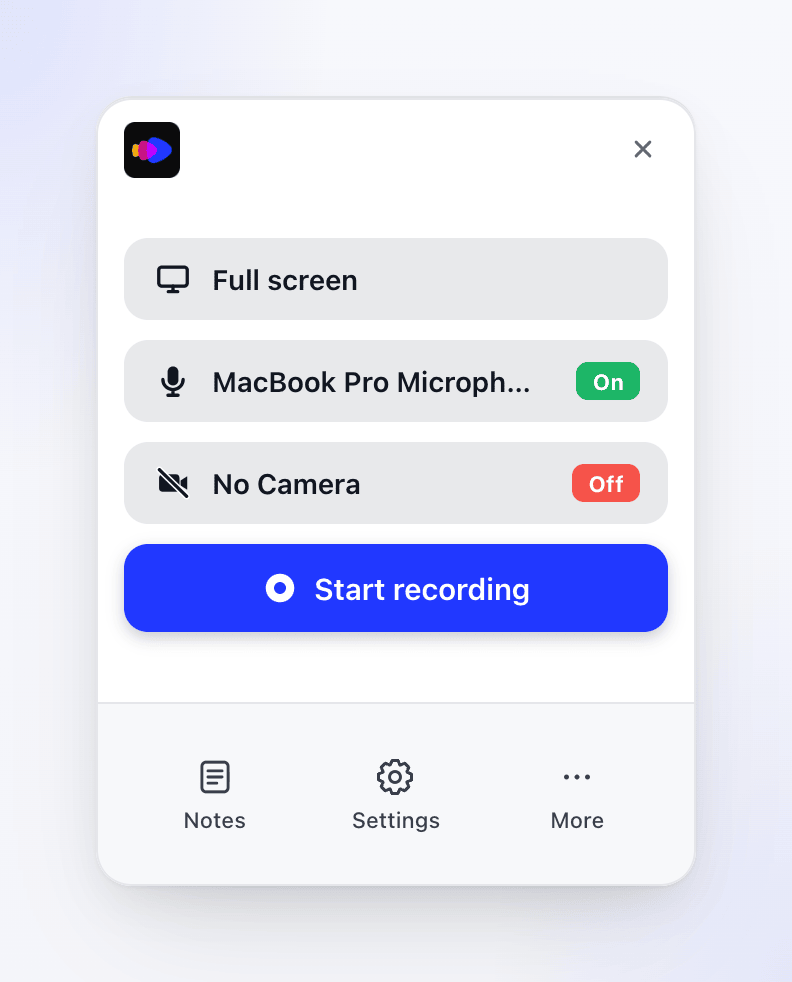
The recording window opens in the bottom-right corner of the screen your mouse is on. Click the Clevera logo at the top to open app.clevera.ai in your browser.
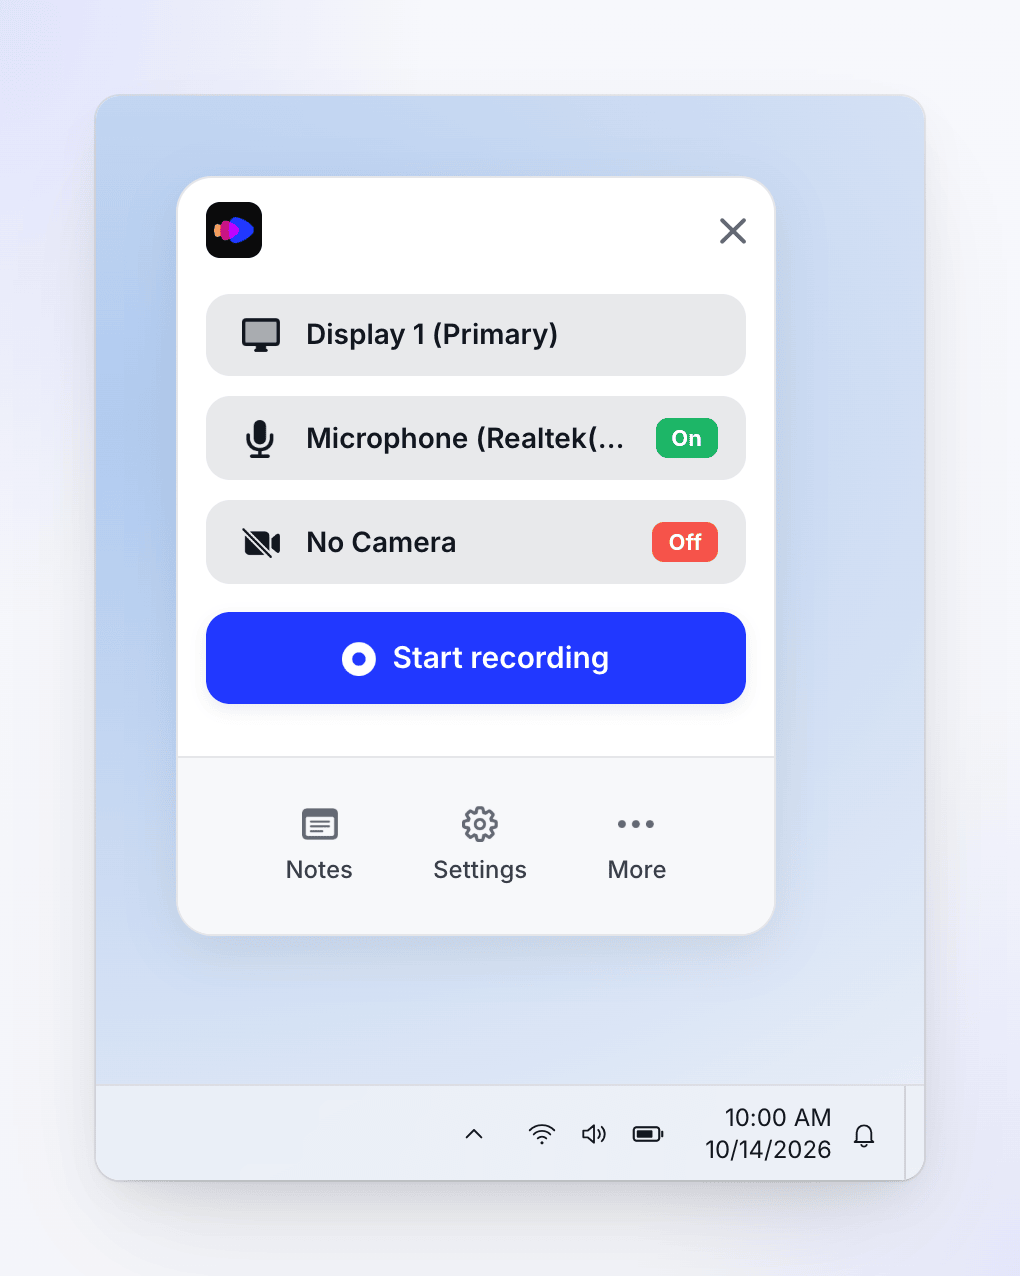
The recording window opens in the bottom-right corner of the screen your mouse is on, just above the taskbar. Open it from the Clevera icon in the notification area (system tray).
It's never captured in your recordings. From top to bottom:
| Part | What it does |
|---|---|
| ✕ | Closes the recording window. |
| What to record (shows Full screen on a new install) | Choose the full screen, a display, an app, a window or an area. |
| Microphone row | Choose a microphone or No Microphone. A green On or red Off chip shows the state. |
| Camera row | Choose a camera or No Camera. |
| Start recording | Starts the recording you set up. |
| Notes, Settings, More | Open speaker notes, settings and the More menu. |
Clevera remembers your last choice of target, microphone and camera. If the display or app you used last time isn't available anymore, it quietly switches back to Full screen.
Record your screen
Choose what to record
Click the top row of the recording window. Then:
- Full screen — with one display, click Full screen to record it. With several displays, click Full screen (or its Select link) and choose a display from the list. On Windows, your main display is marked (primary). The row then shows the display's name.
- An app — click Specific window, find the app in the list and click it. If the app has several windows, choose Any window. On a Mac, Clevera records the app's largest window. On Windows, it records the first window in the app's list.
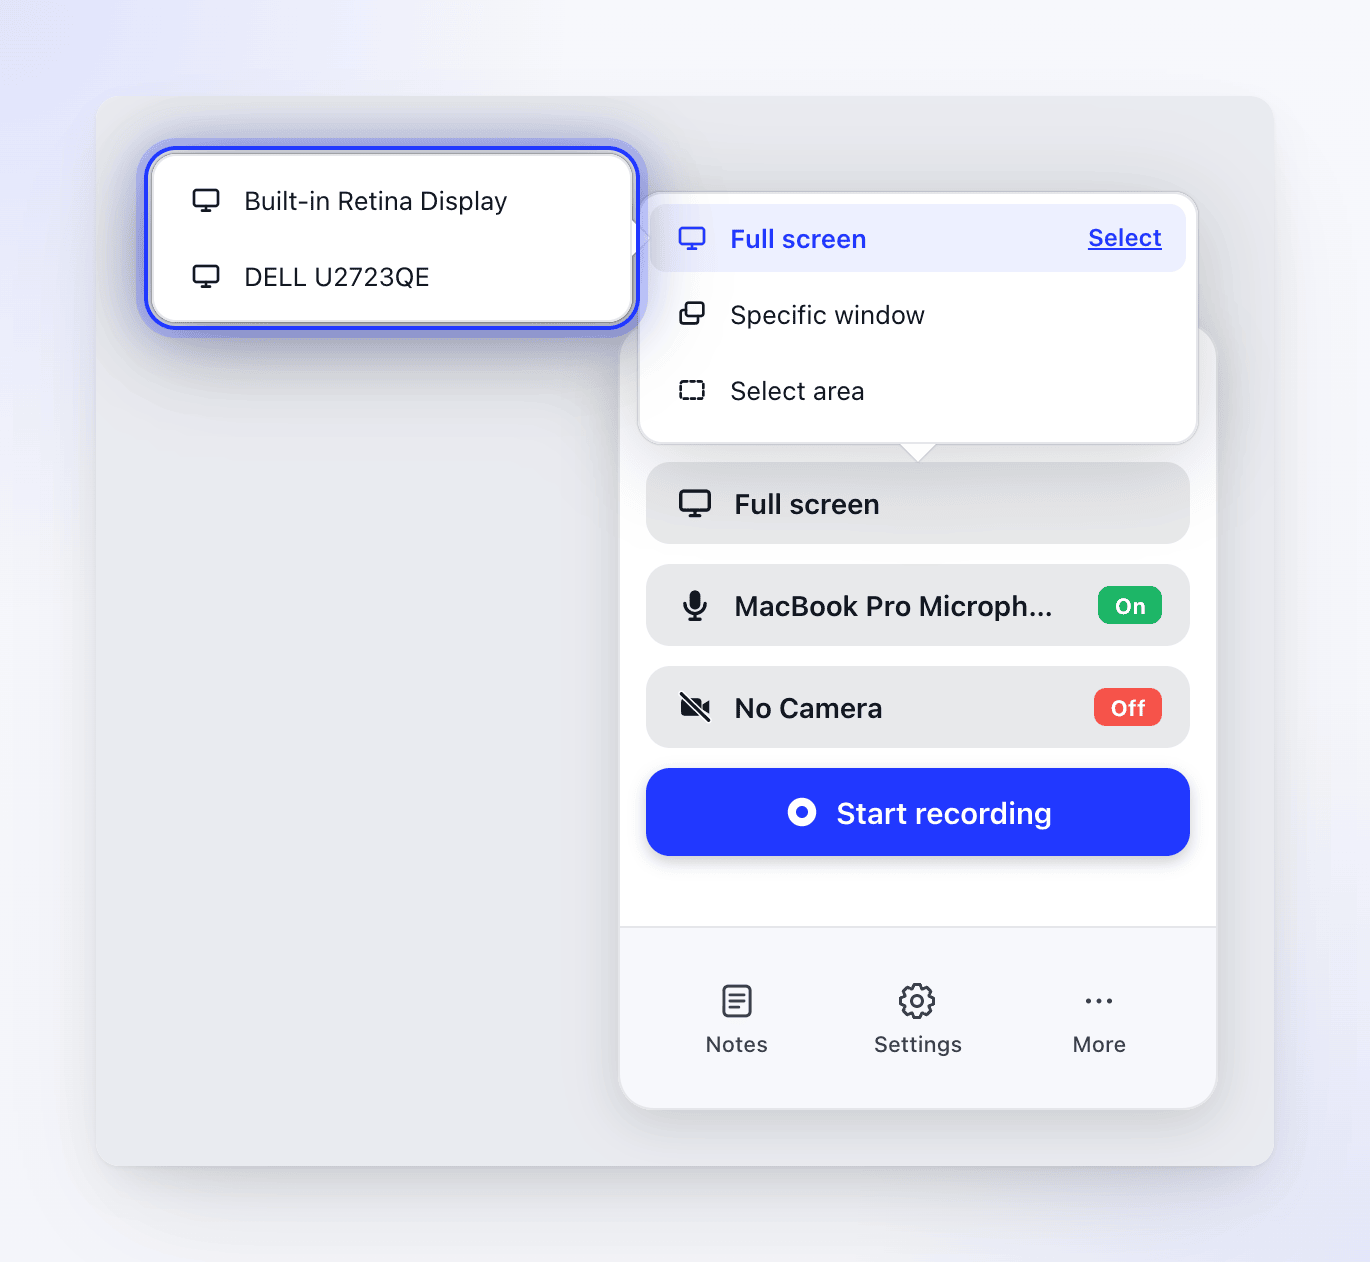
The list of apps shows how many windows each app has open. Only windows of at least 300 × 300 are listed. If nothing qualifies, the list says No windows available.
Choose your microphone and camera
Pick a microphone if you want to talk while you record, and a camera if you want your webcam in the video. Both are off on a new install. See Add your microphone, camera or system audio.
Click Start recording
On a Mac, the first time on this computer, Clevera asks for your consent to capture recording data. Click Yes, I consent to continue. See Understand what the desktop app captures. The Windows app skips this step.
Confirm the target
The recording window closes and Clevera highlights what it will record:
- A display is tinted, with a card showing the display's name and size.
- An app shows a card with the app's name, its Window size and a Resize button. See Resize the window before recording.
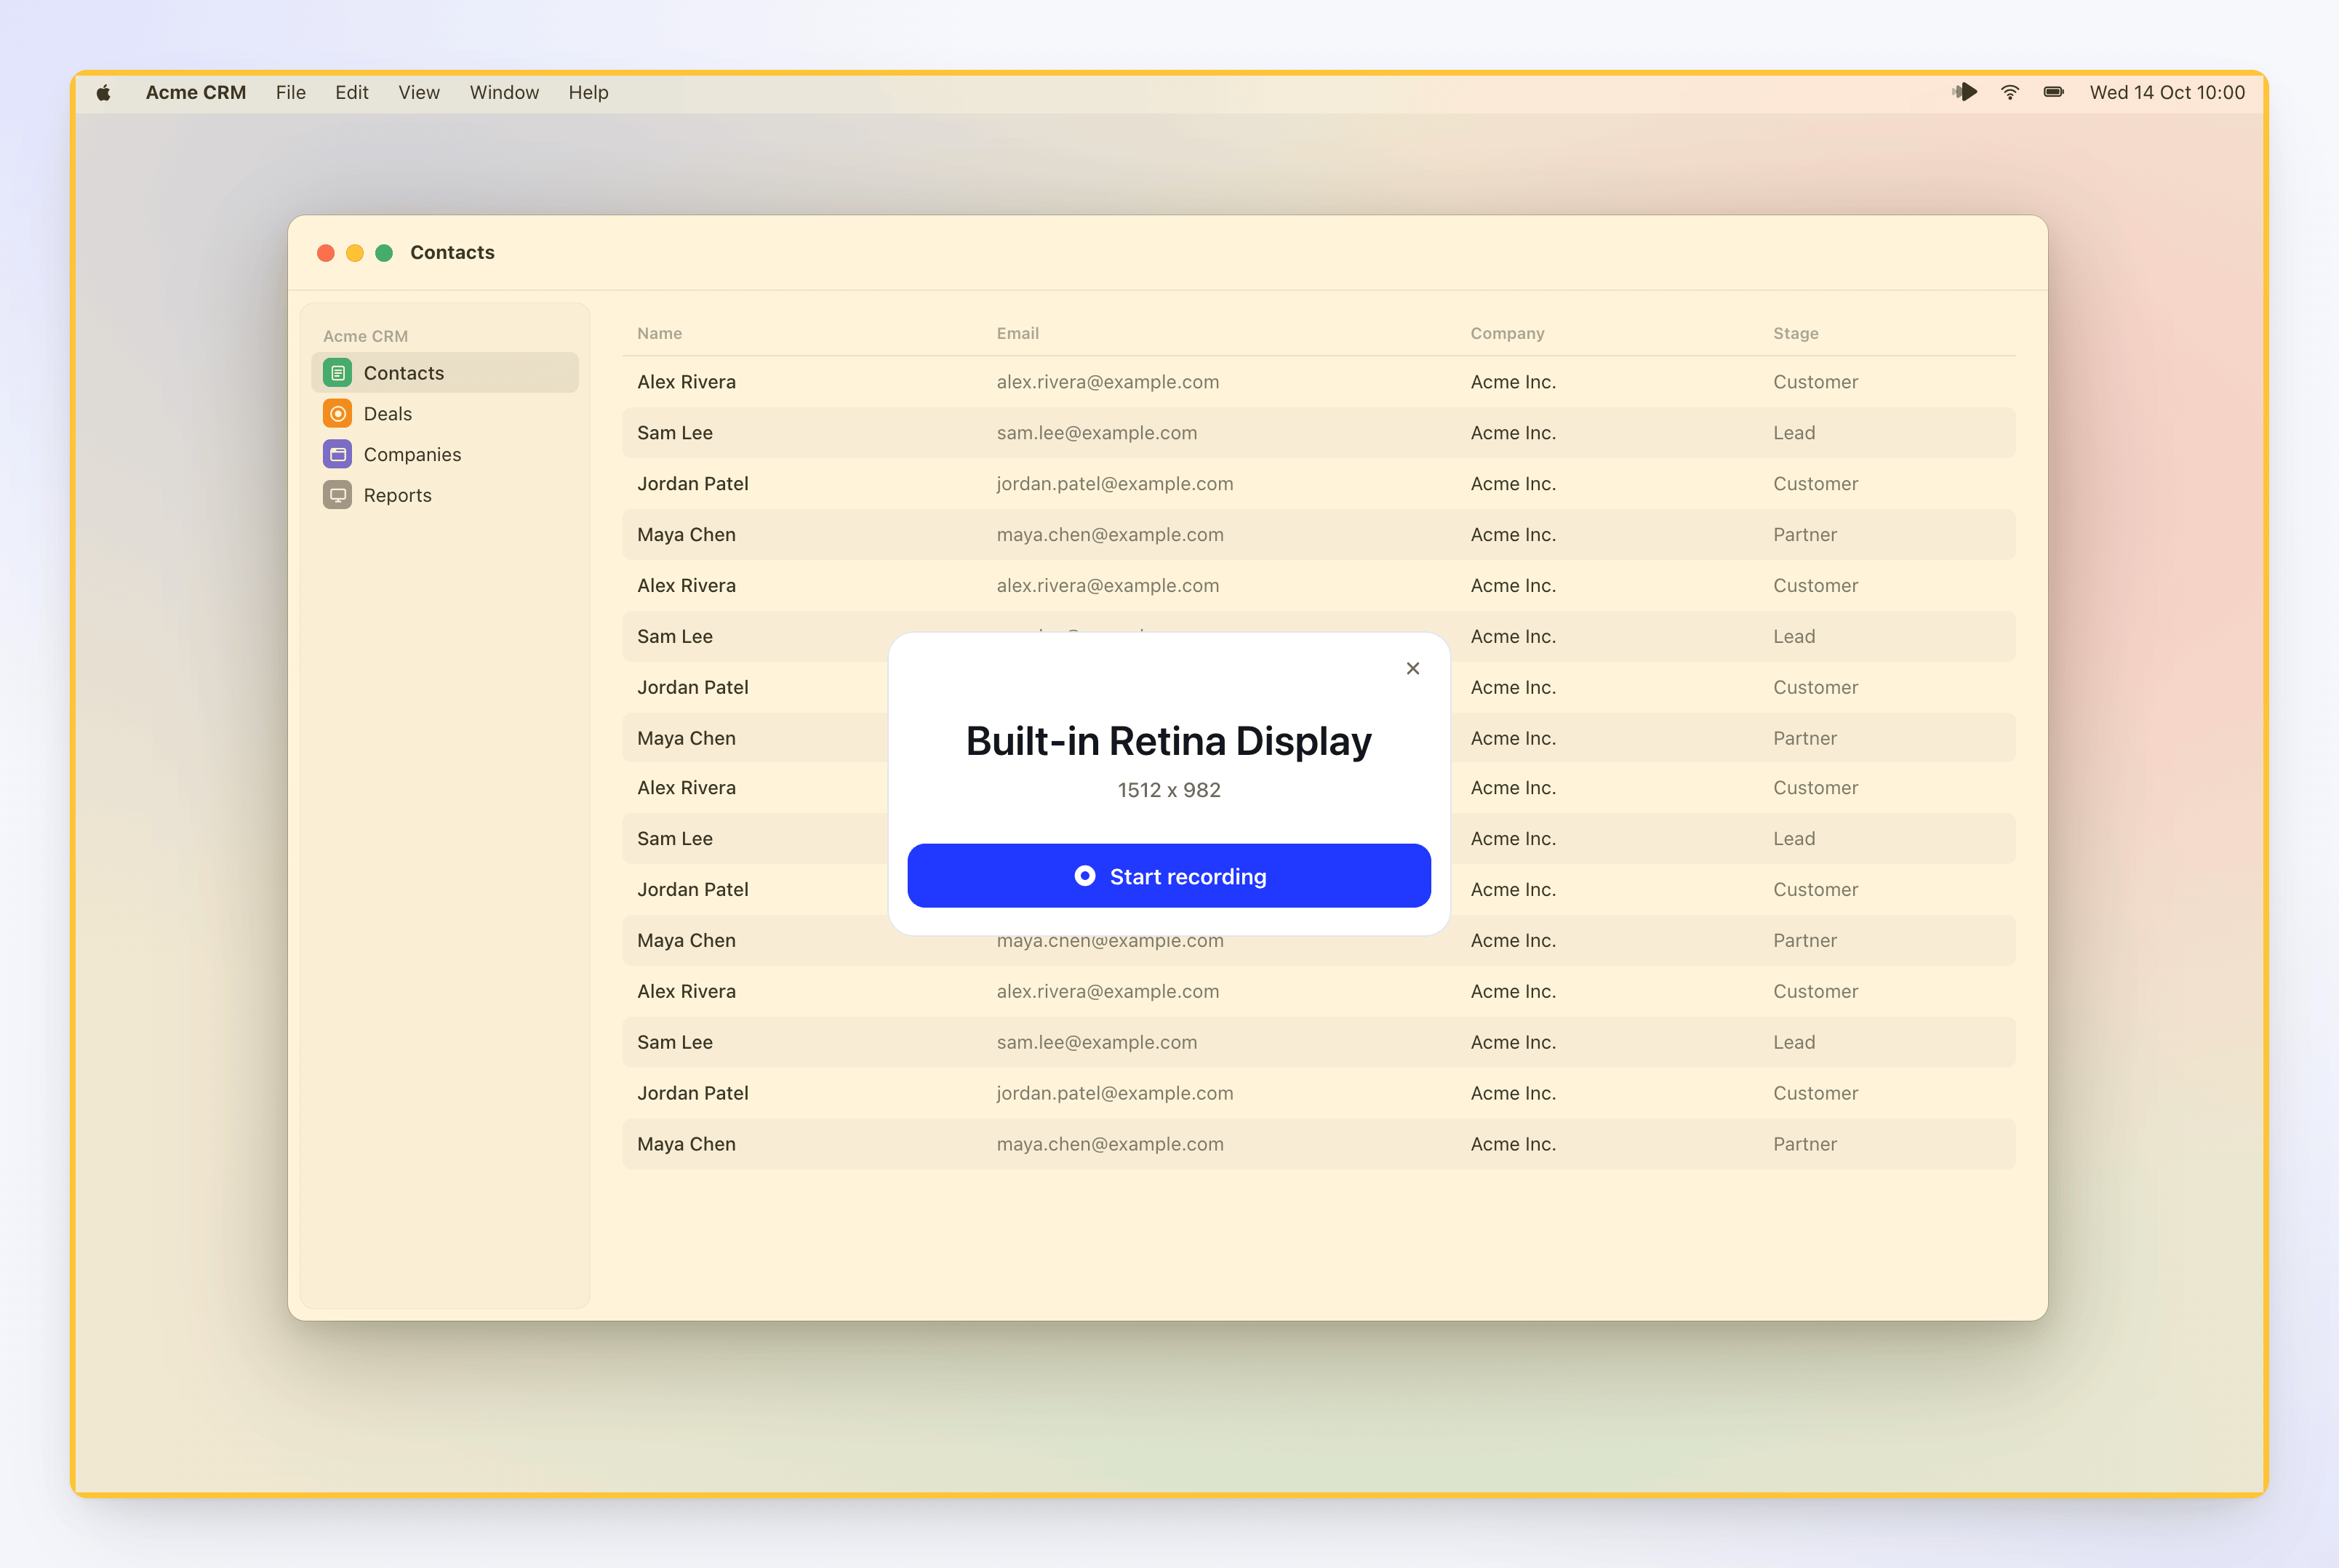
Click Start recording on the card. To back out, click ✕ on the card or press Esc.
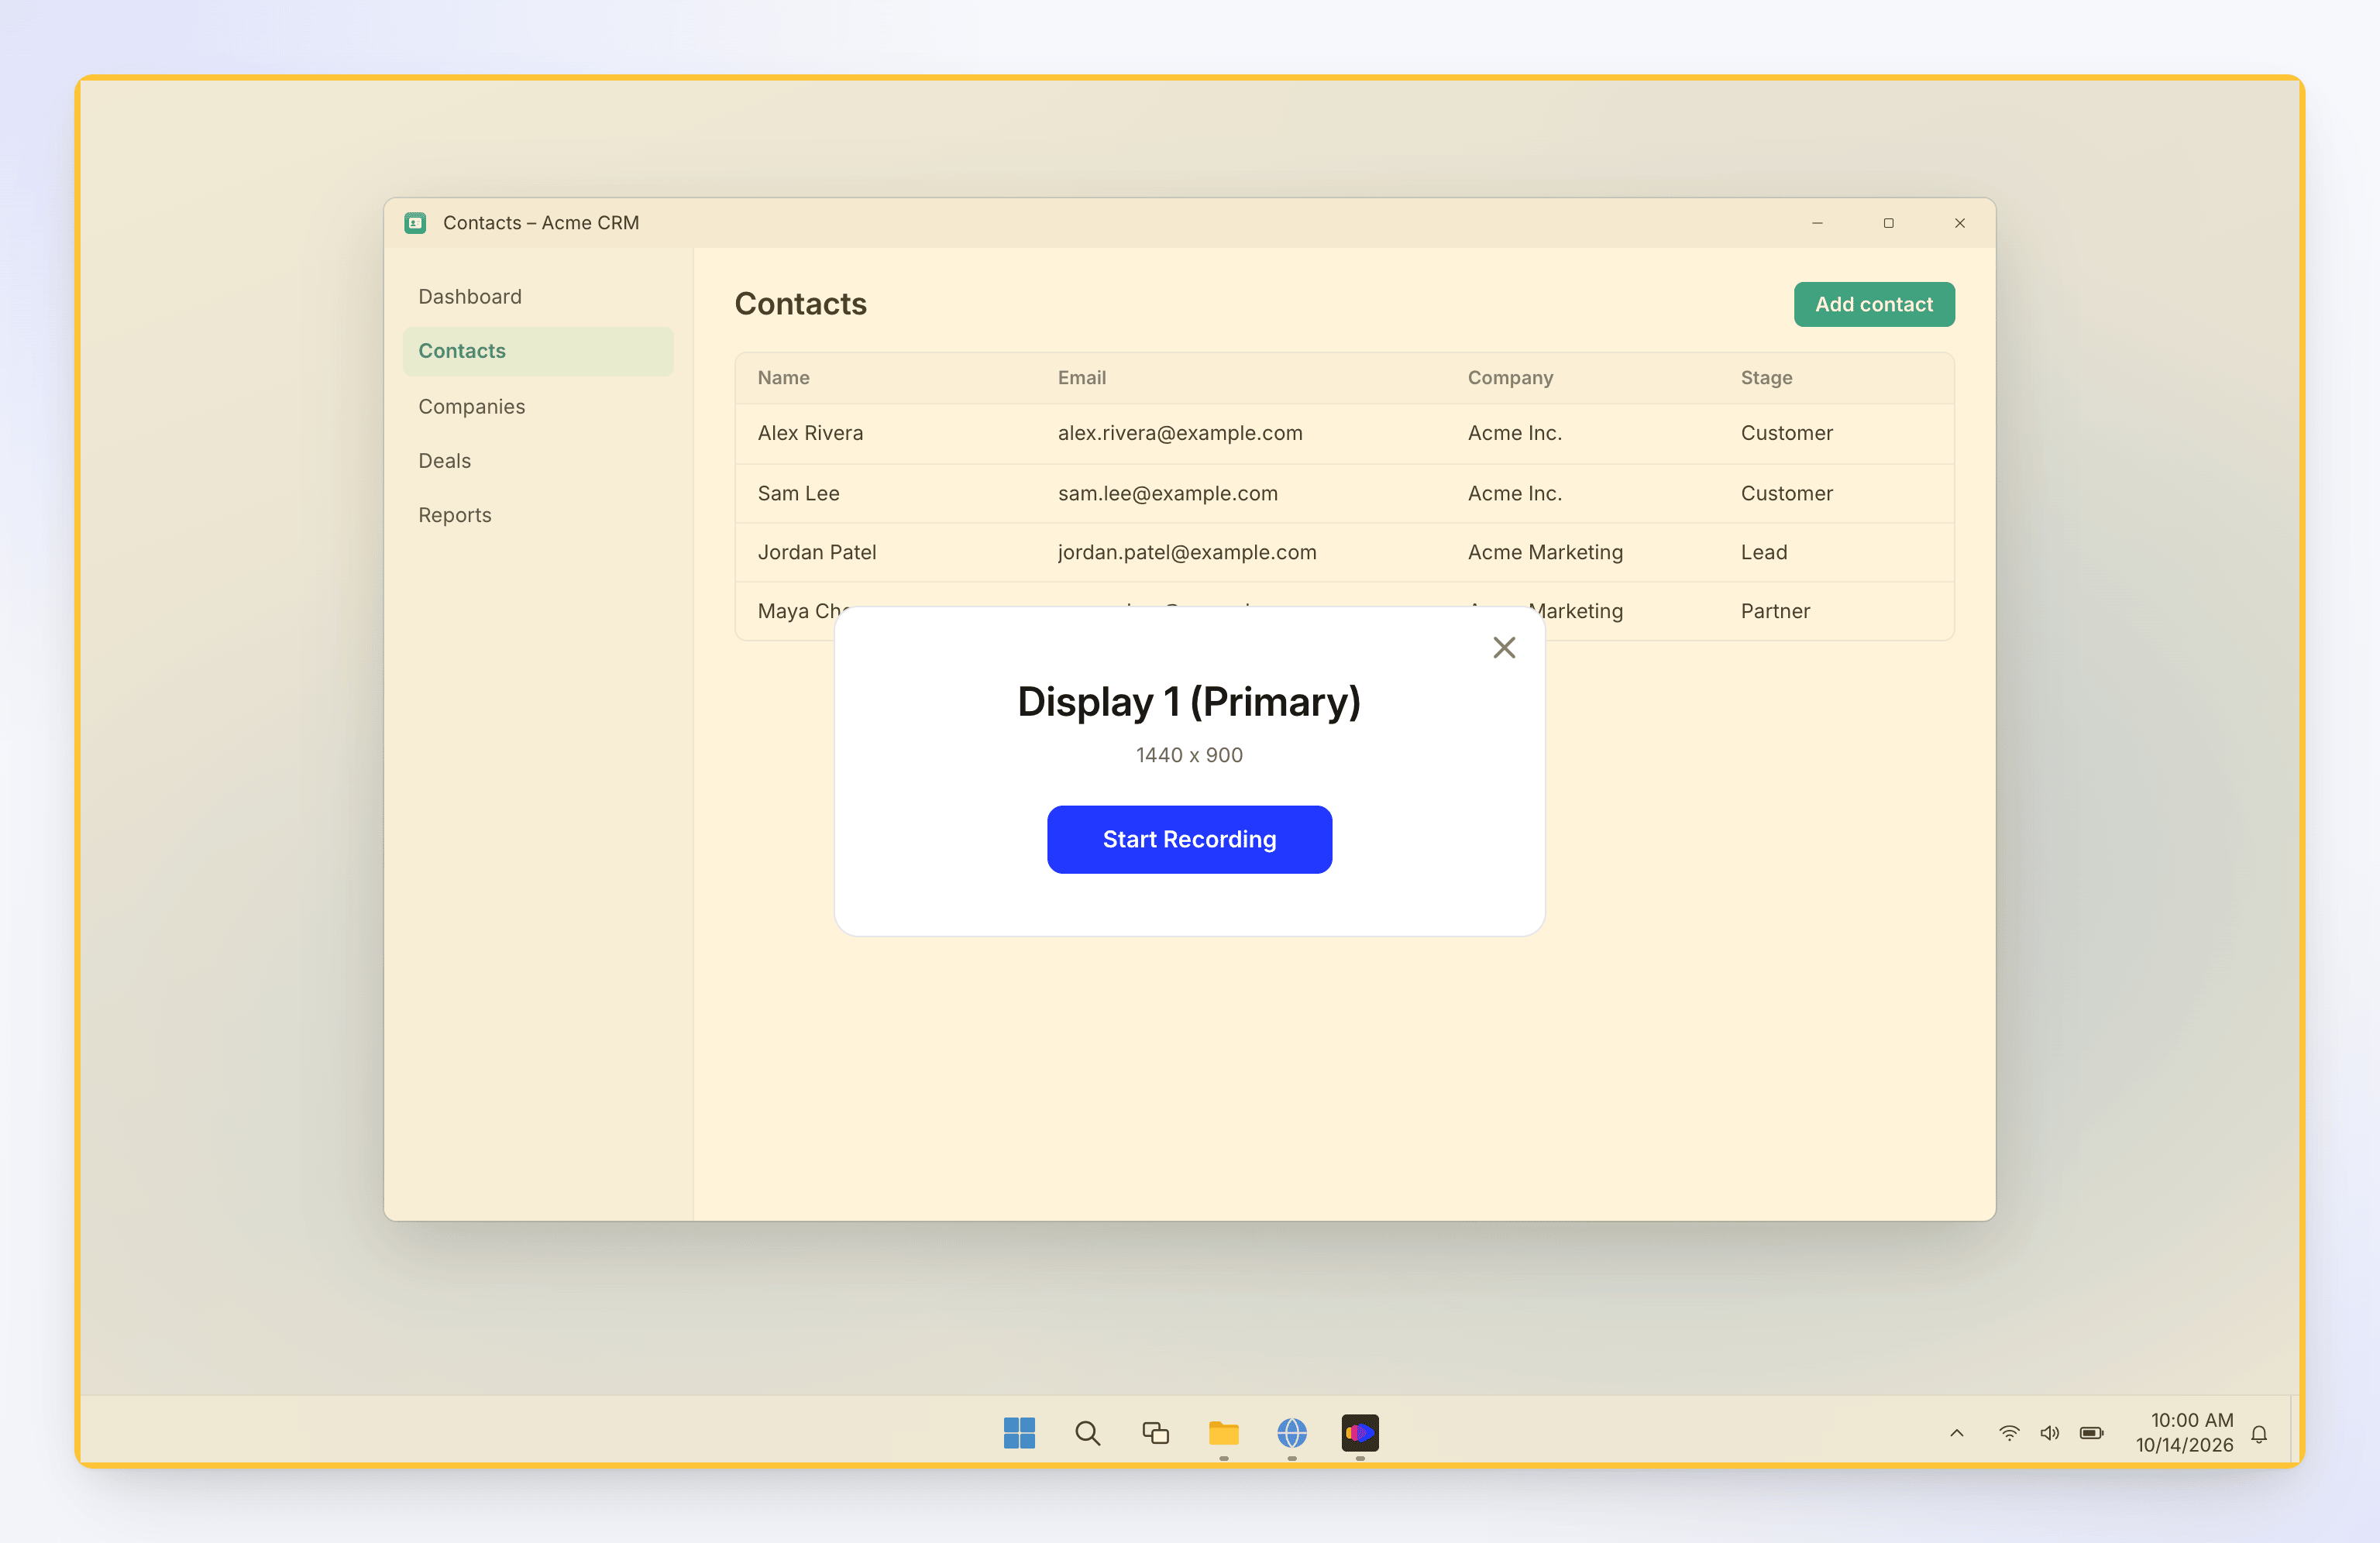
The display gets a yellow tint. Click Start Recording on the card. To back out, click ✕ on the card, press Esc or right-click anywhere on the tint.
Wait for the countdown
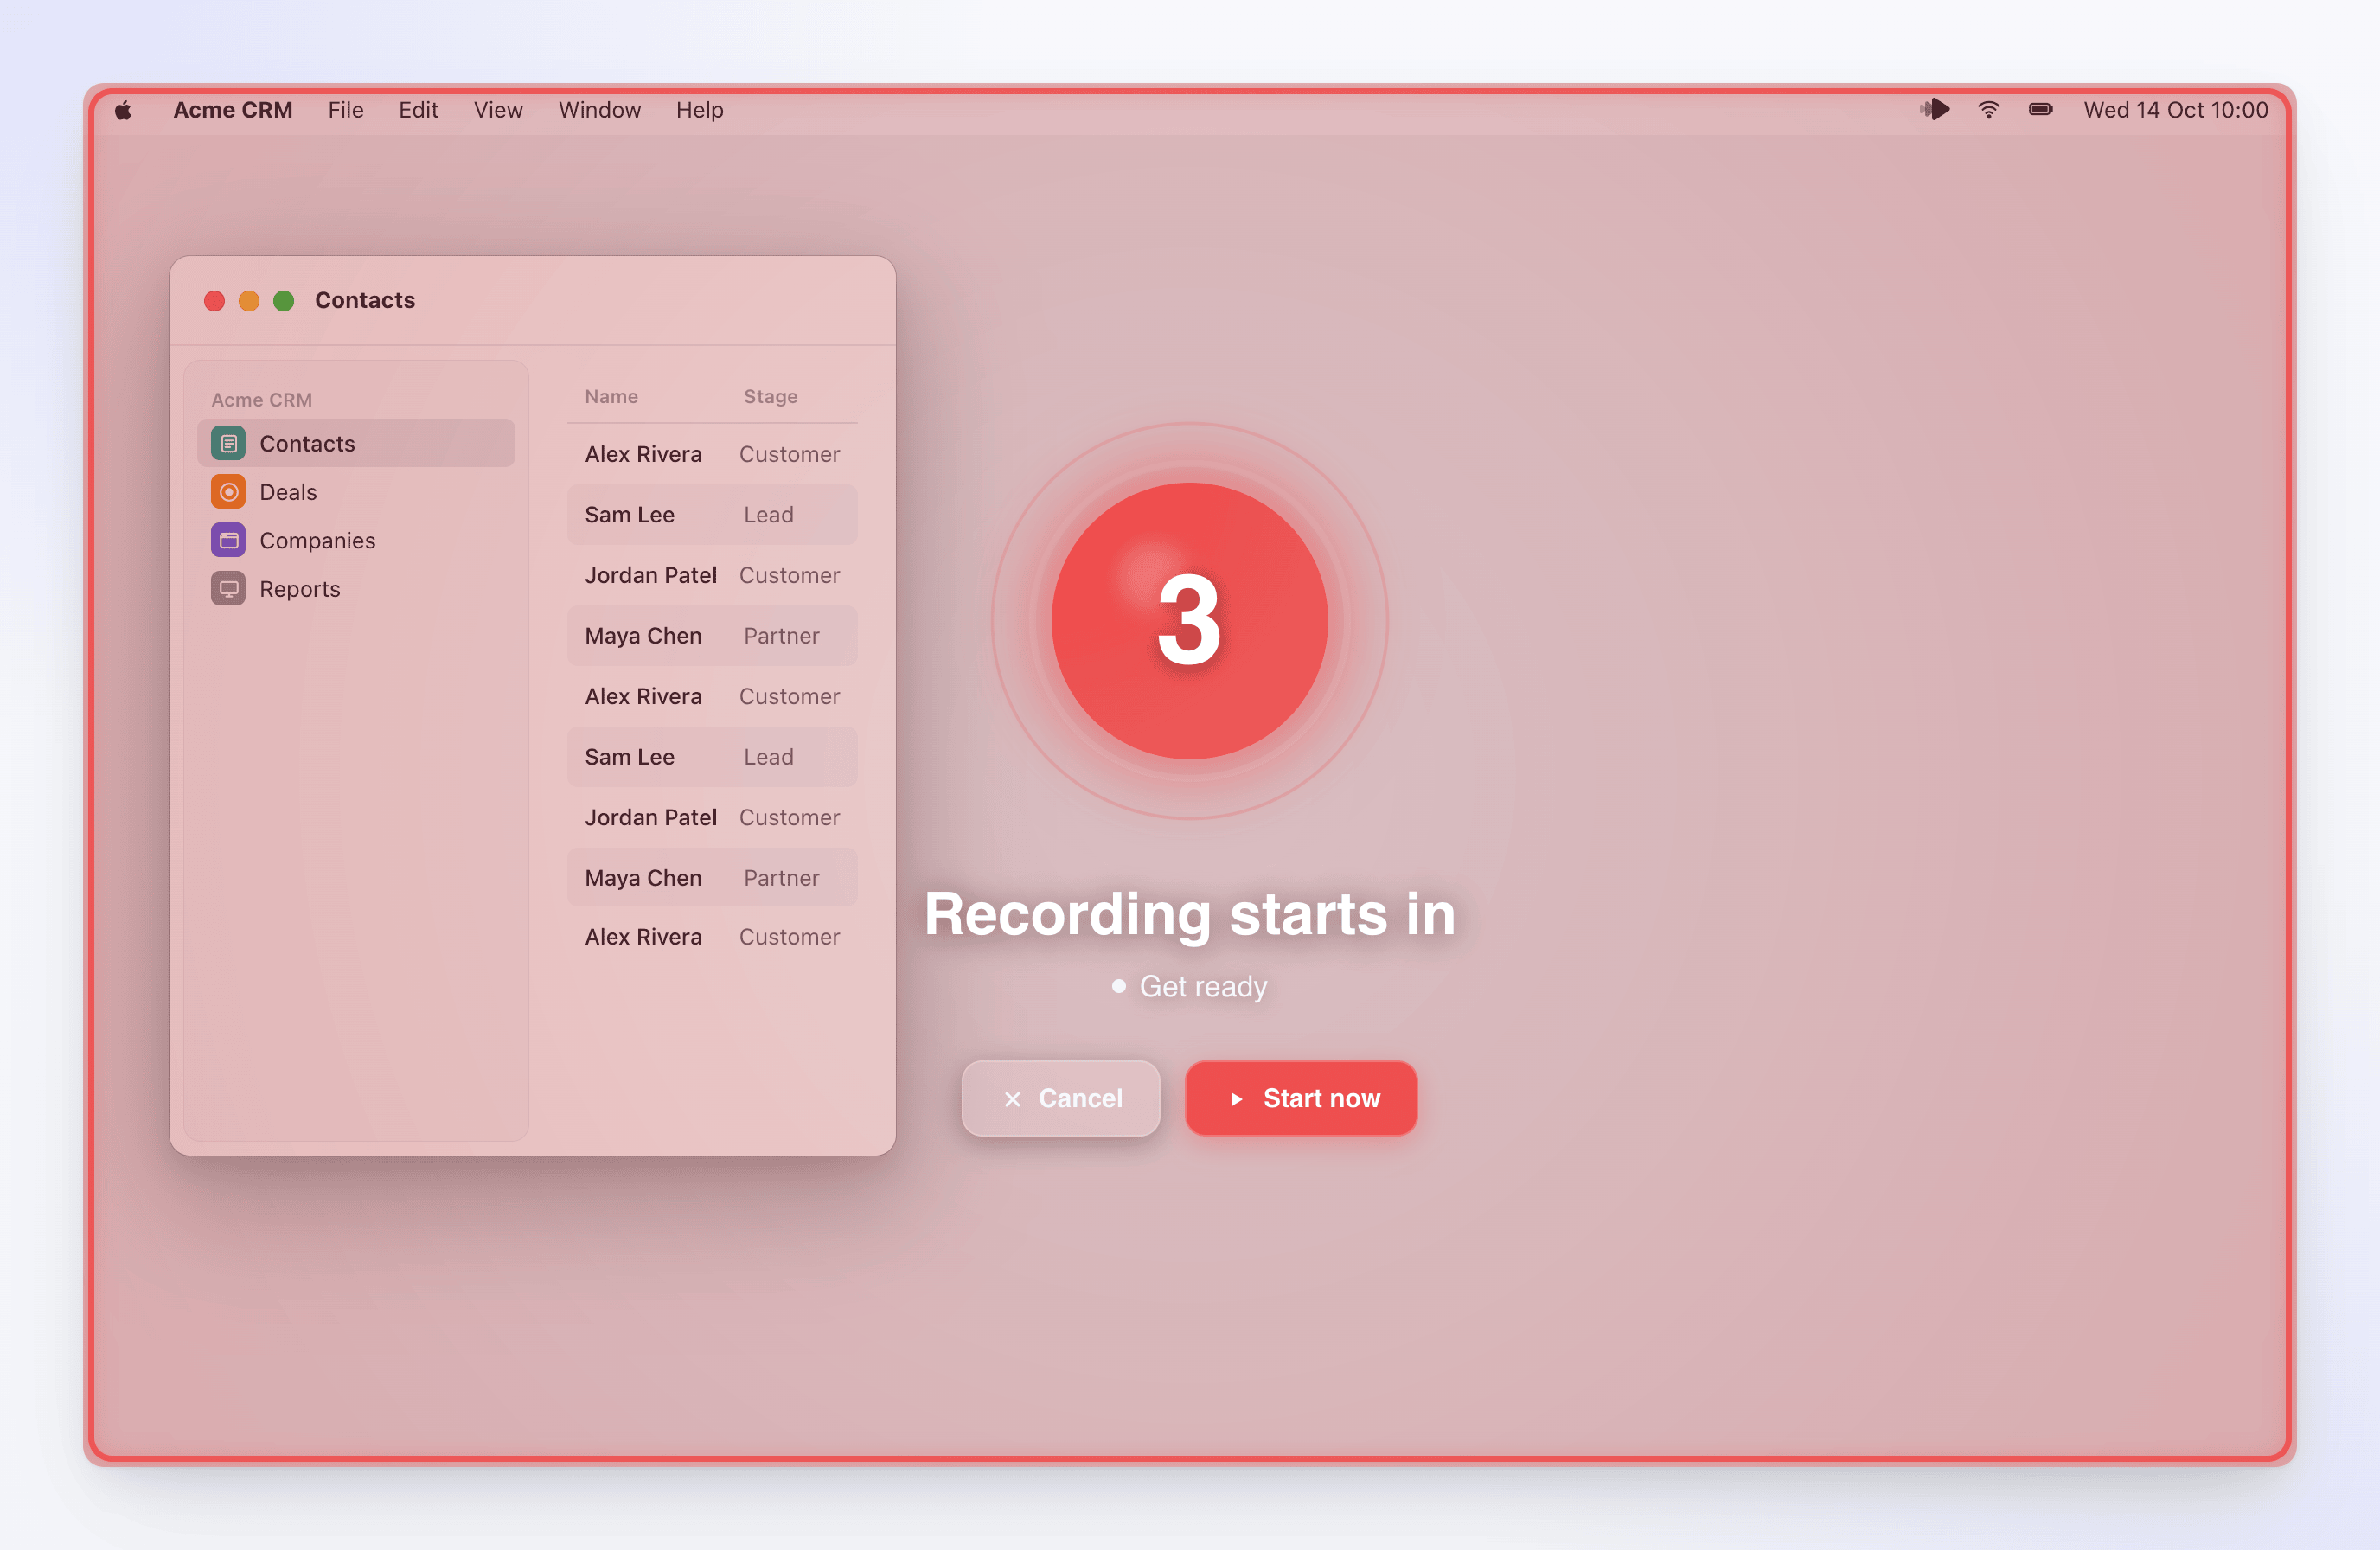
Clevera shows Recording starts in and a countdown, or Recording is about to start if the countdown is off. Click Start now to skip the rest of the countdown, or Cancel to stop before anything is recorded. A short beep plays right before capture begins. The beep isn't in your recording.
Do your task
The recording control bar appears on the right edge of the screen, with a timer. Work through your task and talk if your microphone is on. See Pause, restart or cancel a recording for the controls.
On Windows, click or type at least once while recording. A recording with only mouse movement can't be uploaded.
Click Stop
Click the stop button at the top of the control bar (Complete Recording), or press ⌘ ⌥ ⇧ Return on a Mac or Ctrl Alt Shift Enter on Windows. Clevera finishes the upload and opens the recording in your browser. See Find your recording after it uploads.
Big displays
If the display you chose is larger than 2560 × 1440, the card shows Heads up!: "Your screen size (…) is larger than recommended." A larger screen can mean bigger video files, longer processing times and lower voice-over accuracy. You can still click Start recording.
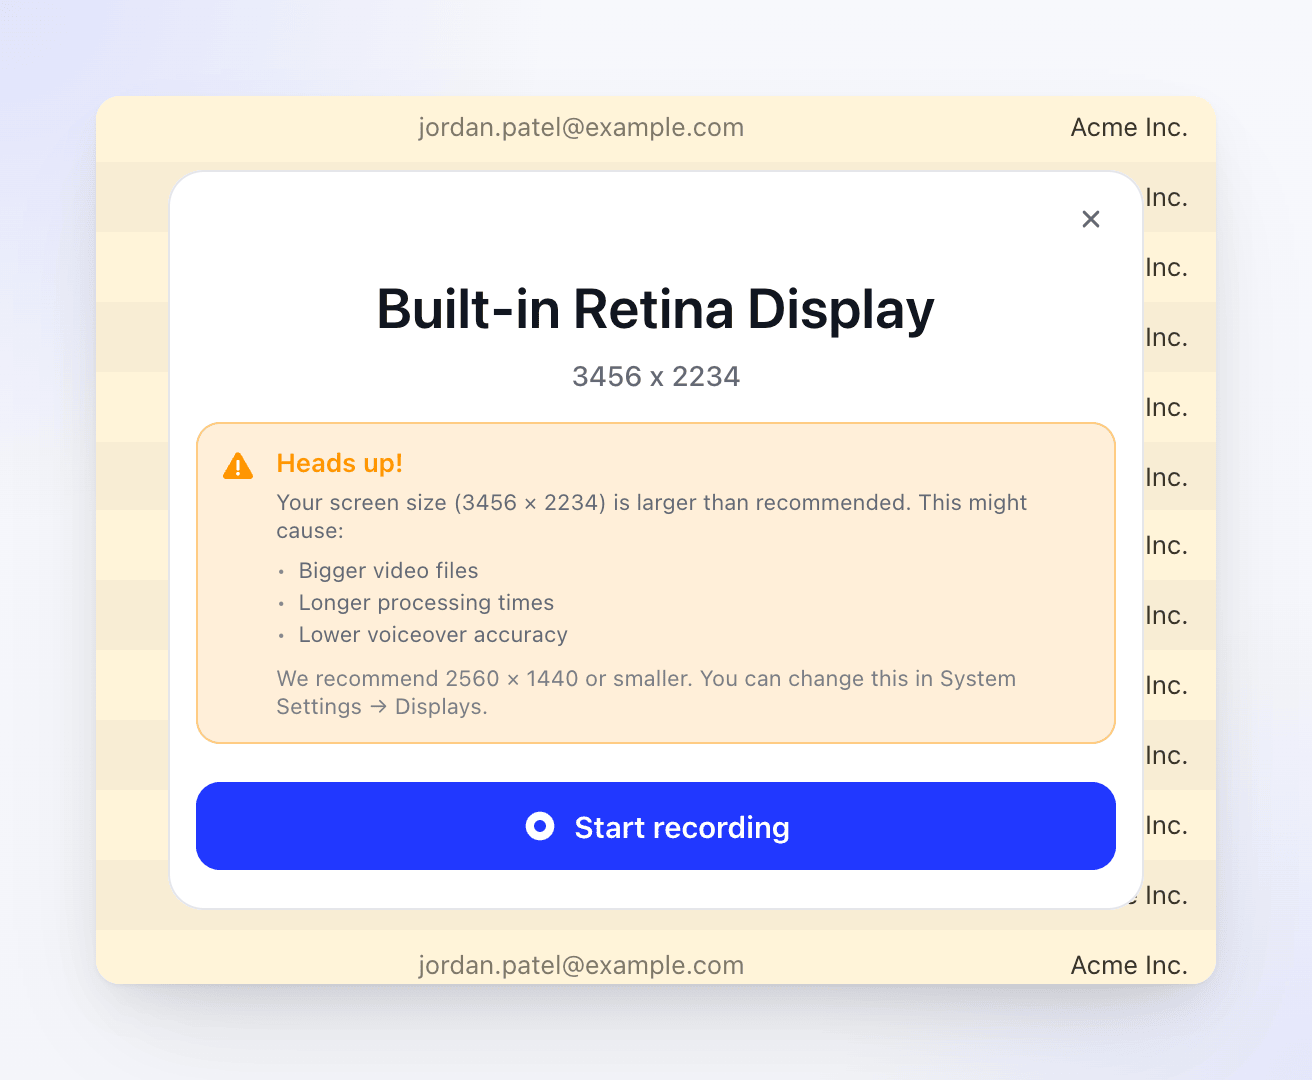
To lower the resolution, open System Settings → Displays, select the display and pick a smaller resolution, such as 2560 × 1440 or below.
The Windows app doesn't warn about big displays. Recordings larger than 3840 × 2160 are scaled down to fit. For crisper, faster videos, keep the display at 2560 × 1440 or below: open Settings → System → Display and choose a lower Display resolution.
Recording a single window or an area is another way to keep the video smaller.
Start a recording from the web app
You can also start from Clevera in your browser. On the Create or Compose page, choose Record your screen. Your browser asks to open Clevera, and the window Continue from Clevera desktop app reminds you to switch to the app and click Start recording.
- If the browser prompt was dismissed, click Open Clevera app to try again.
- If you don't have the app yet, click Download for Mac or Download for Windows.
- If you start from inside a collection, the recording is filed into that collection.
Troubleshooting
| Message | What to do |
|---|---|
| Update Required (macOS) | Click Update Now and install the update. Recording is blocked until you're on the latest version. |
| "Recording initialization failed: …" (Windows) | Often means the app is out of date. Right-click the tray icon → Check for updates, install the update and try again. Otherwise check your internet connection. |
| "Network error: …" or "Recording service error: …" (macOS) | Check your internet connection and try again. Starting a recording needs a connection. |
| "A recording is already in progress" (macOS) | Stop the current recording before starting a new one. |
| "Failed to start recording the display. Please ensure you have granted necessary permissions and try again." (macOS) | Check the permissions, then try again. |
| "No displays detected" in the display list | Reconnect the display, then reopen the list. |
For more, see Clevera can't record my screen.