

Publish articles to Google Docs
Connect a Google account and publish Clevera articles as new Google Docs in My Drive, with screenshots copied into the document. What Clevera can access, how formatting converts, why every publish makes a new document, and every error.
Publish a Clevera article as a new Google Doc, with its screenshots copied into the document. Clevera asks Google for the smallest access it can: it creates documents, and can't see or change anything else in your Drive.
Before you start
- In Clevera: the workspace is on the Pro or Custom plan, and you are an owner or admin to connect Google Docs. Anyone in the workspace can publish once it's connected. See Publish articles to your other tools.
- In Google: any Google account, personal or Google Workspace. If your company's Google admin limits third-party apps, they may need to allow Clevera first.
- Whose Drive: every document goes into the My Drive of the Google account that was connected, even when a teammate publishes. Connect a shared team account if several people will publish.
Connect Google Docs
Start from Integrations
In Clevera, click your workspace name in the sidebar, choose Integrations, find Google Docs and click Connect.
Pick the Google account
Google asks you to choose an account. Pick the one whose Drive should hold the documents.
Allow access
Google lists what Clevera asks for. Click Continue (or Allow).
Google shows Why See, edit, create and delete only the specific Google Drive files you use with this app Lets Clevera create documents. It can't open files it didn't create. See your primary Google Account email address Shown as the connected account in Clevera See your personal info Your name and picture, shown on the connection You come back to Integrations with "Google Docs connected successfully to [email protected]!".
Google sign-ins expire every hour or so; Clevera renews them in the background, so you only reconnect if someone removes Clevera's access.
Publish an article to Google Docs
Open the Publish tab
In the editor, click Share → Publish and click Publish next to Google Docs.
Confirm My Drive
The only place listed is My Drive. Clevera can't list your folders, because that would need access to your other files.
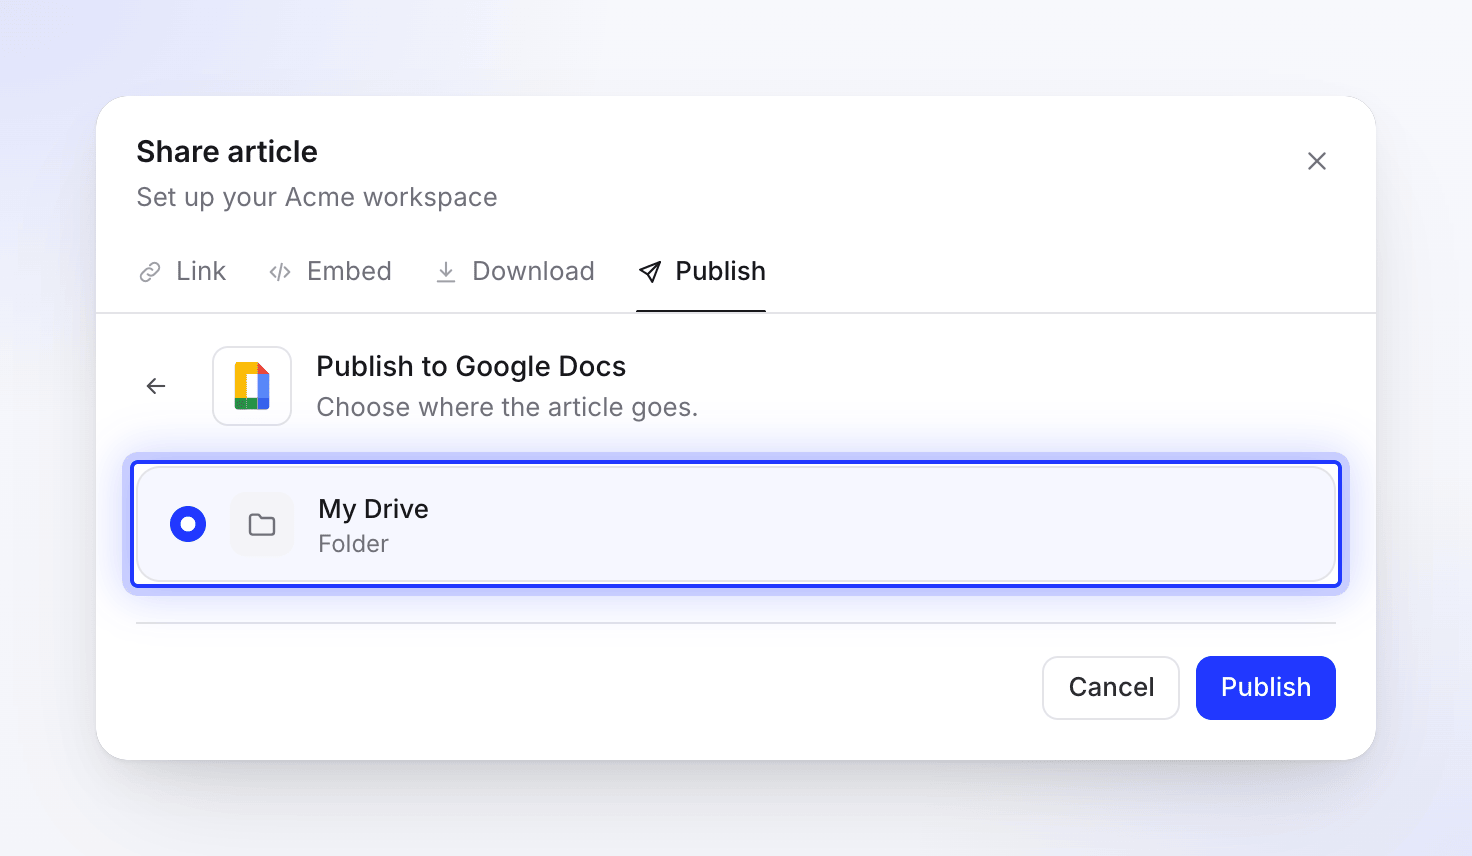
Clevera can only create documents, so My Drive is the one place it lists. Publish
Click Publish. The new document opens in a new tab and you see "Published to Google Docs." Move it into a folder or share it from Google Drive as usual. It is private to the connected account until you share it.
What the document looks like
The document's name is the article's title. If the video's link is shared (Share → Link → General access set to Anyone with the link), the document starts with a "📺 Watch the video" link that opens the player.
| In Clevera | In Google Docs |
|---|---|
| Headings 1–6 | Heading 1–6 styles |
| Bold, italic, strikethrough, underline, links | Kept |
| Inline code and code blocks | Courier New text |
| Bulleted and numbered lists | Bulleted and numbered lists |
| Checklists | Lines starting with ☐ or ☑️ |
| Quotes | Indented paragraphs with a line on the left |
| Dividers | A horizontal line |
| Callouts | A shaded paragraph with an icon: info ℹ️, tip 💡, warning ⚠️, note 📝, success ✅, danger 🚨 |
| Numbered steps | A paragraph that starts with bold "Step 1:" |
| Collapsible sections | A bold title followed by the content, always open |
| Screenshots | Images copied into the document, 400 pt wide, with the caption in italics |
| A YouTube or Clevera video inside the article | A "📺 Watch on YouTube" or "📺 Watch Video" link |
| Tables | See below |
Because Google copies the screenshots into the document, they keep working even if you delete the article in Clevera.
Publish again after you edit
Publishing only goes one way. The document doesn't update when you edit the article in Clevera, and edits made in Google Docs never come back to Clevera. Clevera can't open documents to change them, so every publish creates a new document and Clevera never asks about an existing article with the same title. Delete or rename the older copy in Google Drive yourself.
Disconnect and revoke access
- In Clevera, open Integrations, click Google Docs, then Disconnect and confirm. Documents you already published stay in Drive.
- To remove Clevera from your Google account too, open
myaccount.google.com, go to Security → Your connections to third-party apps & services, choose Clevera and Delete all connections.
Troubleshooting
| You see | What to do |
|---|---|
| A document with the title but no content | Google refused part of the article, most often a table or an image it couldn't fetch. Delete the empty document, remove or simplify the table, and publish again. |
| "Connection failed: …" or "Failed to connect to Google Docs: …" | You cancelled on Google's screen, or your Google admin blocks the app. Connect again, or ask your admin. |
| "No access token received from Google." or "Failed to connect to Google Docs. Please try again." | Connect again. |
| "Your Google Docs connection expired. Reconnect it to publish." | Access was removed in your Google account, or the sign-in can't be renewed. Click Reconnect on Integrations. |
| "Article content is empty or invalid." | The article has no content yet. Open it, check it, then publish. |
| A message from Google, such as a quota or permission error | Google refused to create the document. Check the account has Drive storage left, then try again. |
| "Failed to publish to Google Docs. Please try again." | Try again. If it keeps failing, reconnect. |
| The document isn't where my teammate expected | It is in the My Drive of the connected account, not the publisher's. Share it from there. |