Install the Clevera desktop app
Install the Clevera desktop app on a Mac or Windows PC: system requirements, where to download it, and the setup steps you see the first time you open it.
The Clevera desktop app records your screen, your clicks and your voice, then uploads the recording to your Clevera workspace so the AI can turn it into a how-to video, a product demo or an article. This article covers what you need, how to install it on a Mac or a Windows PC, and what you see the first time you open it.
Before you start
- A Clevera account. You sign in through your browser, so make sure you can sign in at
app.clevera.aifirst. If you don't have an account, the app's Sign up button opens Clevera in your browser. - A role that can record. Workspace owners, Administrators and Content Creators can record. Editors can't start recordings. See Understand workspaces, roles and creator seats.
- An internet connection. The app needs to reach Clevera to start a recording and uploads it while you record. You can't record offline.
System requirements
| Requirement | macOS |
|---|---|
| Operating system | macOS 12.3 (Monterey) or later |
| Processor | Apple silicon or Intel |
| Internet | Required to start and upload a recording |
| Free disk space | A few GB for temporary files while a recording uploads |
| Screen size | 2560 × 1440 or smaller recommended |
Some features need a newer macOS:
| Feature | Needs |
|---|---|
| Record system audio | macOS 13 (Ventura) or later |
| Exclude menu bar from capture | macOS 14.2 or later |
| Requirement | Windows |
|---|---|
| Operating system | Windows 10 version 1809 (build 17763) or later, including Windows 11 |
| Processor | 64-bit (x64). There is no version for ARM-based PCs. |
| Administrator rights | Not needed. Clevera installs for your Windows account only. |
| Internet | Required to start and upload a recording |
| Free disk space | A few GB for temporary files while a recording uploads |
| Screen size | Recordings larger than 3840 × 2160 are scaled down to fit |
On an older Windows version, Clevera shows Unsupported Windows Version and closes.
Download and install the app
Download Clevera for Mac
Go to
https://app.clevera.ai/download/app/mac. A page says Your download is starting... and the disk image (.dmg) downloads. If nothing happens, click Click here to download.You can also download it from the web app: wherever Clevera asks you to record your screen, the window Continue from Clevera desktop app has a Download for Mac button.
Move Clevera to Applications
Open the downloaded file. In the window that appears, drag Clevera onto the Applications folder.
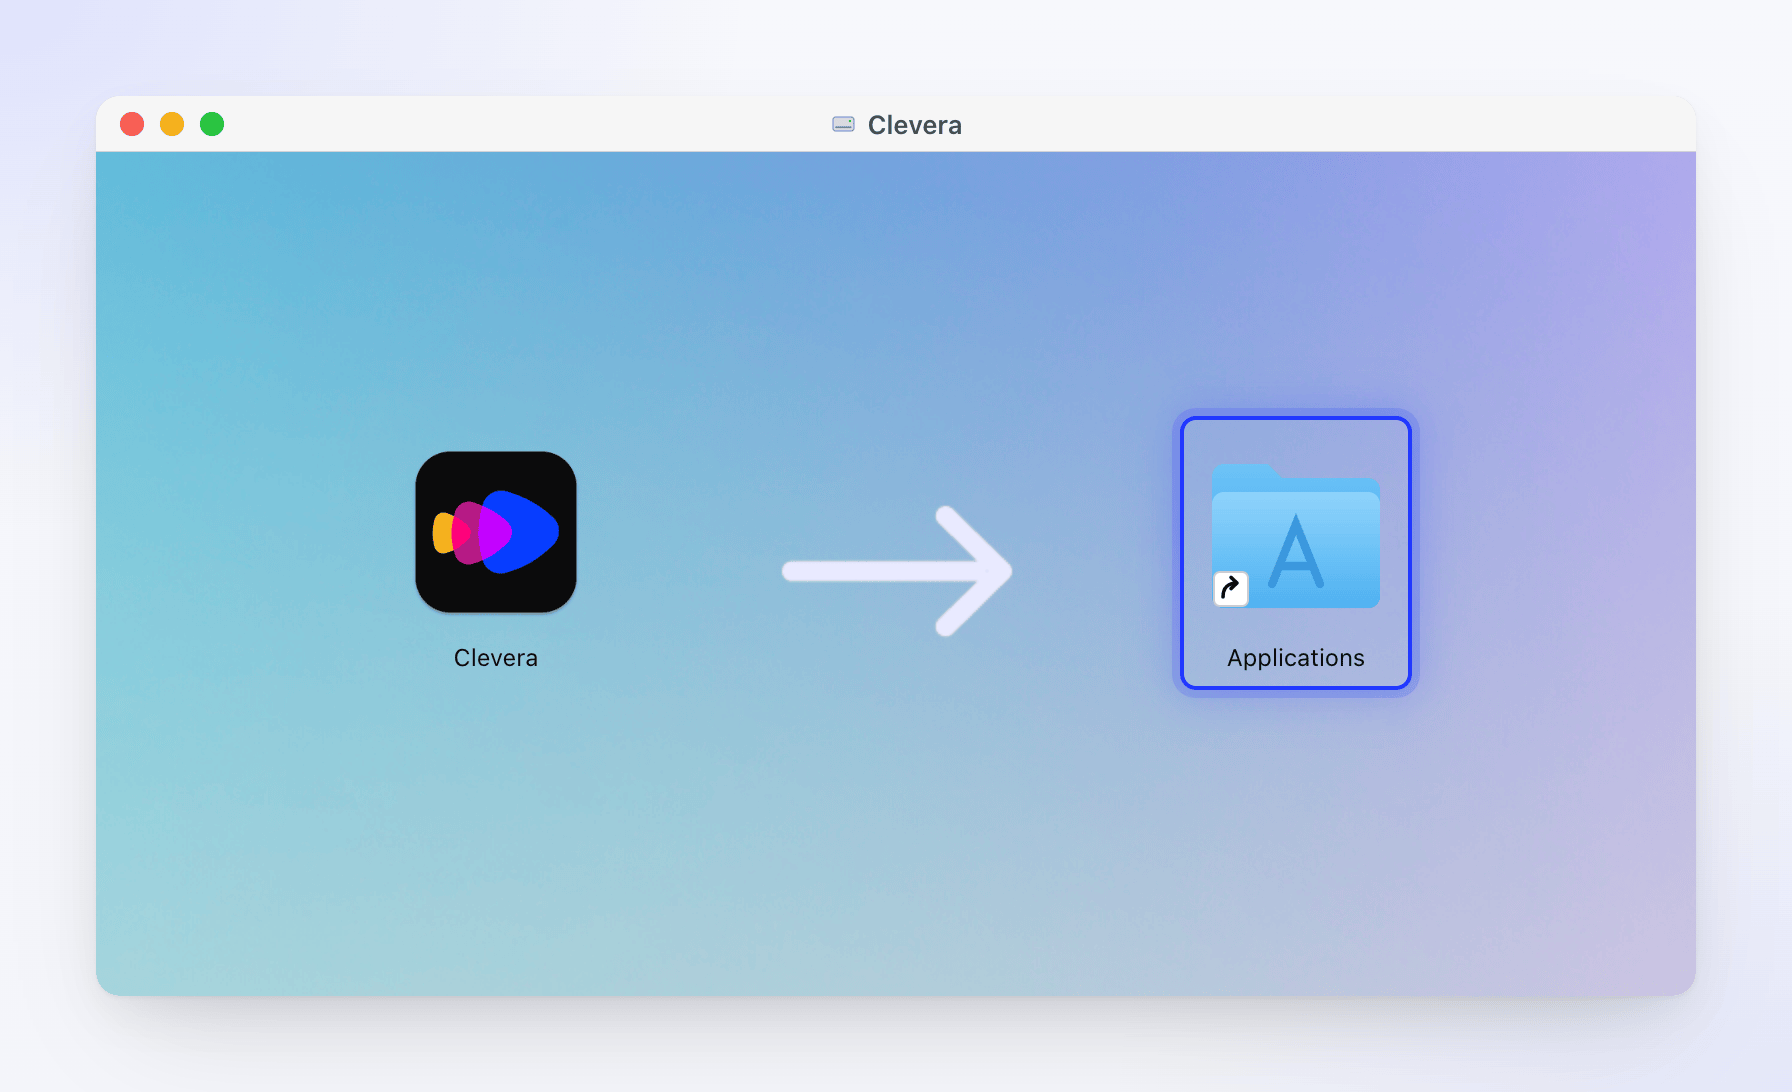
Drag Clevera onto Applications. Open Clevera
Open Clevera from Applications or Launchpad. The app is signed and notarized by Apple, so macOS may only ask you to confirm that you want to open an app downloaded from the internet. Click Open.
Clevera adds an icon to the menu bar at the top of your screen and, by default, to the Dock.
Download Clevera for Windows
Go to
https://app.clevera.ai/download/app/windows. A page says Your download is starting... and a ZIP file (clevera-<version>-windows.zip) downloads. If nothing happens, click Click here to download.You can also download it from the web app: wherever Clevera asks you to record your screen, the window Continue from Clevera desktop app has a Download for Windows button.
Run the installer
Open the ZIP file and run
CleveraSetup-<version>.exeinside it. The installer is signed by Clevera LTD and doesn't ask for administrator rights.The first page says Thank you for choosing Clevera! and links to the Terms of Service, Privacy Policy and Security pages. Click through the installer. Clevera installs to
%LOCALAPPDATA%\Programs\Cleveraand adds a desktop shortcut and a Start menu entry.Open Clevera
Leave Launch Clevera selected on the last page of the installer, or open Clevera later from the Start menu or the desktop shortcut.
Clevera adds an icon to the notification area (system tray) at the right end of the taskbar. There is no Microsoft Store version.
What happens the first time you open it
Clevera walks you through a short setup. Each step only appears if it still needs doing, so the next time you open the app you land straight on the recording window.
| Order | What you see | What to do |
|---|---|---|
| 1 | Welcome to Clevera, a four-step quick start | Click Next through the steps, then Start recording. You can close it with ✕ at any time. |
| 2 | Let's get you signed in | Click Sign in and finish in your browser. See Sign in to the desktop app. |
| 3 | Welcome to Clevera with the permissions Clevera needs | Turn on the permissions Clevera needs. See Grant the permissions Clevera needs to record. |
| 4 | The recording window | Pick what to record and click Start recording. |
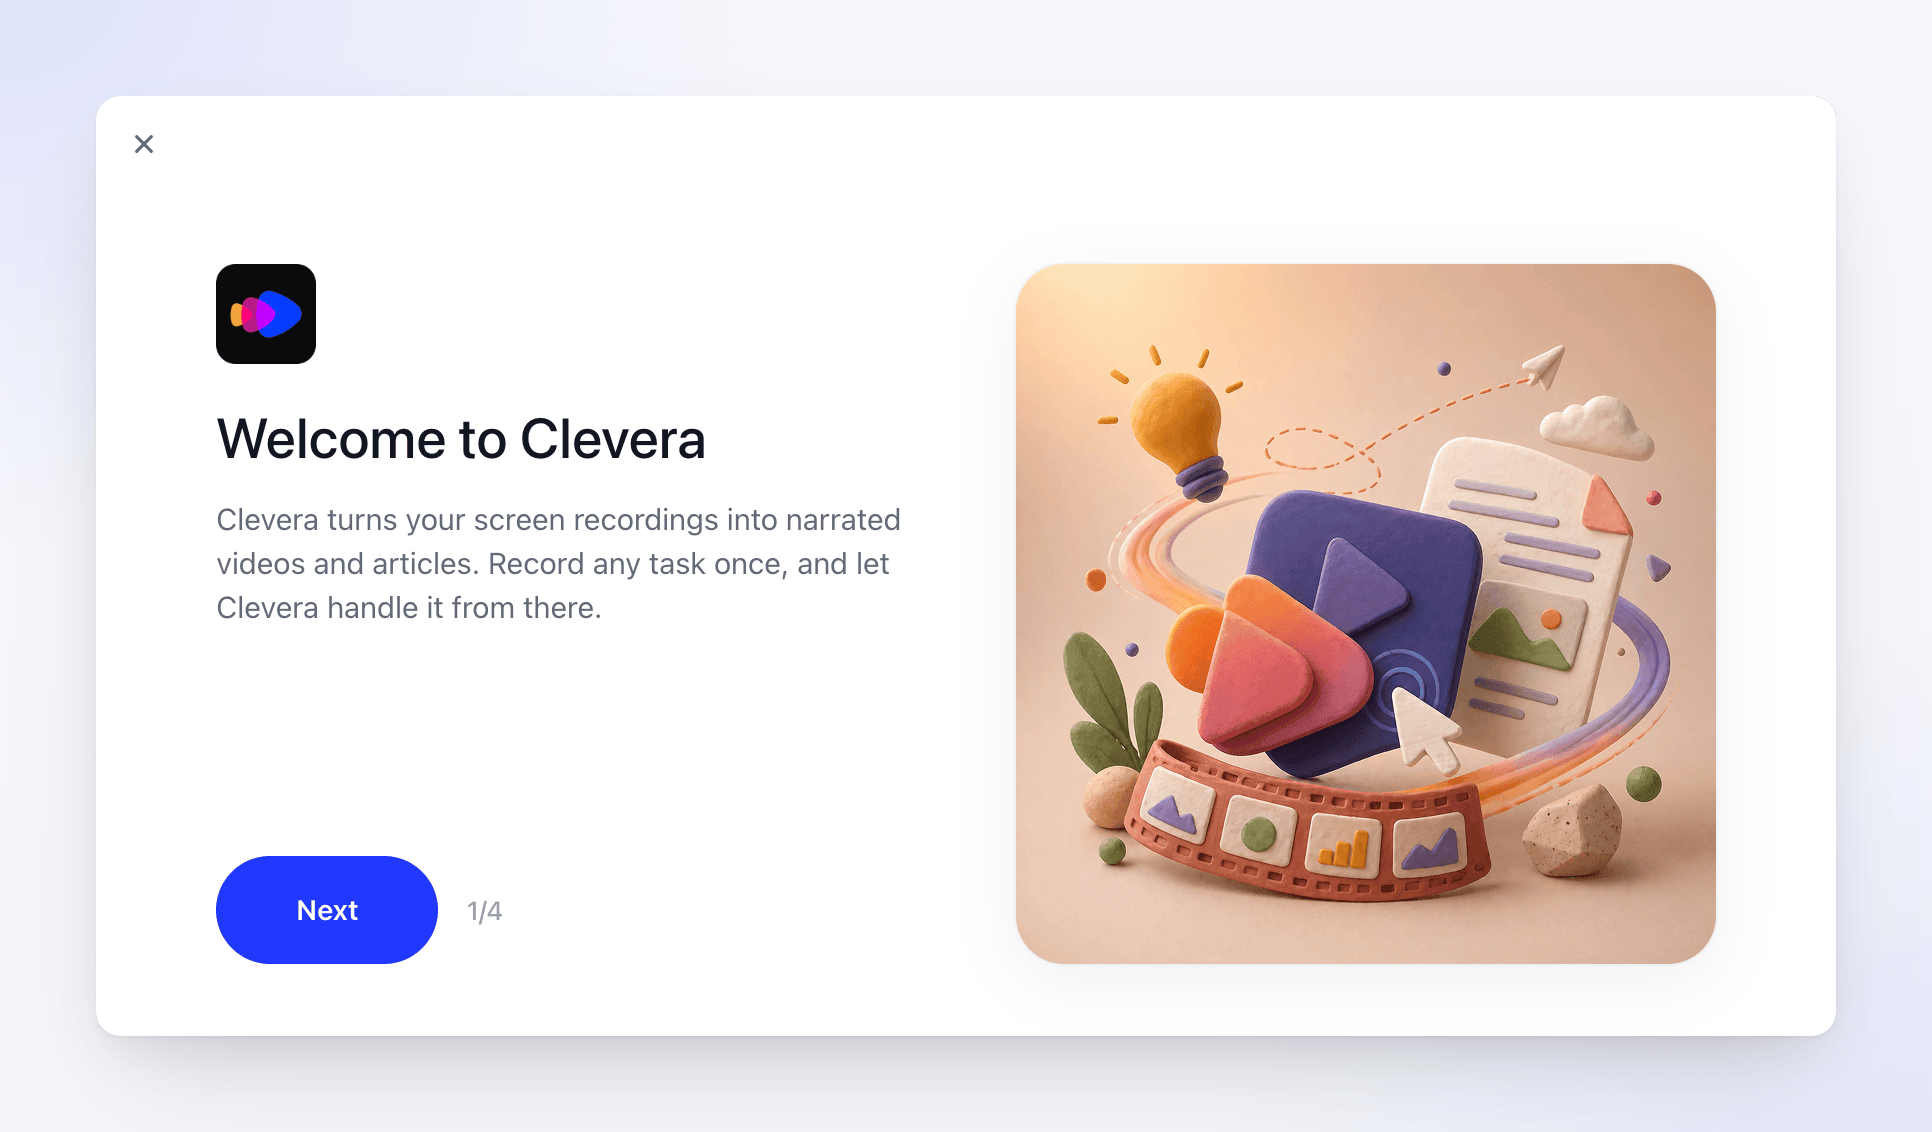
The four quick-start steps are:
- Welcome to Clevera — Clevera turns your screen recordings into narrated videos and articles.
- Start recording — choose your display or window and click Start recording.
- Perform a task on screen — click through a real task, such as opening a file or filling in a form.
- Stop and see the result — click Stop when you're done. Your browser opens Clevera, where your recording is being processed.
To see the quick start again, open More in the recording window and click Quick start.
Open the recording window later
After setup, the recording window opens in the bottom-right corner of your screen. To bring it back:
- Click the Clevera icon in the Dock, or open Clevera from Applications. If a step of the setup is still missing (for example, you signed out), Clevera shows that step first.
- Or click the Clevera icon in the menu bar and choose New Recording.
To have Clevera open every time you sign in to your Mac, turn on Launch at login in the app's settings.
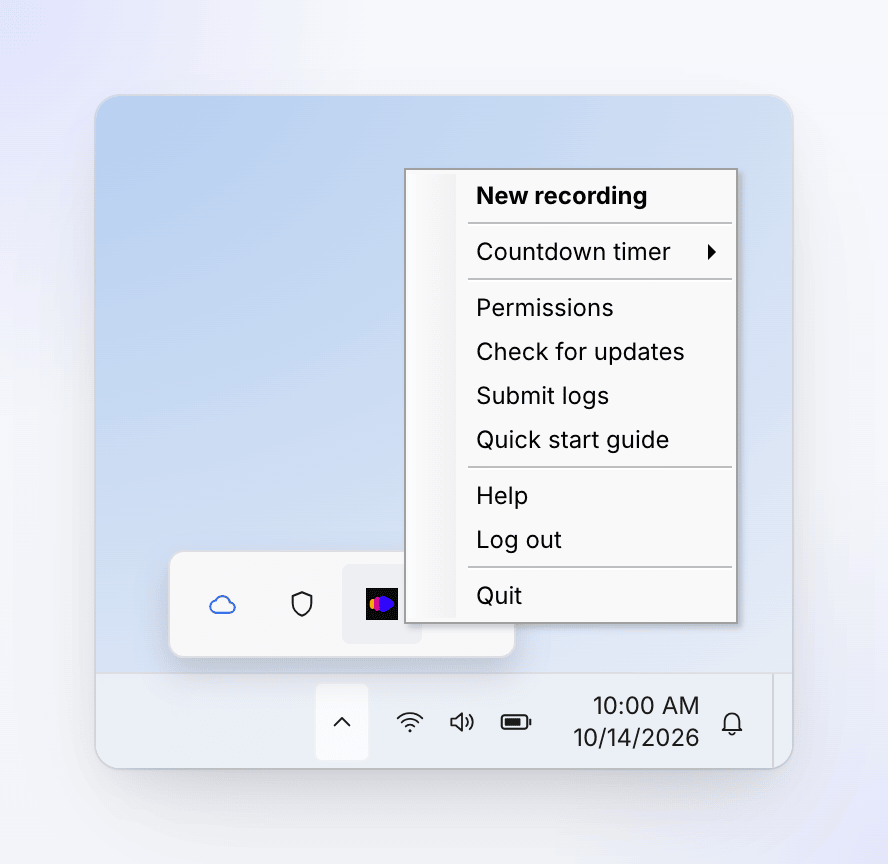
- Click the Clevera icon in the notification area (system tray) at the right end of the taskbar. If a step of the setup is still missing (for example, you signed out), Clevera shows that step first.
- Or right-click the tray icon and choose New recording.
- Or click Clevera's button on the taskbar.
If the icon isn't visible, click the ^ arrow next to the clock to show hidden icons. Opening Clevera from the Start menu while it's already running does nothing, so use the tray icon instead.