

Publish articles to Notion
Connect Notion, choose which pages Clevera may use, and publish articles as Notion pages with uploaded screenshots and the video at the top. How blocks convert, how Replace works, and how to revoke access.
Publish a Clevera article as a Notion page, with its screenshots uploaded into Notion and the video playing at the top. You pick where it goes: the top level of your Notion workspace, under a page, or as a new entry in a database.
Before you start
- In Clevera: the workspace is on the Pro or Custom plan, and you are an owner or admin to connect Notion. Anyone in the workspace can publish once it's connected. See Publish articles to your other tools.
- In Notion: any Notion plan works. You need to be able to add connections to the pages you want to publish under. On some Notion plans a workspace owner can stop members from adding connections; ask them if Notion doesn't let you.
- An article: generate the article first. Publishing sends the article; a video is only carried as a player inside it.
Connect Notion
Start from Integrations
In Clevera, click your workspace name in the sidebar, choose Integrations, find Notion and click Connect.
Choose the Notion workspace and pages
Notion opens its own permission screen for Clevera. If you belong to several Notion workspaces, pick one in the top-right corner. Then choose Select pages and tick the pages Clevera may publish under. Child pages of a page you tick are included.
Allow access
Click Allow access. You come back to Integrations with "Notion connected successfully to Acme Inc.!" and Notion appears under Connected.
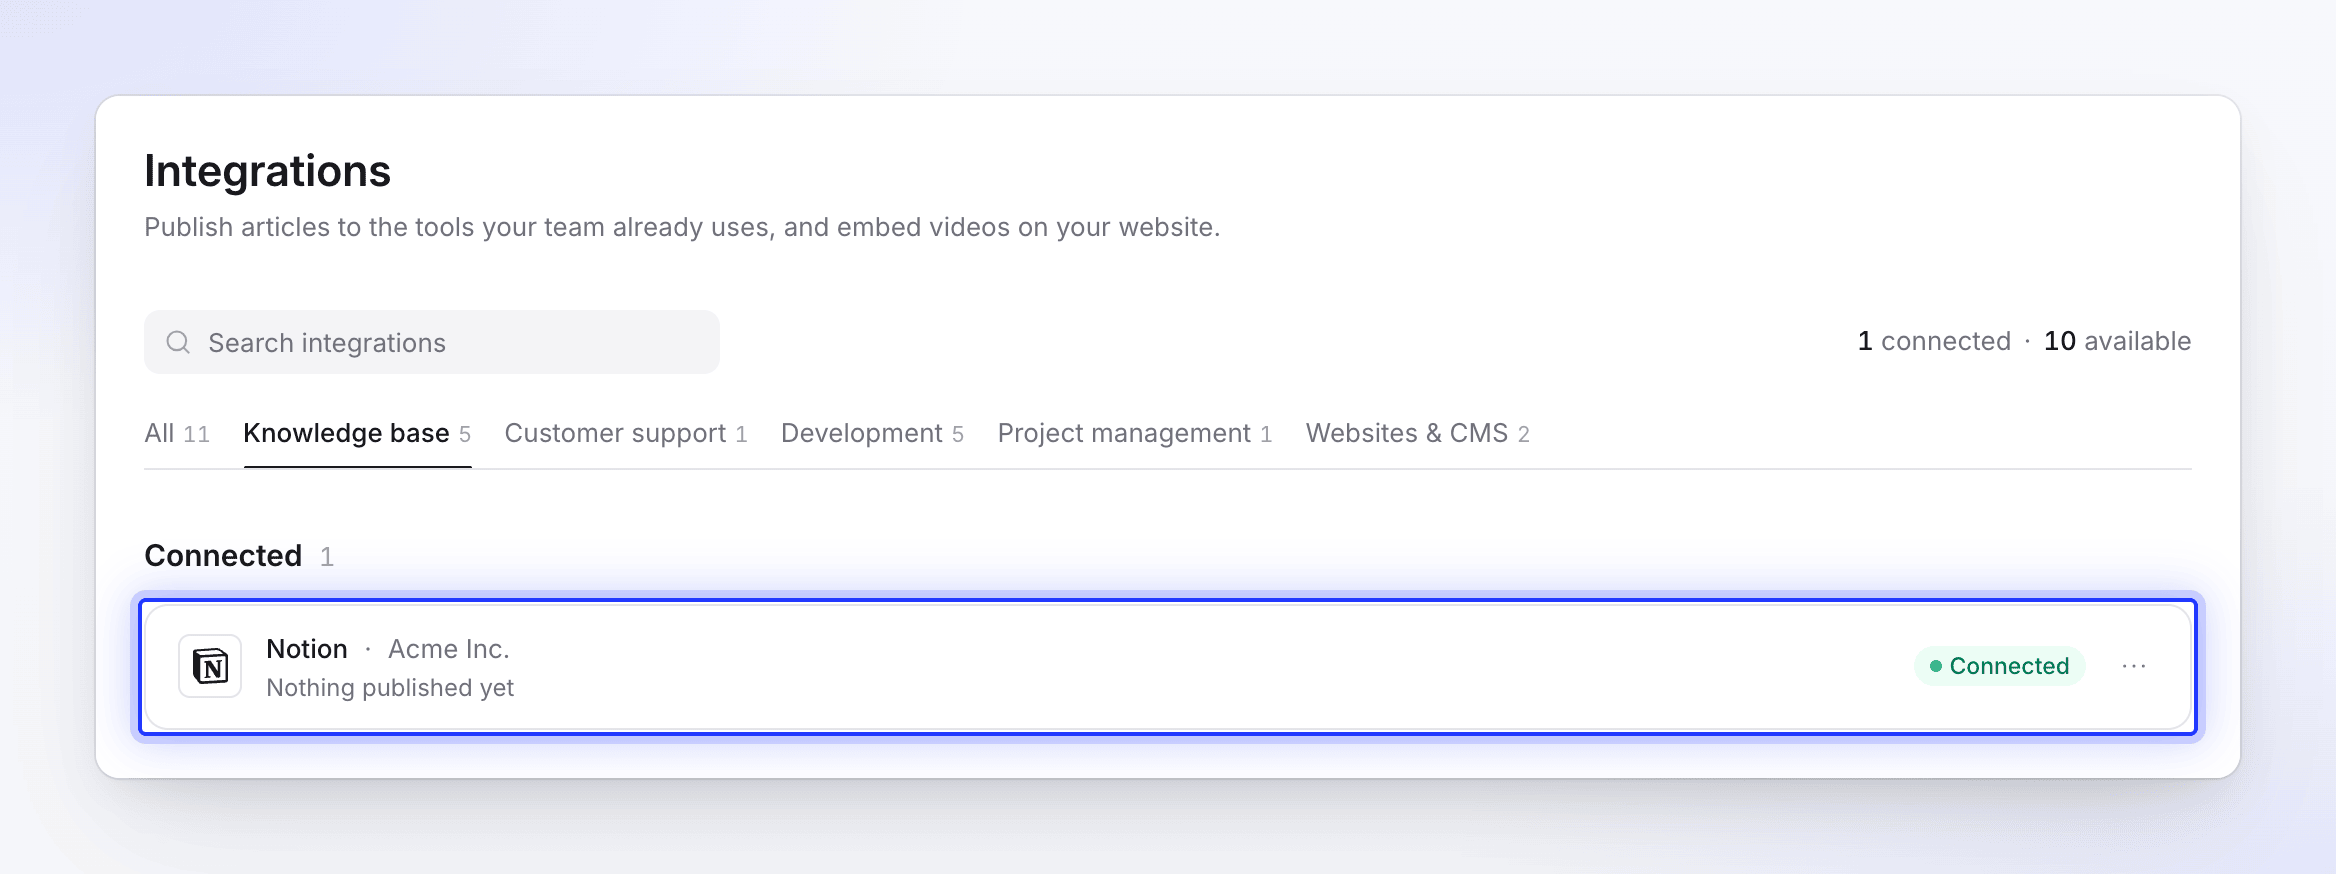
The connection doesn't expire. It keeps working until someone removes Clevera in Notion or disconnects it in Clevera.
Share more pages later
To publish under a page you didn't tick, open that page in Notion, click ⋯ at the top right, choose Connections, then add Clevera. Close and reopen Share → Publish in Clevera to see it.
Publish an article to Notion
Open the Publish tab
In the editor, click Share → Publish and click Publish next to Notion.
Choose where it goes
The list shows Workspace (top level) first, then the pages and databases Clevera can see, each with its Notion icon.
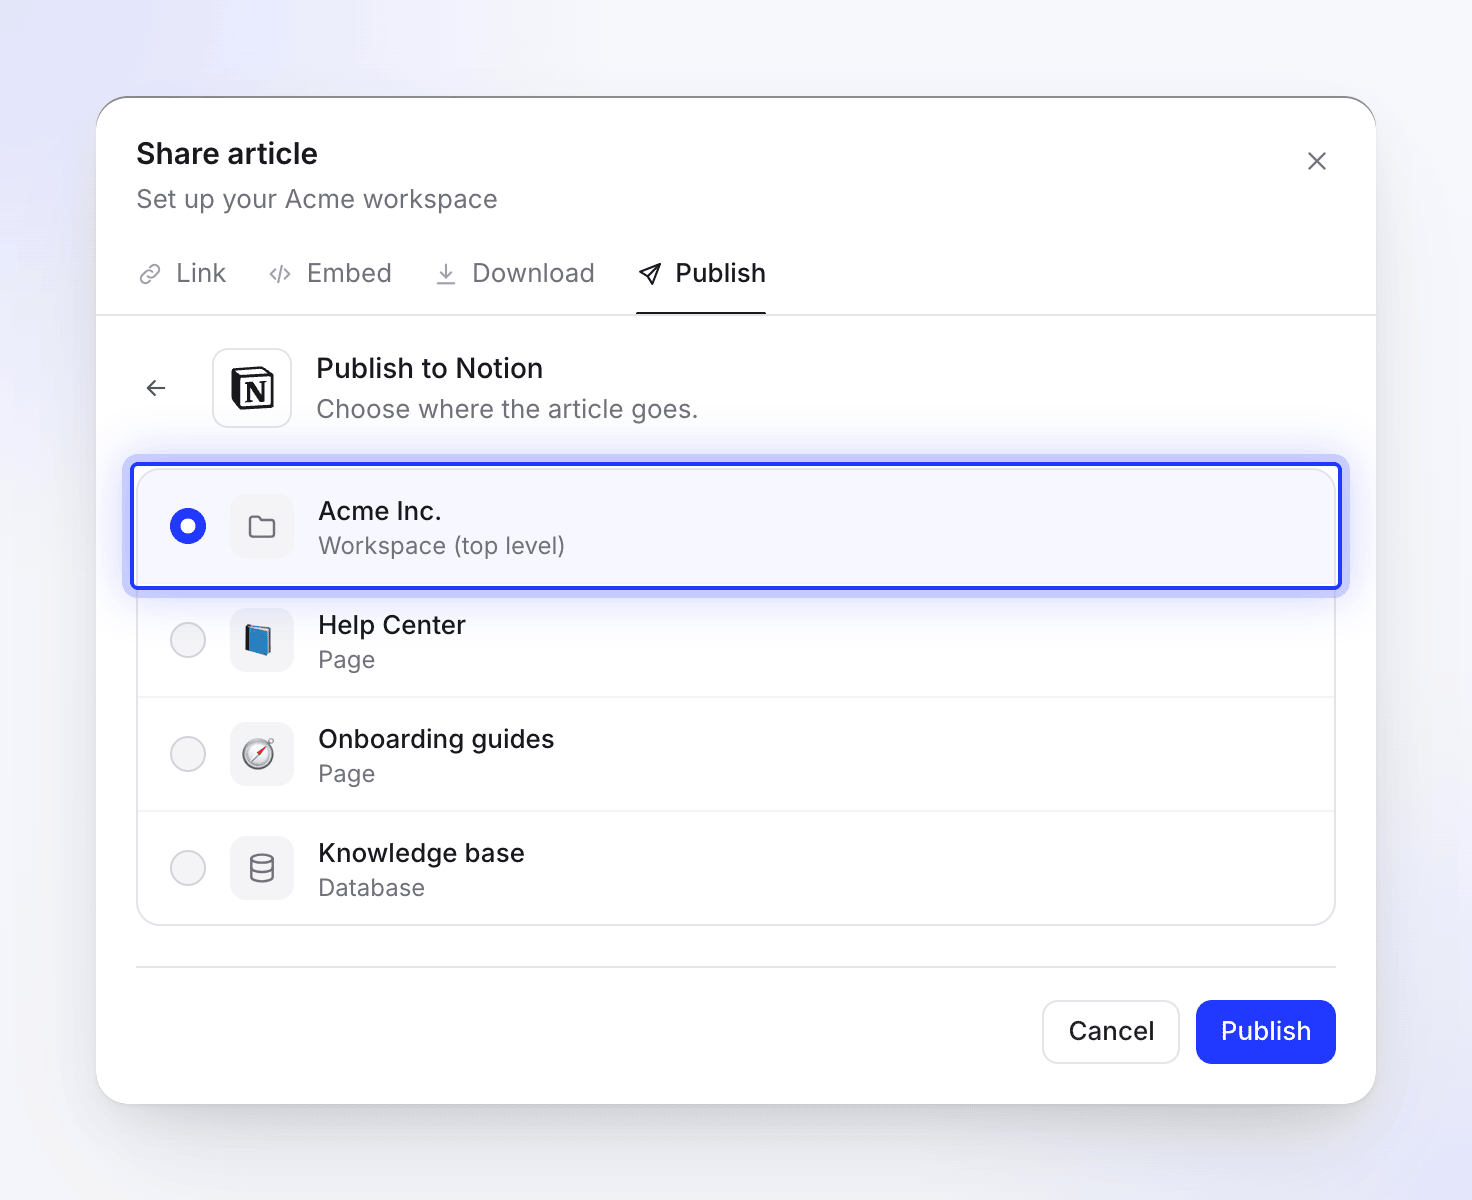
Only pages and databases you shared with Clevera appear here. Choice Result Workspace (top level) A new top-level page in the workspace A Page A new child page inside it A Database A new entry in the database, with the article as the entry's page. Only the title is filled in; other properties stay empty. Publish
Click Publish. If a page with the same title already exists there, choose Publish as a new article or Replace the existing article (see Update a page you published). The new page opens in a new tab and you see "Published to Notion."
What the page looks like in Notion
The page title is the article's title. If the video's link is shared (Share → Link → General access set to Anyone with the link), an embedded video player sits at the very top.
| In Clevera | In Notion |
|---|---|
| Headings 1–3 | Heading 1–3 (smaller headings become Heading 3) |
| Paragraphs | Text blocks, with an empty line between blocks for spacing |
| Bold, italic, strikethrough, underline, inline code, links | Kept |
| Bulleted and numbered lists | Bulleted and numbered lists, nesting kept |
| Checklists | To-do blocks, ticked items stay ticked |
| Quotes | Quote blocks |
| Code blocks | Code blocks with the language set (plain text when unknown) |
| Dividers | Dividers |
| Tables | Simple tables; the first row becomes a header row when it is one in Clevera |
| Callouts | Callouts with an icon: info ℹ️, tip 💡, warning ⚠️, note 📝, success ✅, danger 🚨 |
| Numbered steps | A text block starting with bold "Step 1:" |
| Collapsible sections | Toggle blocks |
| Screenshots | Image blocks uploaded into Notion, with the caption |
| A YouTube video in the article | A Notion video block |
| A Clevera video inside the article | A link preview (bookmark) |
Inside callouts, quotes and list items only text is kept; a picture or code block placed inside one is left out.
Screenshots
Screenshots are uploaded into Notion, so they keep working even if you delete the article in Clevera. A screenshot over 20 MB, or one that fails to upload, is linked from Clevera instead and stays valid for about a year. Publish again to renew it.
Update a page you published
Publishing only goes one way. The Notion page doesn't update when you edit the article in Clevera, and edits made in Notion never come back to Clevera. After you edit the article, publish it again to the same place. Clevera finds the page with the same title (capitalization doesn't matter) and asks "An article with this title already exists in Notion."
- Publish as a new article keeps the old page and adds a new one under the title you enter (Clevera suggests one such as "Set up billing (2)").
- Replace the existing article moves the old page to Notion's trash and creates a fresh page in the same place.
When you publish to a page or database, Clevera only looks for a same-titled page inside it. When you publish to Workspace (top level), any page with the same title that Clevera can see counts.
Disconnect and revoke access
- In Clevera, open Integrations, click Notion, then Disconnect and confirm. Pages you already published stay in Notion.
- In Notion, open Settings → Connections, find Clevera, click ⋯ and choose Disconnect. This removes Clevera's access to every page you shared.
If you remove Clevera in Notion but keep the connection in Clevera, publishing shows "Your Notion connection expired. Reconnect it to publish." Reconnect or disconnect it on Integrations.
Limits
| Limit | Value |
|---|---|
| Pages listed in the picker | The first 100 pages and 100 databases Notion returns |
| Article length | About 1,100 blocks; anything beyond is left out |
| Screenshot upload | 20 MB per image |
| Text in one paragraph | Notion accepts up to 2,000 characters; split longer paragraphs |
| Connections | One Notion workspace per Clevera workspace |
In a large Notion workspace, a page may be missing from the list because of the 100-page limit. Share fewer pages with Clevera, or publish to a parent page you can see.
Troubleshooting
| You see | What to do |
|---|---|
| The page you want isn't in the list | Share it with Clevera in Notion (⋯ → Connections), then reopen the Publish tab. |
| "Nothing to publish into yet. Share a page or space with Clevera in Notion, then come back." | Clevera couldn't read your Notion pages. Reconnect Notion on Integrations, then try again. |
| "Couldn’t load your Notion locations" | Click Try again. If it repeats, reconnect Notion. |
| "Connection failed: …" or "Failed to connect to Notion: …" | You cancelled on Notion's screen or Notion refused. Click Connect again. |
| "Failed to connect to Notion. Please try again." | Something went wrong on the way back from Notion. Connect again. |
| "Article content is empty or invalid." | The article has no content yet. Open it, check it, then publish. |
| A message from Notion, such as one about a validation error | Notion rejected part of the page, often a very long paragraph or deeply nested list. Shorten it in Clevera and publish again. |
| "Failed to retrieve existing page." | The page you tried to replace was deleted or is no longer shared with Clevera. Publish as a new article instead. |
| "Failed to publish to Notion. Please try again." or "Failed to update page in Notion. Please try again." | Try again. If it keeps failing, reconnect Notion. |
| "Your Notion connection expired. Reconnect it to publish." | Clevera was removed in Notion. Choose Reconnect on the Notion connection in Integrations. |
| The page is missing its end | The article is longer than about 1,100 blocks. Split it into two articles. |